The Planting
Finally, the 2015 Food It Yourself garden is planted and ready to grow! It was a multi-day process requiring the help of Mr. Food It Yourself, my mom and dad, some earth worms, and a clever irrigation system that Mr. Food It Yourself invested in last year.
Day one involved final soil preparation- also known as roto-tilling. The soil had to be turned over, then composted manure (purchased from a local dealer last year) turned in. However, the tiller did not cooperate fully. While Mr. Food It Yourself and Dad tinkered, changed filters, and siphoned off stale gas, Mom and I got the herbs and strawberries situated. Finally, the equipment was back in working form and the dirt was ready. It was kind of late and we missed lunch, though, so we called it a day and I bought everyone sandwiches from Pinecroft Dairy.
The strawberry tower was seriously overgrown. Mom and I removed the weeds, temporarily potted the remaining strawberry plants, and amended the soil.

Mom and I distributed herbs around the outside ring and replanted the strawberries on the inner two rings.
On day two, I planted the main garden bed. The seeds for the cucubrits (pumpkins, cantaloup, zucchini and cucumbers) were planted on one side. The tomato seedlings were planted on the other, interspersed with basil. Some bush snap beans were planted near the pumpkins to make use of space that will be unoccupied until the pumpkins get big. The rhubarb went in one corner with some other perennial edibles. Placements were determined, in part, by the irrigation system.
I always plant more seeds than I need then thin them later. It’s something Mom taught me. You might have one seed that is, as she says, “a dud”. Or it might get eaten by some critter. Once the sprouts have a few sets of leaves I pull all but the strongest one.

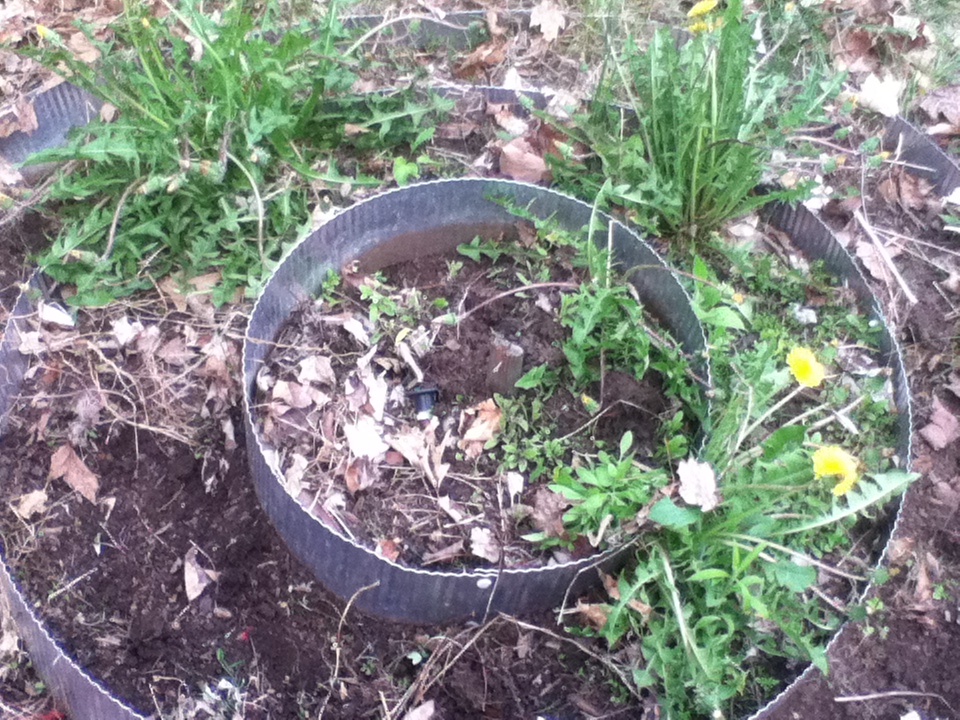
There can be only one zucchini here. The strongest will remain. (See that black thing? That’s the drip irrigation dripper.)
Here is the big picture:

The dark spots are where the irrigation system is dripping. The boards are where I can walk without compacting the soil. Compacted soil is not good for growing things.
I originally planned to finish on day two, but the mosquitoes decided that I would not. On day three, all I had to do was plant chamomile and garden cress in pots.

Chamomile is best planted in a pot. It will spread like the plague if you don’t manage it. The seed packet insists that I will have garden cress to nibble in two weeks.
Now, we water, weed and wait. I’ll make sure to keep you updated on the progress. Also, I’m already looking for new and interesting zucchini recipes. There will be much zucchini. There is always too much zucchini.
BONUS: Here are a few more pictures of this year’s preparation and planting:

Mom convinced me that I needed to thin out my bee balm. Here she is, lifting a corner of the clump.
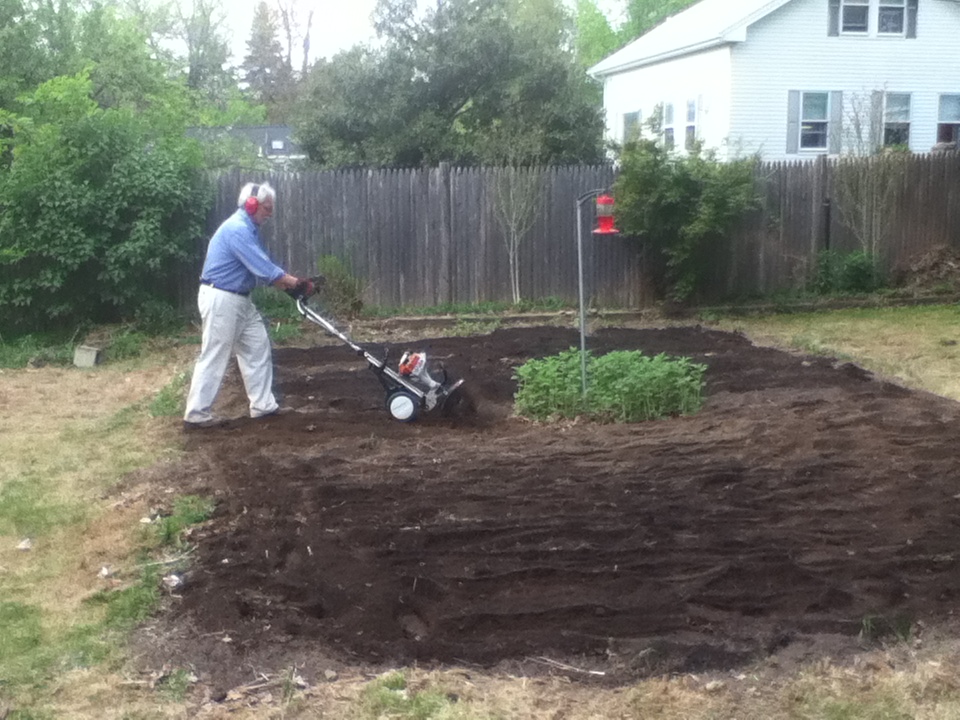
Once the machine was working, turning over the soil was easy. Look at Dad go!

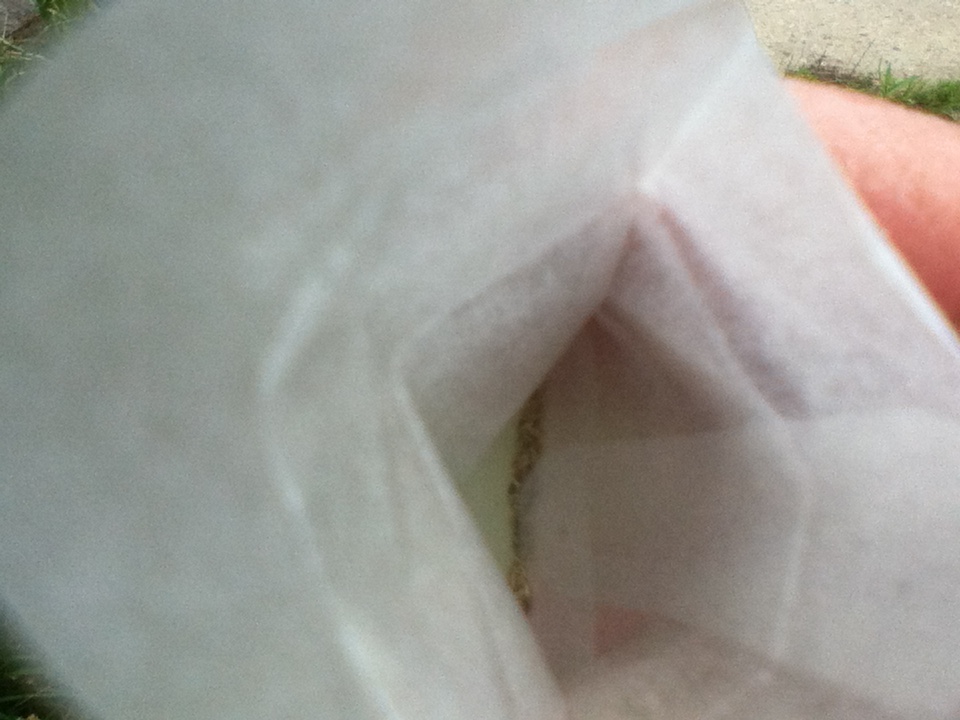
Chamomile seeds are so tiny Seed Saver Exchange put a little velum envelope inside the regular seed packet.

“Tuck tomatoes up to their chins” so they grow deep roots. Anywhere on the stem that touches the dirt will develop roots.

Pingback: The Planting | Food It Yourself! | WORLD ORGANIC NEWS