Change of Seasoning
The gardening season is drawing to a close here in central Massachusetts. We’ve had couple of night frosts, so it is time to take the Food It Yourself garden of 2016 down for the winter. We had some good luck with carrots. The heat snuck up on us and the peas, lettuce, and arugula, but the string beans were quite good. As usual, my herbs were unstoppable, even with the drought in our area.
In fact, my rosemary plant did so well I decided to bring it in side for the winter. I trimmed down the lush boughs, dug up the root ball, and set it up in a nicely sized pot.

But what to do with all that rosemary? For that matter, I had piles of thyme, oregano, sage and parsley, also. This is one time when very dry weather is a gardener’s friend! I am air drying my crop of herbs. It is a simple process, really.
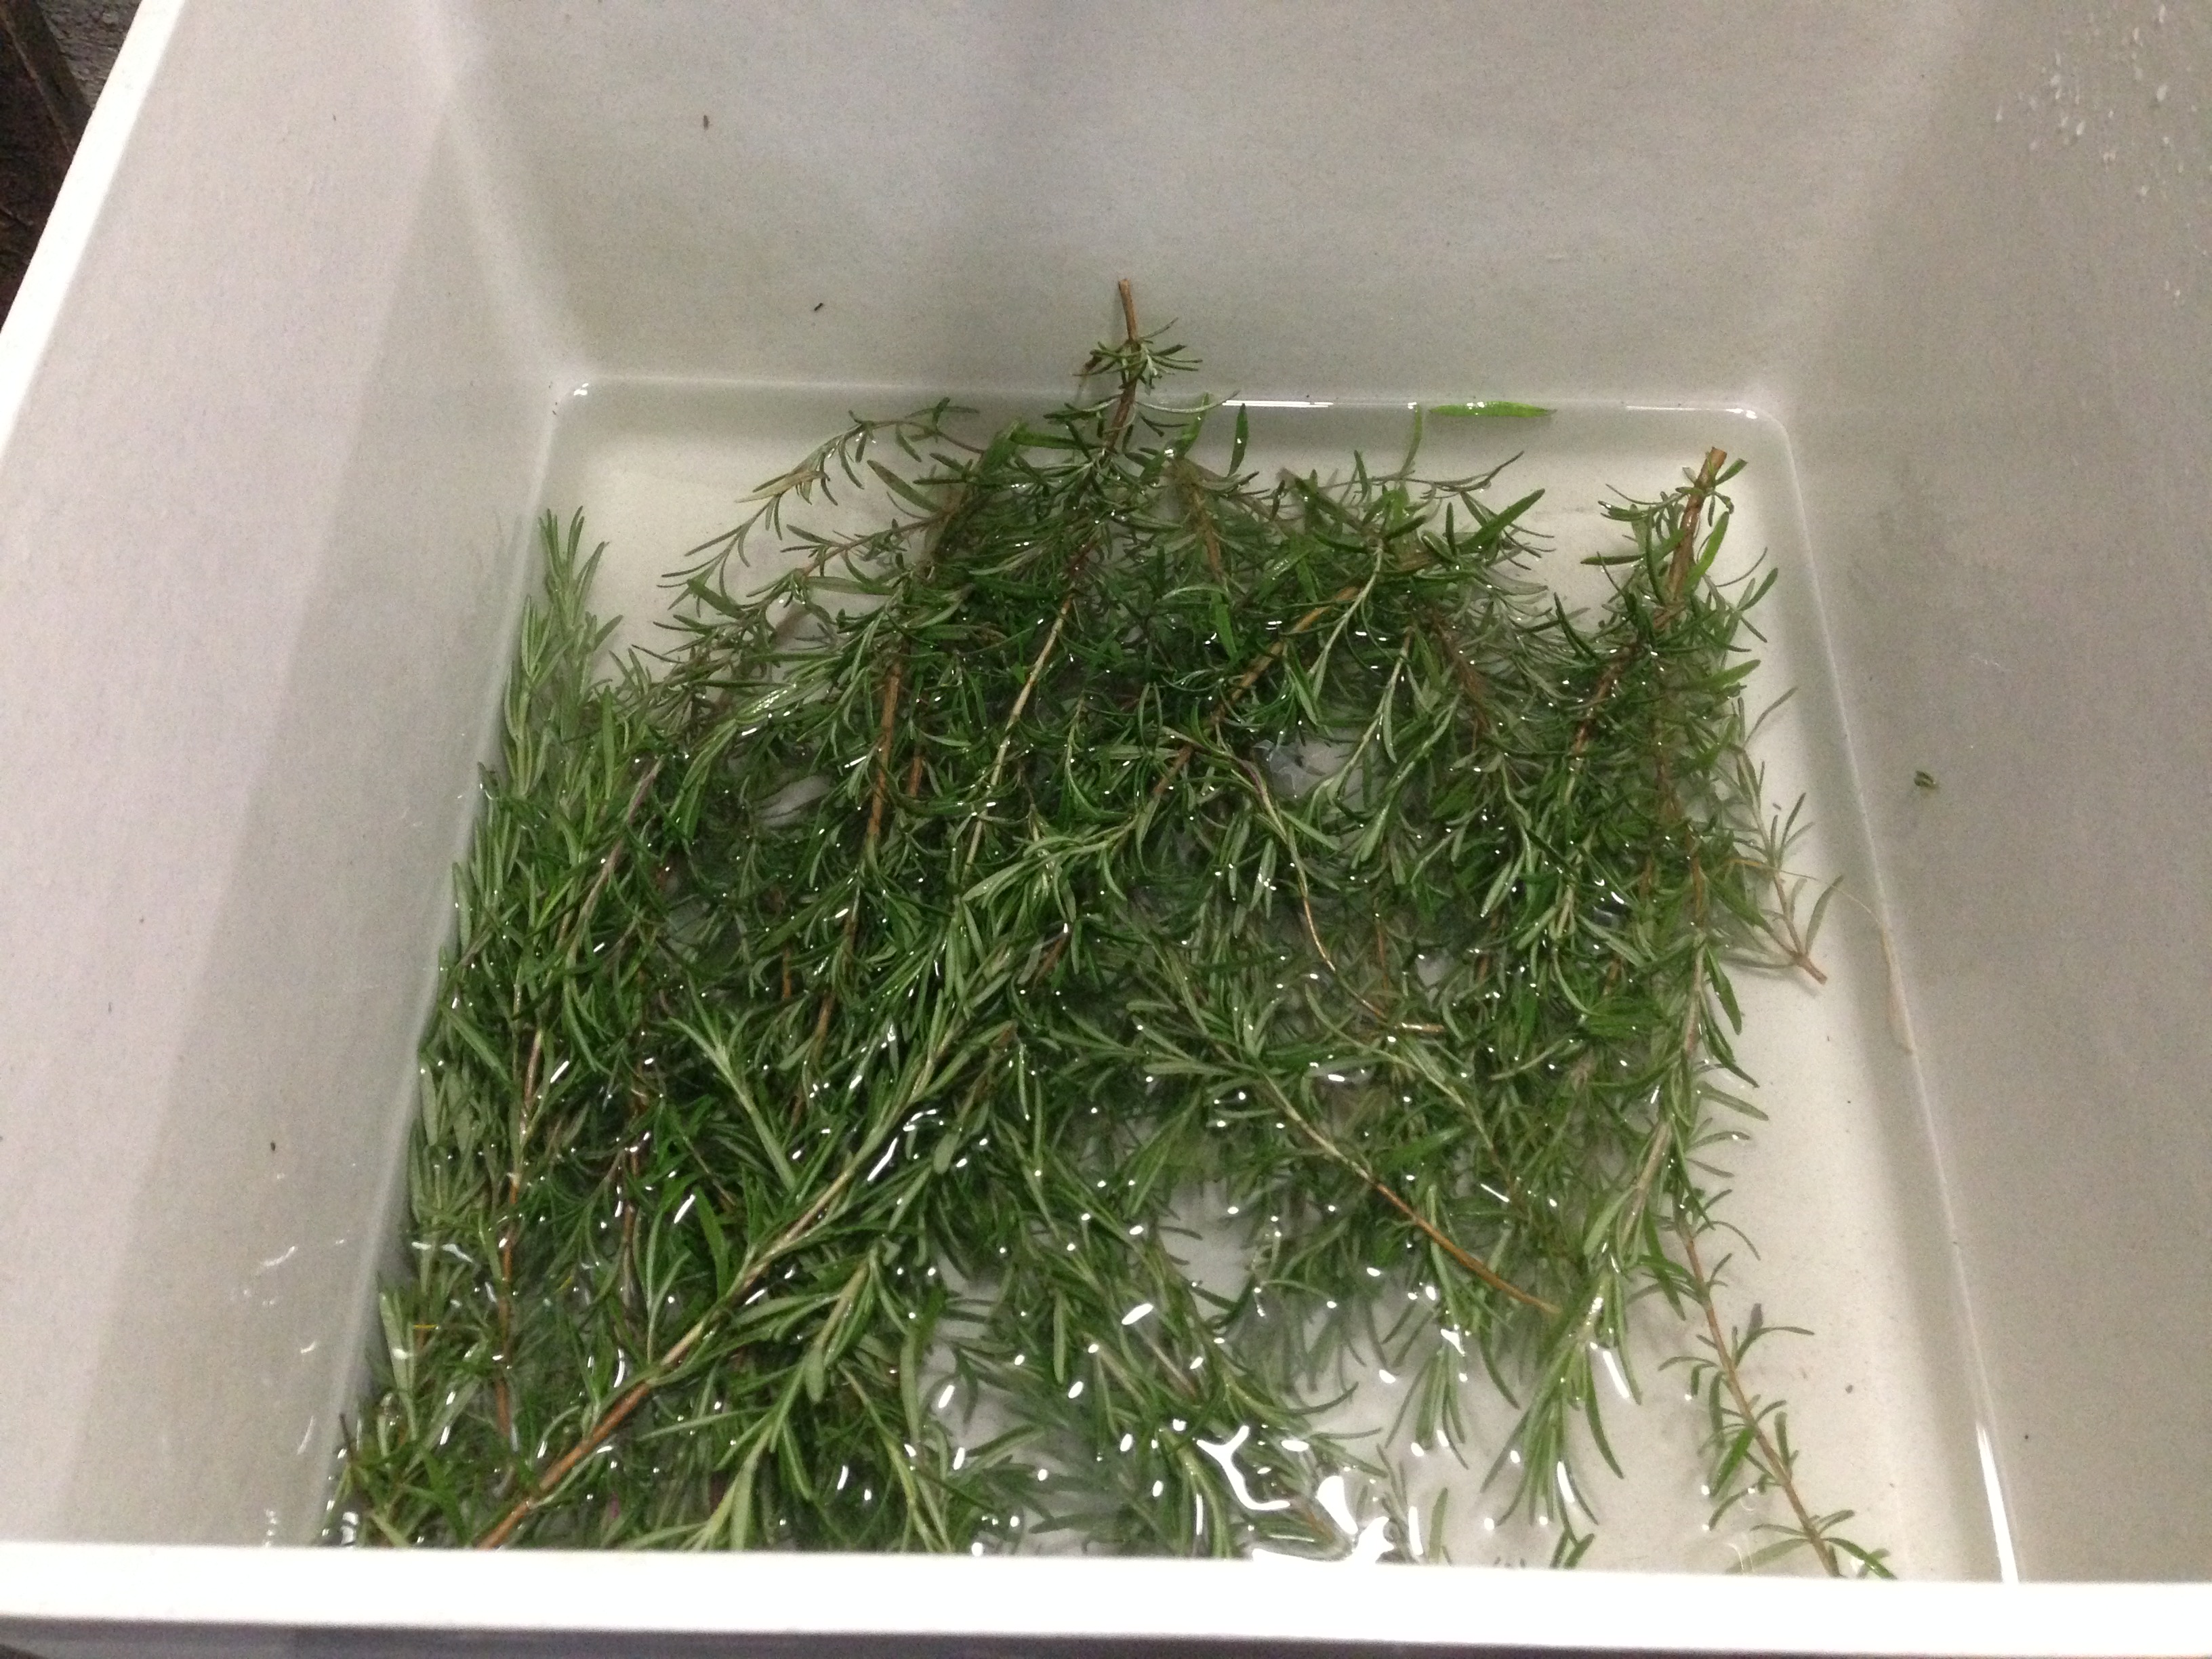
I decided that my utility sink was the best vessel for rinsing the natural world off my herbs.
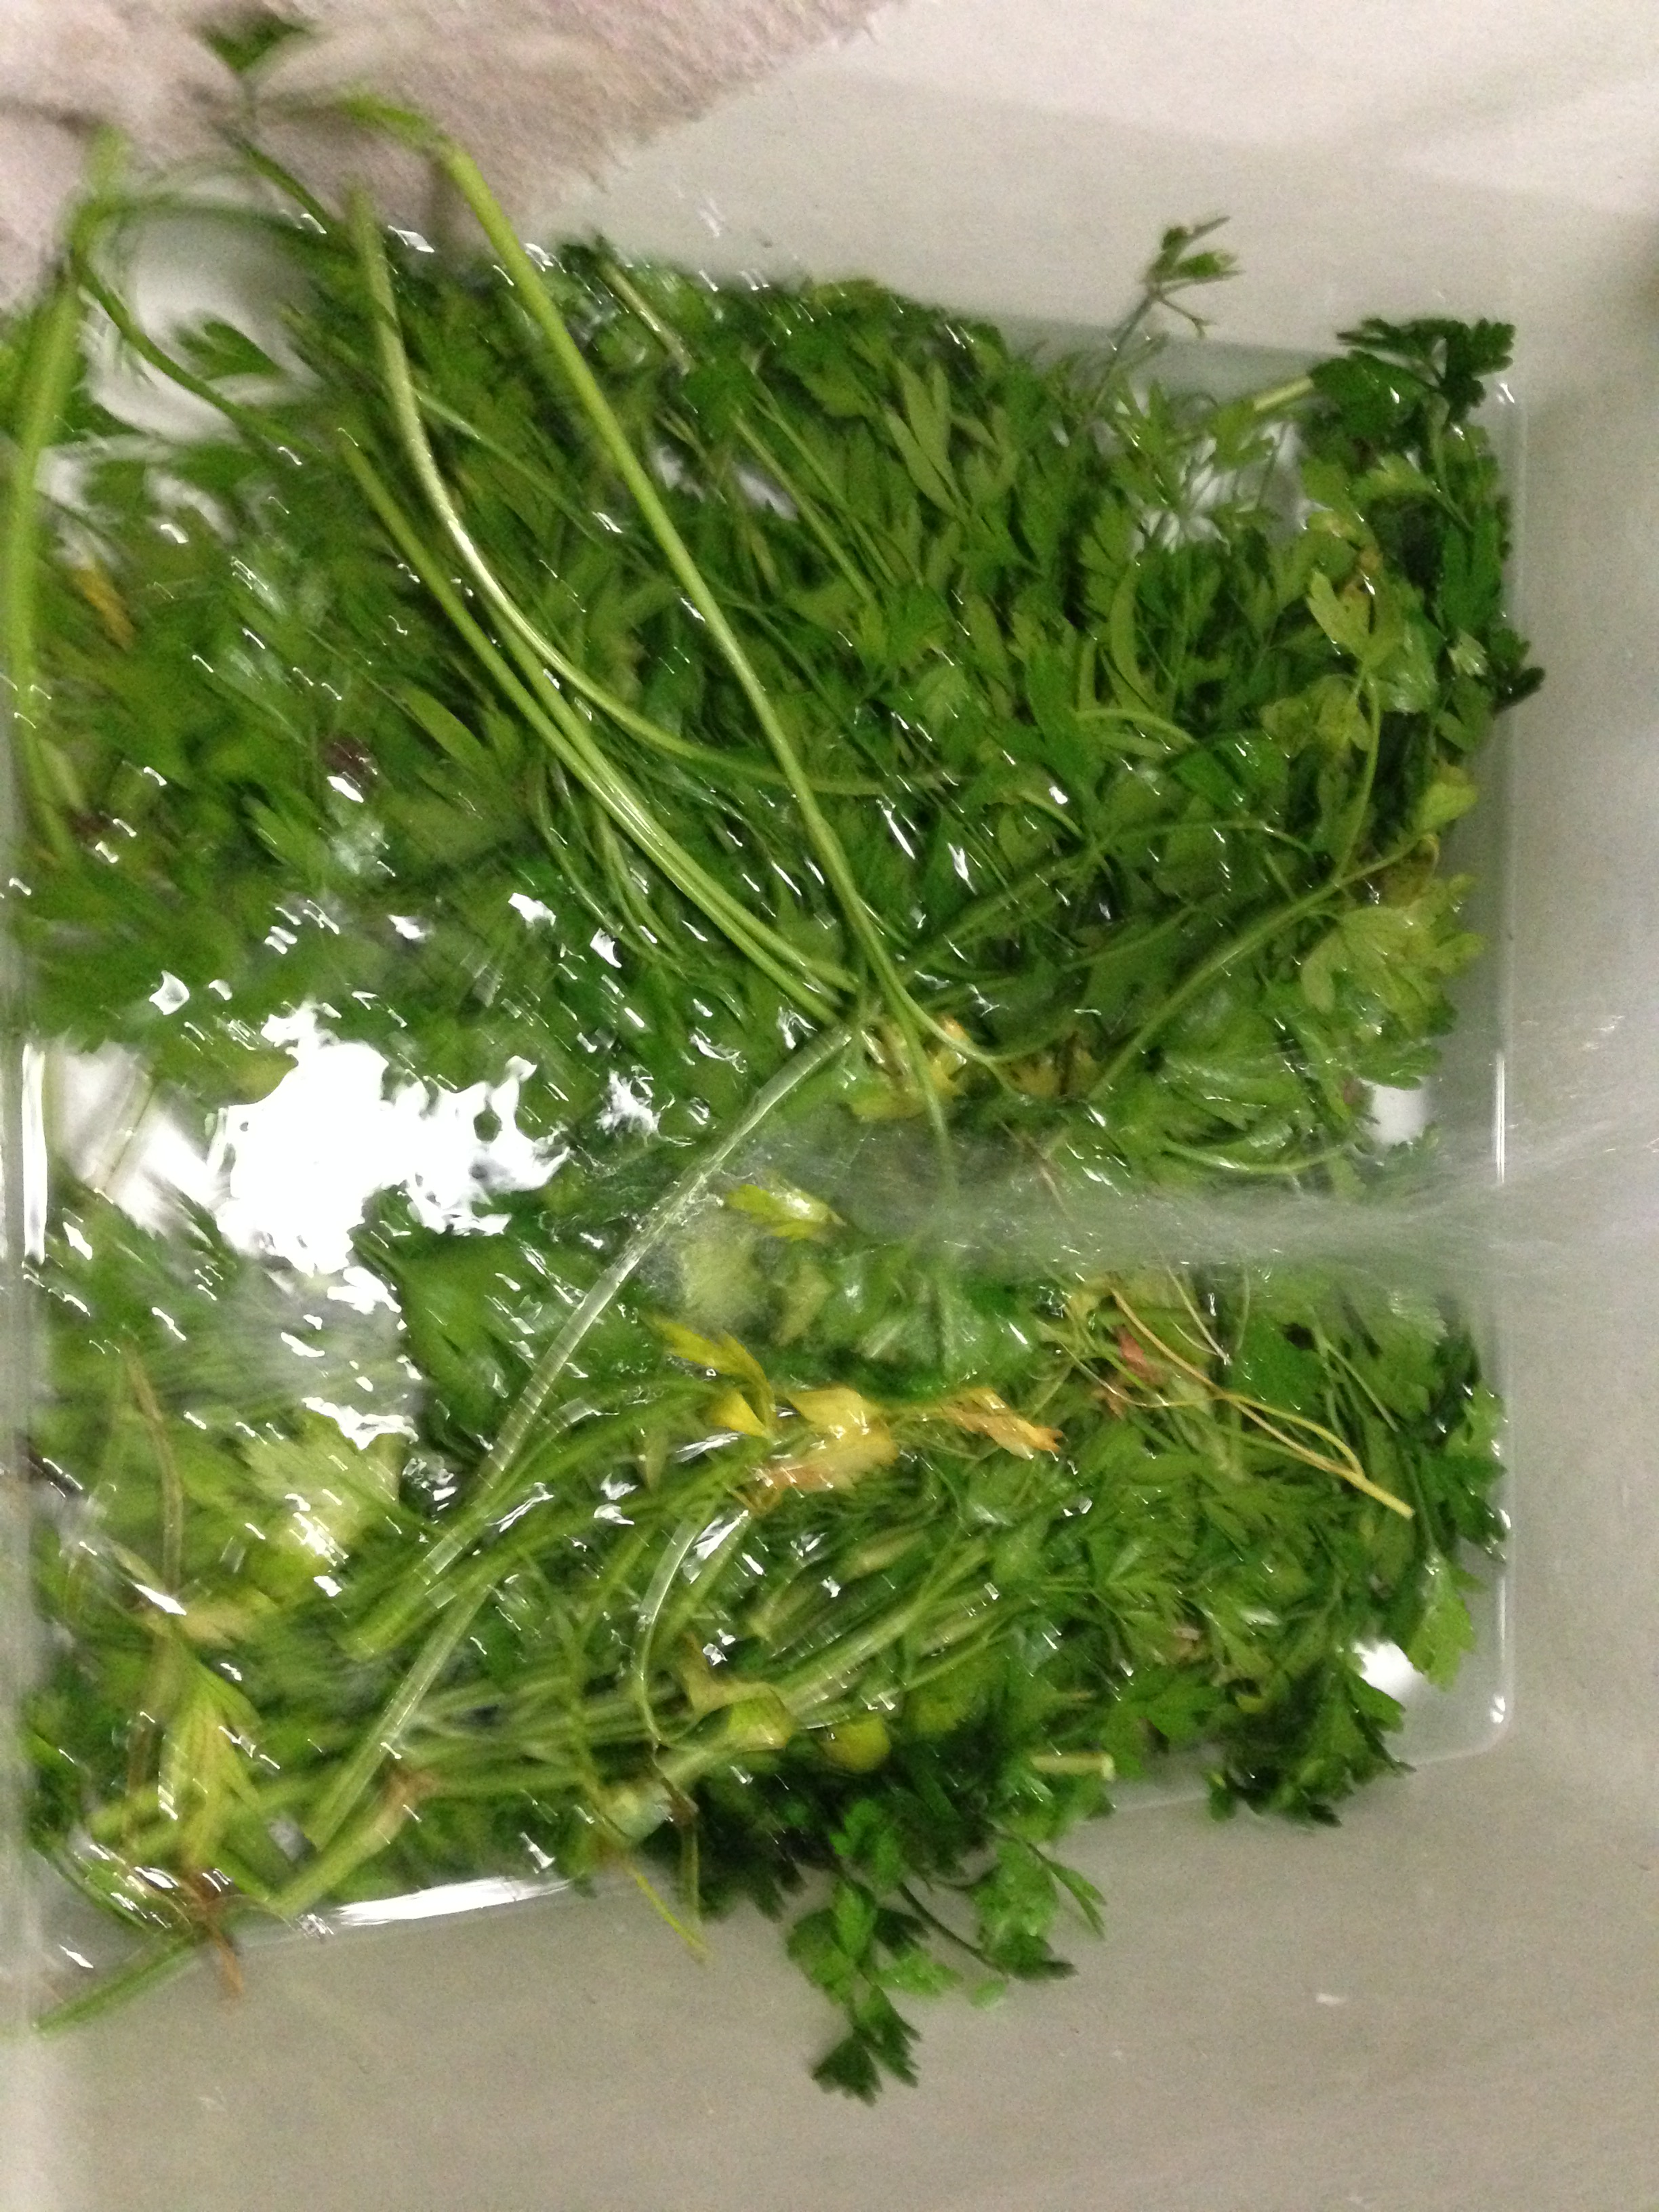
There are plenty of ways to clean your herbs. I like to run mine under the water, agitate carefully for a few minutes, then let the silt settle. Carefully remove the leaves and twigs, then drain the sink.
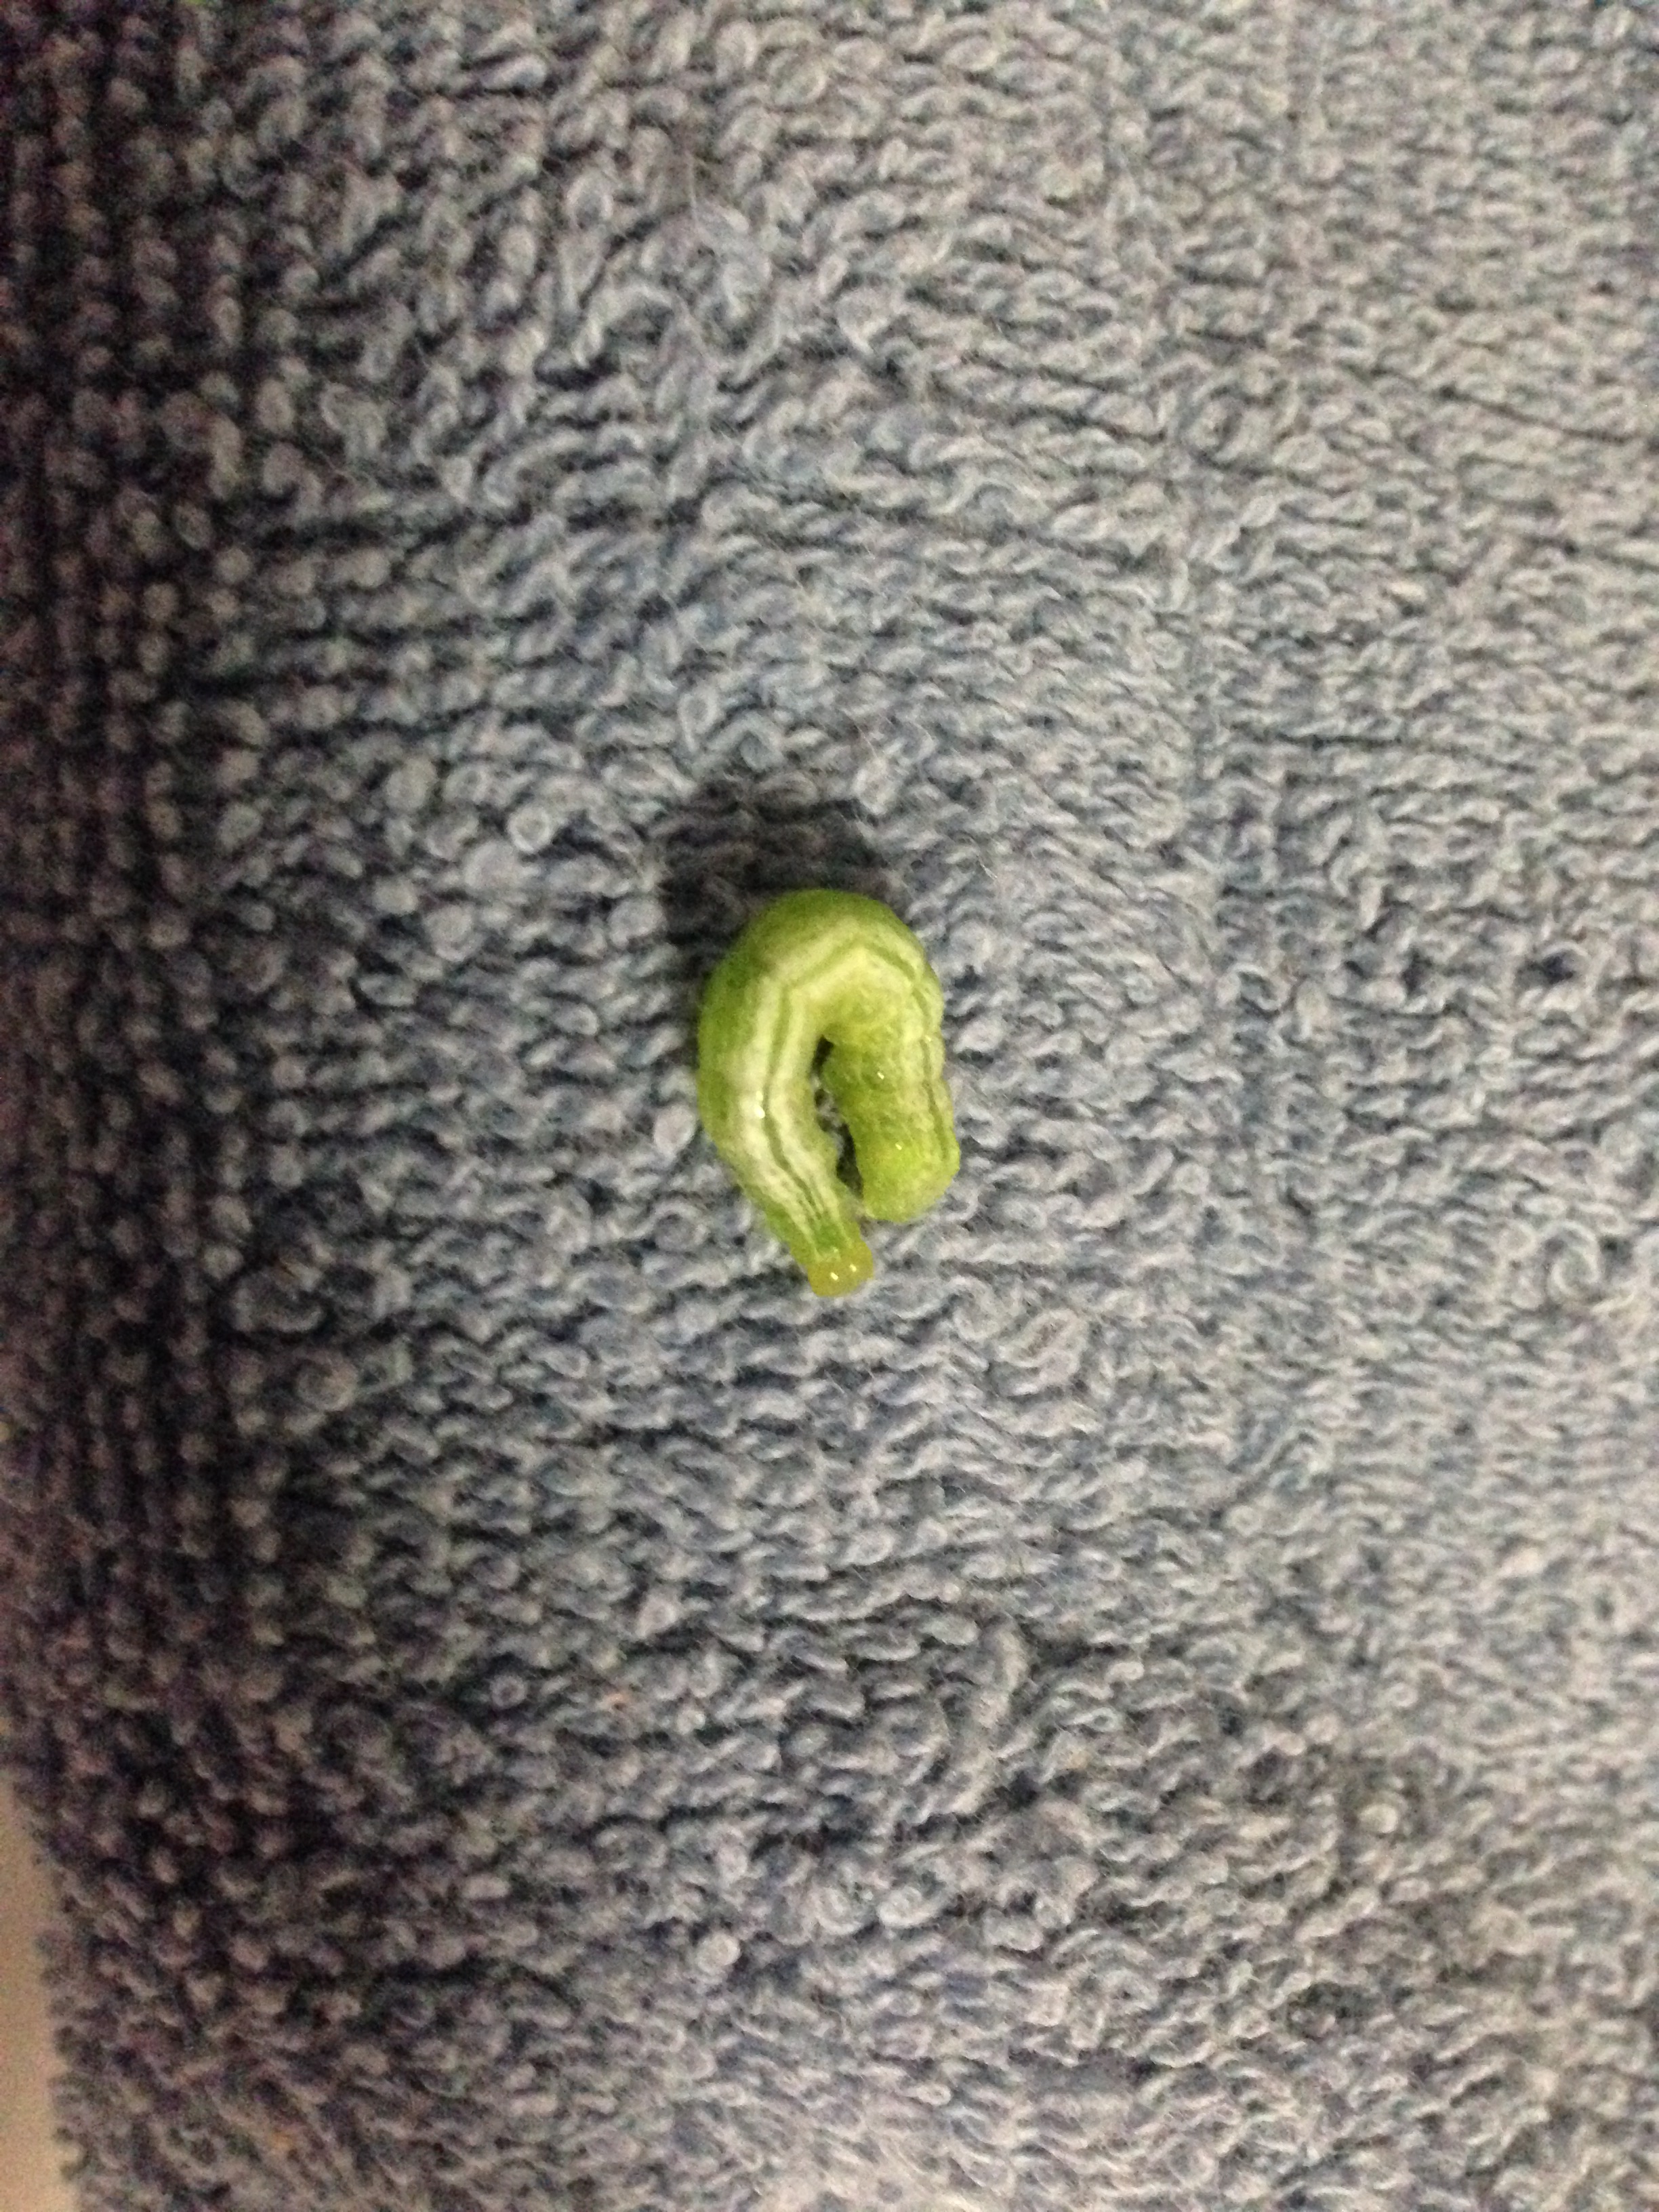
Always fill the sink carefully. My oregano had a little friend hiding among its pizza scented sprigs.
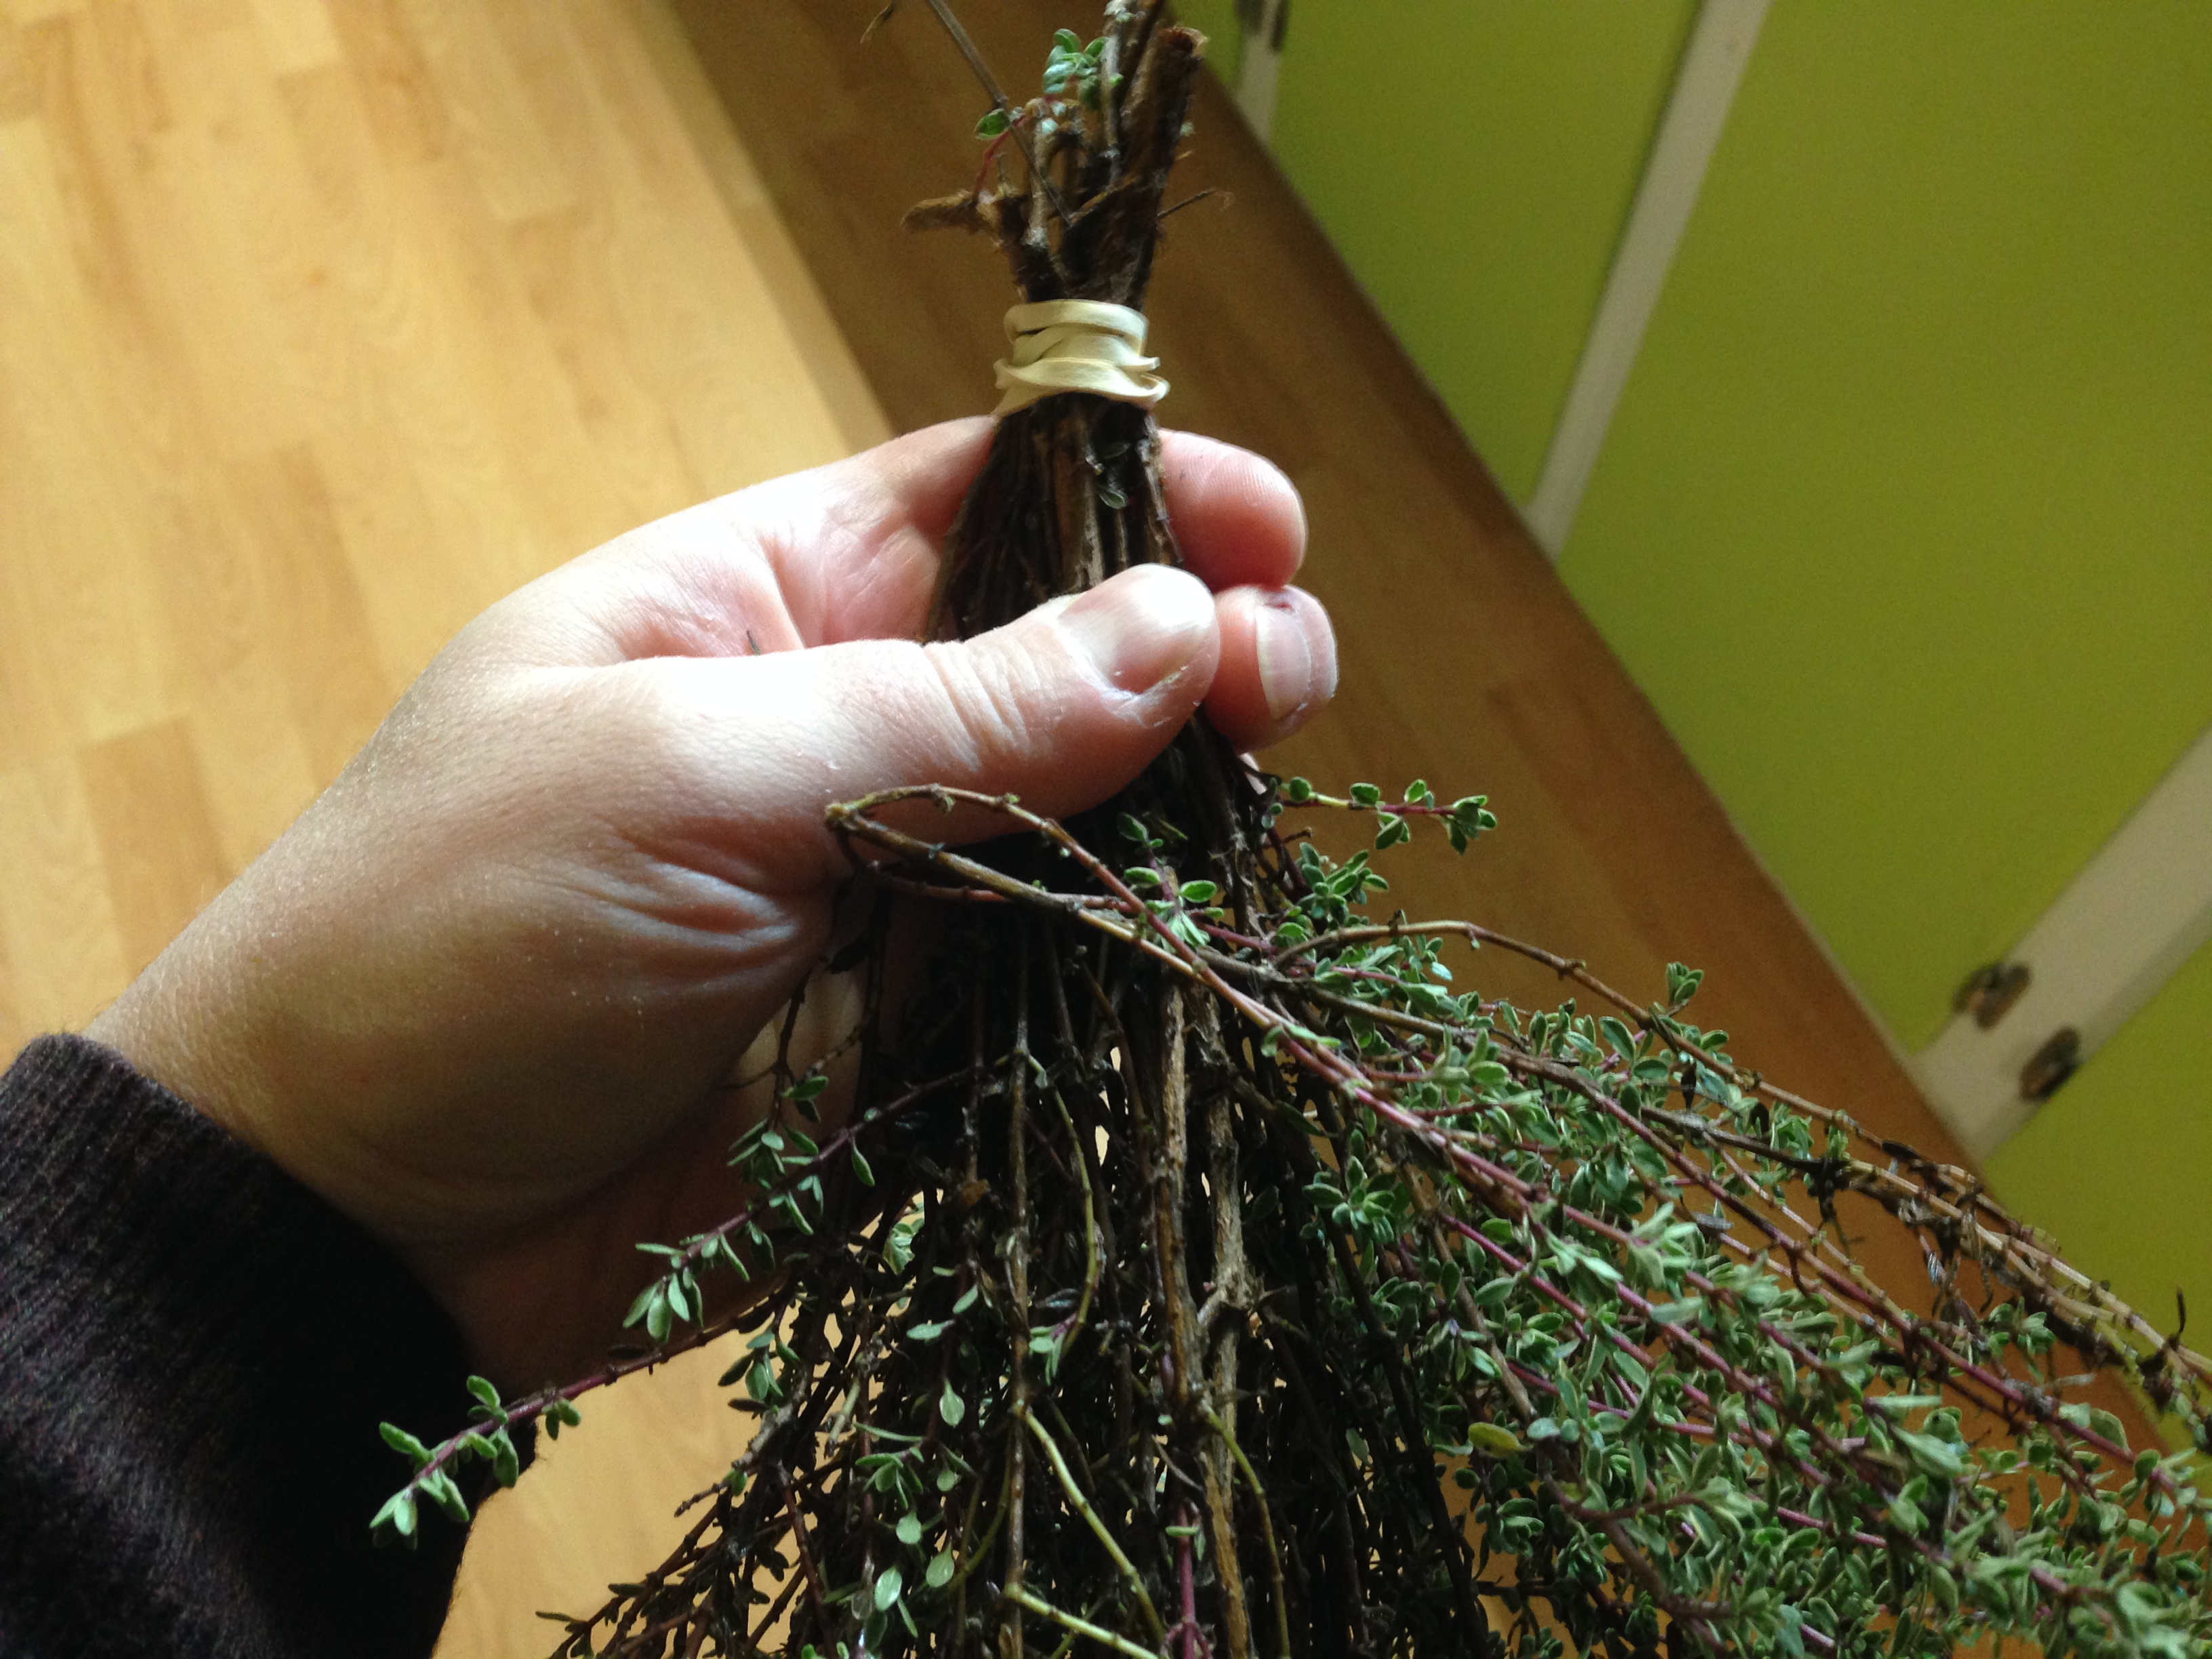
Once your herbs are dirt and caterpillar free, shake off the excess water and blot with towels. Once dry, make little bundles of herbs. I like to use rubber bands for this because they will stay tight if the stems shrink as they dry. If you want, you can hang your bundles as-is. However, exposure to light will fade the color and the flavor of your herbs. But there is a way to avoid that…
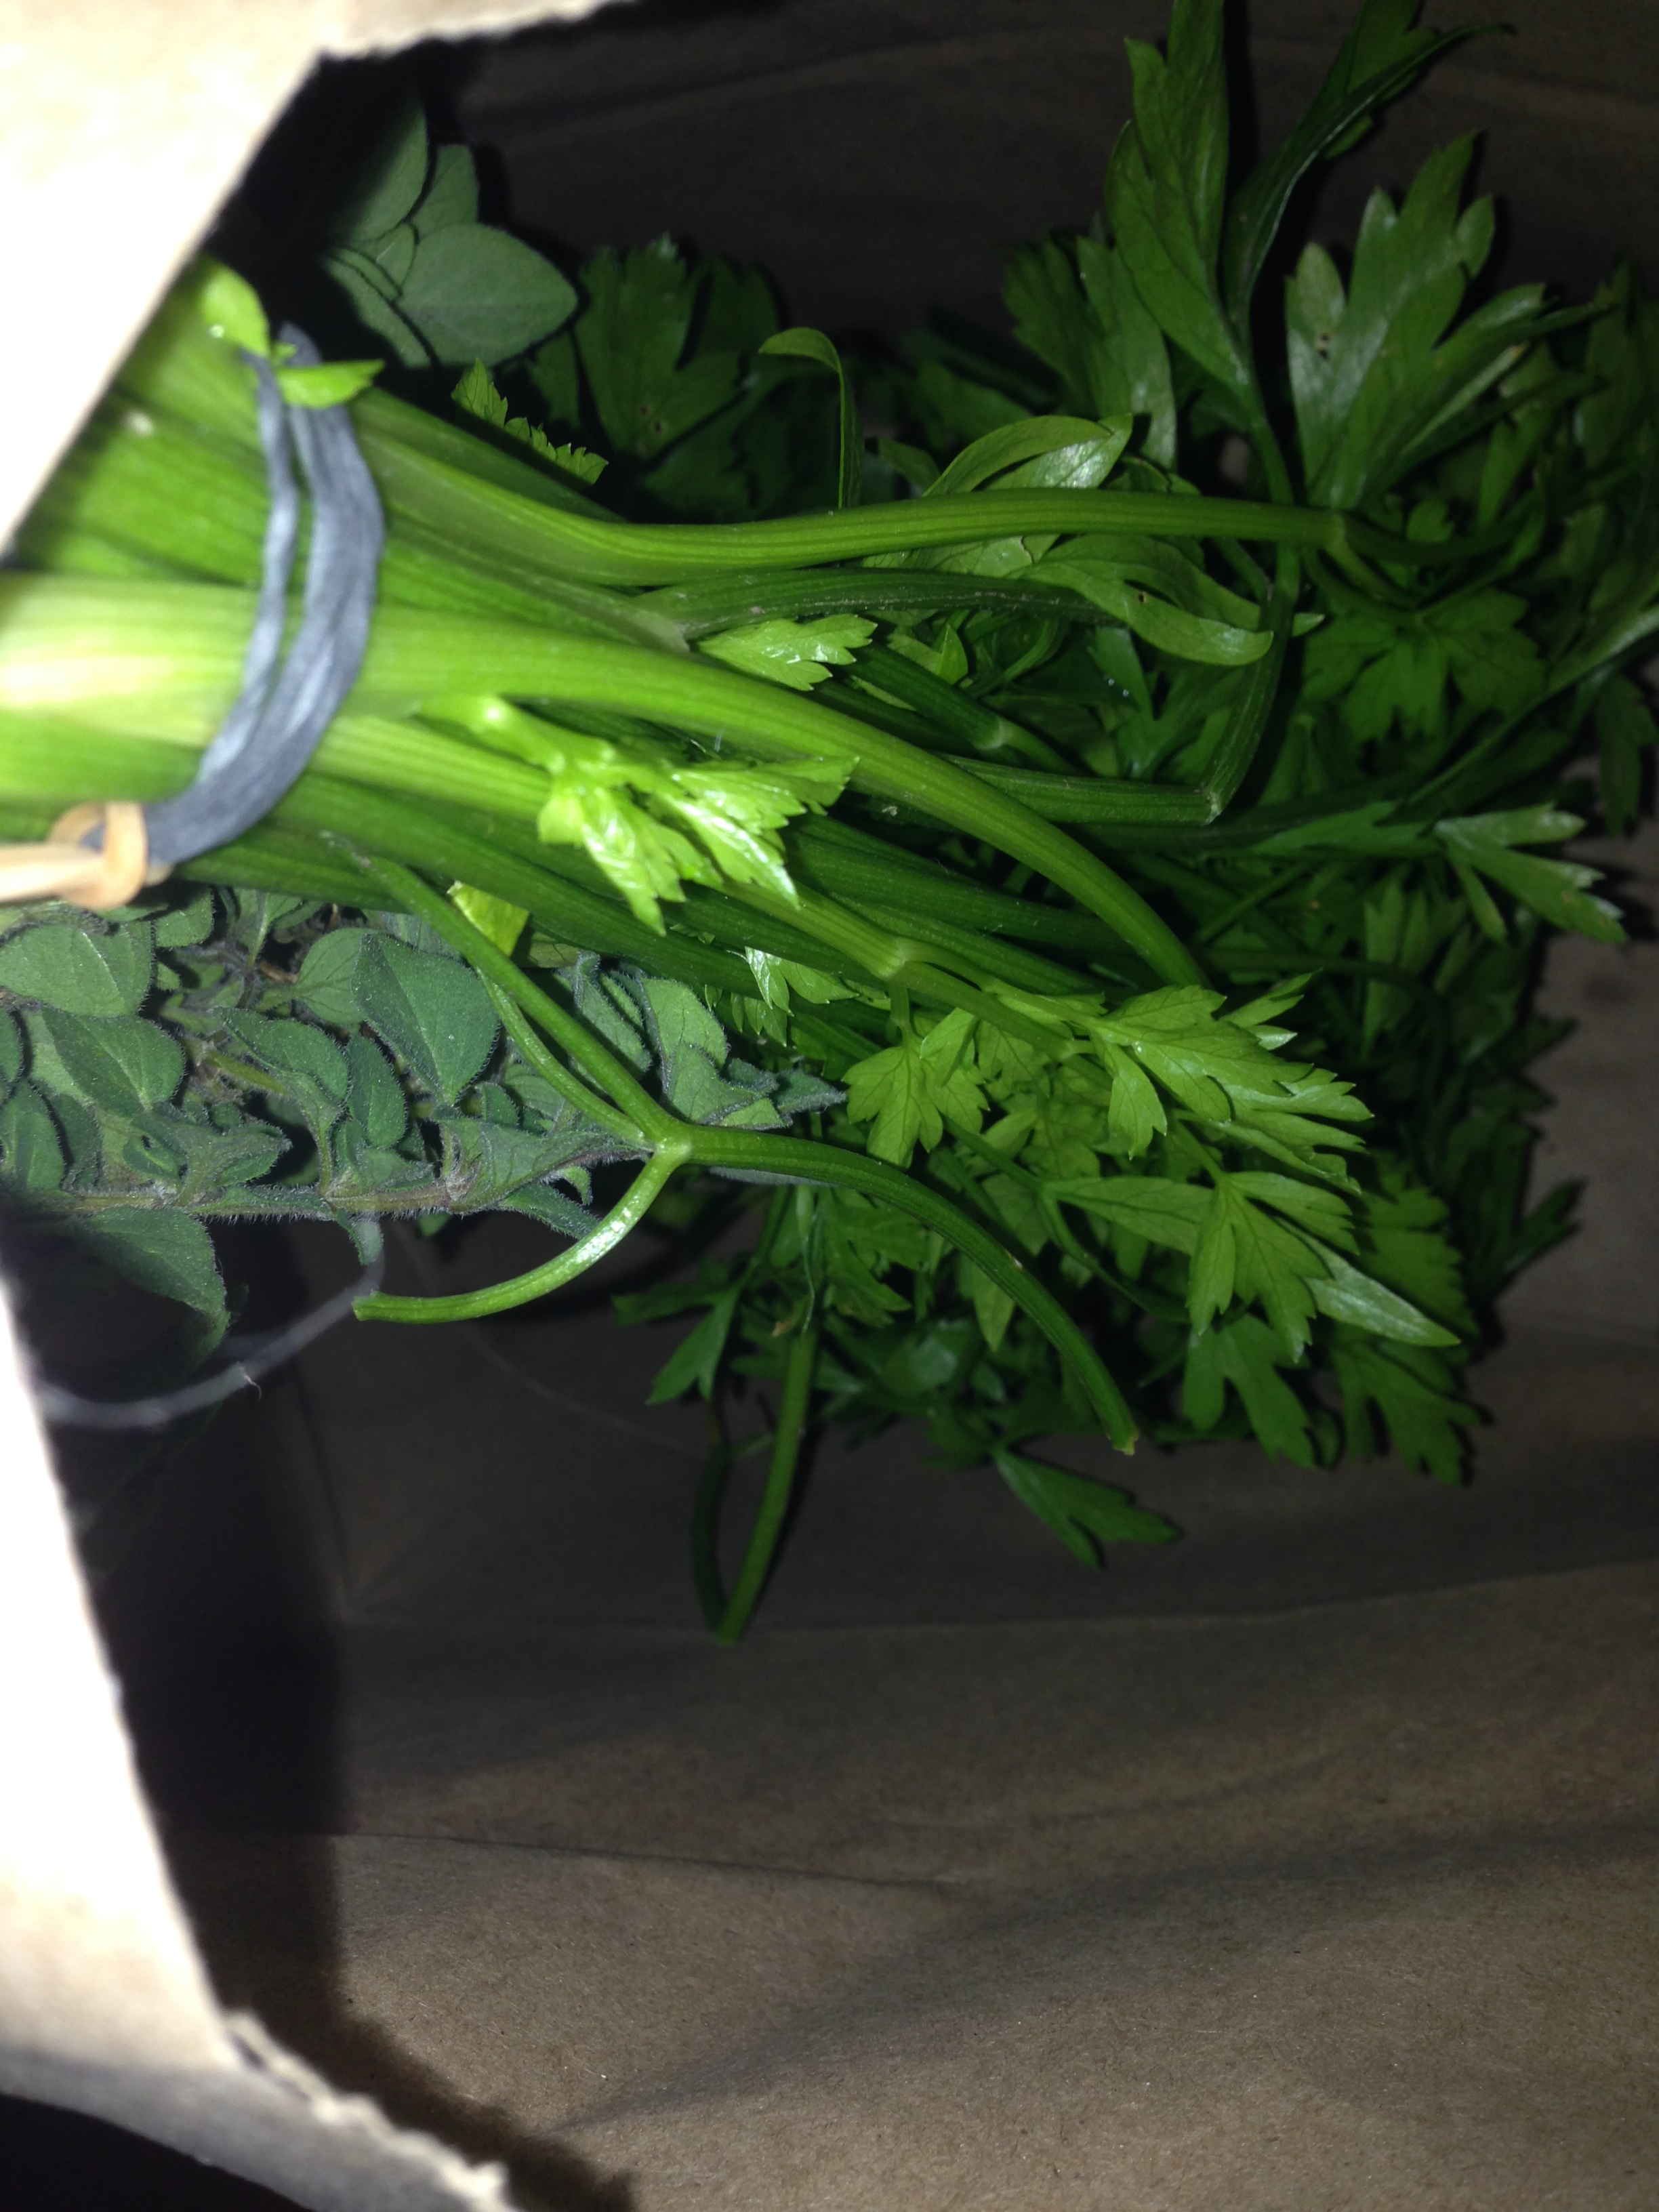
Hang the bundles inside a paper grocery bag. You can have more than one bundle per bag, just make sure you leave room for air to circulate.
Finally, hang those bags in a room with good air circulation.
As luck would have it, the Bay State is having a spell of warm, humid weather now that I have all those bags hung. It will certainly be a few weeks before my herbs are really dry. Once they are really crispy and dry I can store them in mason jars for use all winter. If you lack the room or the paper bags or the patience to let your herbs air dry, then there are other ways to save your seasonings for the off season:
According to King Arthur Flour, you can even dry herbs in your microwave!
We are saying goodbye to the short New England growing season. However, I am not ready to give up the taste of my summer herbs! What are you stocking up on for the winter? Share in the comments.
In case you were worried, that little green caterpillar was fine, despite his unexpected swimming lesson.
