Ears to Small Successes!
This summer has been emotionally draining. Woodchucks ate everything but the tomato plants. Then the cucumbers bounced back but squash beetles caused them to wilt. Then it rained for three weeks strait and the tomatoes started rotting and the few sound ones got eaten by woodchucks. One thing in the Food It Yourself garden that seems to be thriving is the corn. The stalks are tall and sturdy- and it is corn season in central New England.
Last night, I harvested half a dozen ears. Check it out-
 Ripe ears of corn have dry looking, black or brown silk and feel firm and full when you give them a squeeze. Not sure your ears are really ripe? Here is a rule of thumb I learned from the Old Farmer’s Almanac. (So you know it is trustworthy advice.) Carefully peel back the husk and smoosh a kernel with your thumbnail. If the juice looks like water close the husks back up and let it ripen some more. If the juice looks like milk you are ready to harvest. This ear was ready to go!
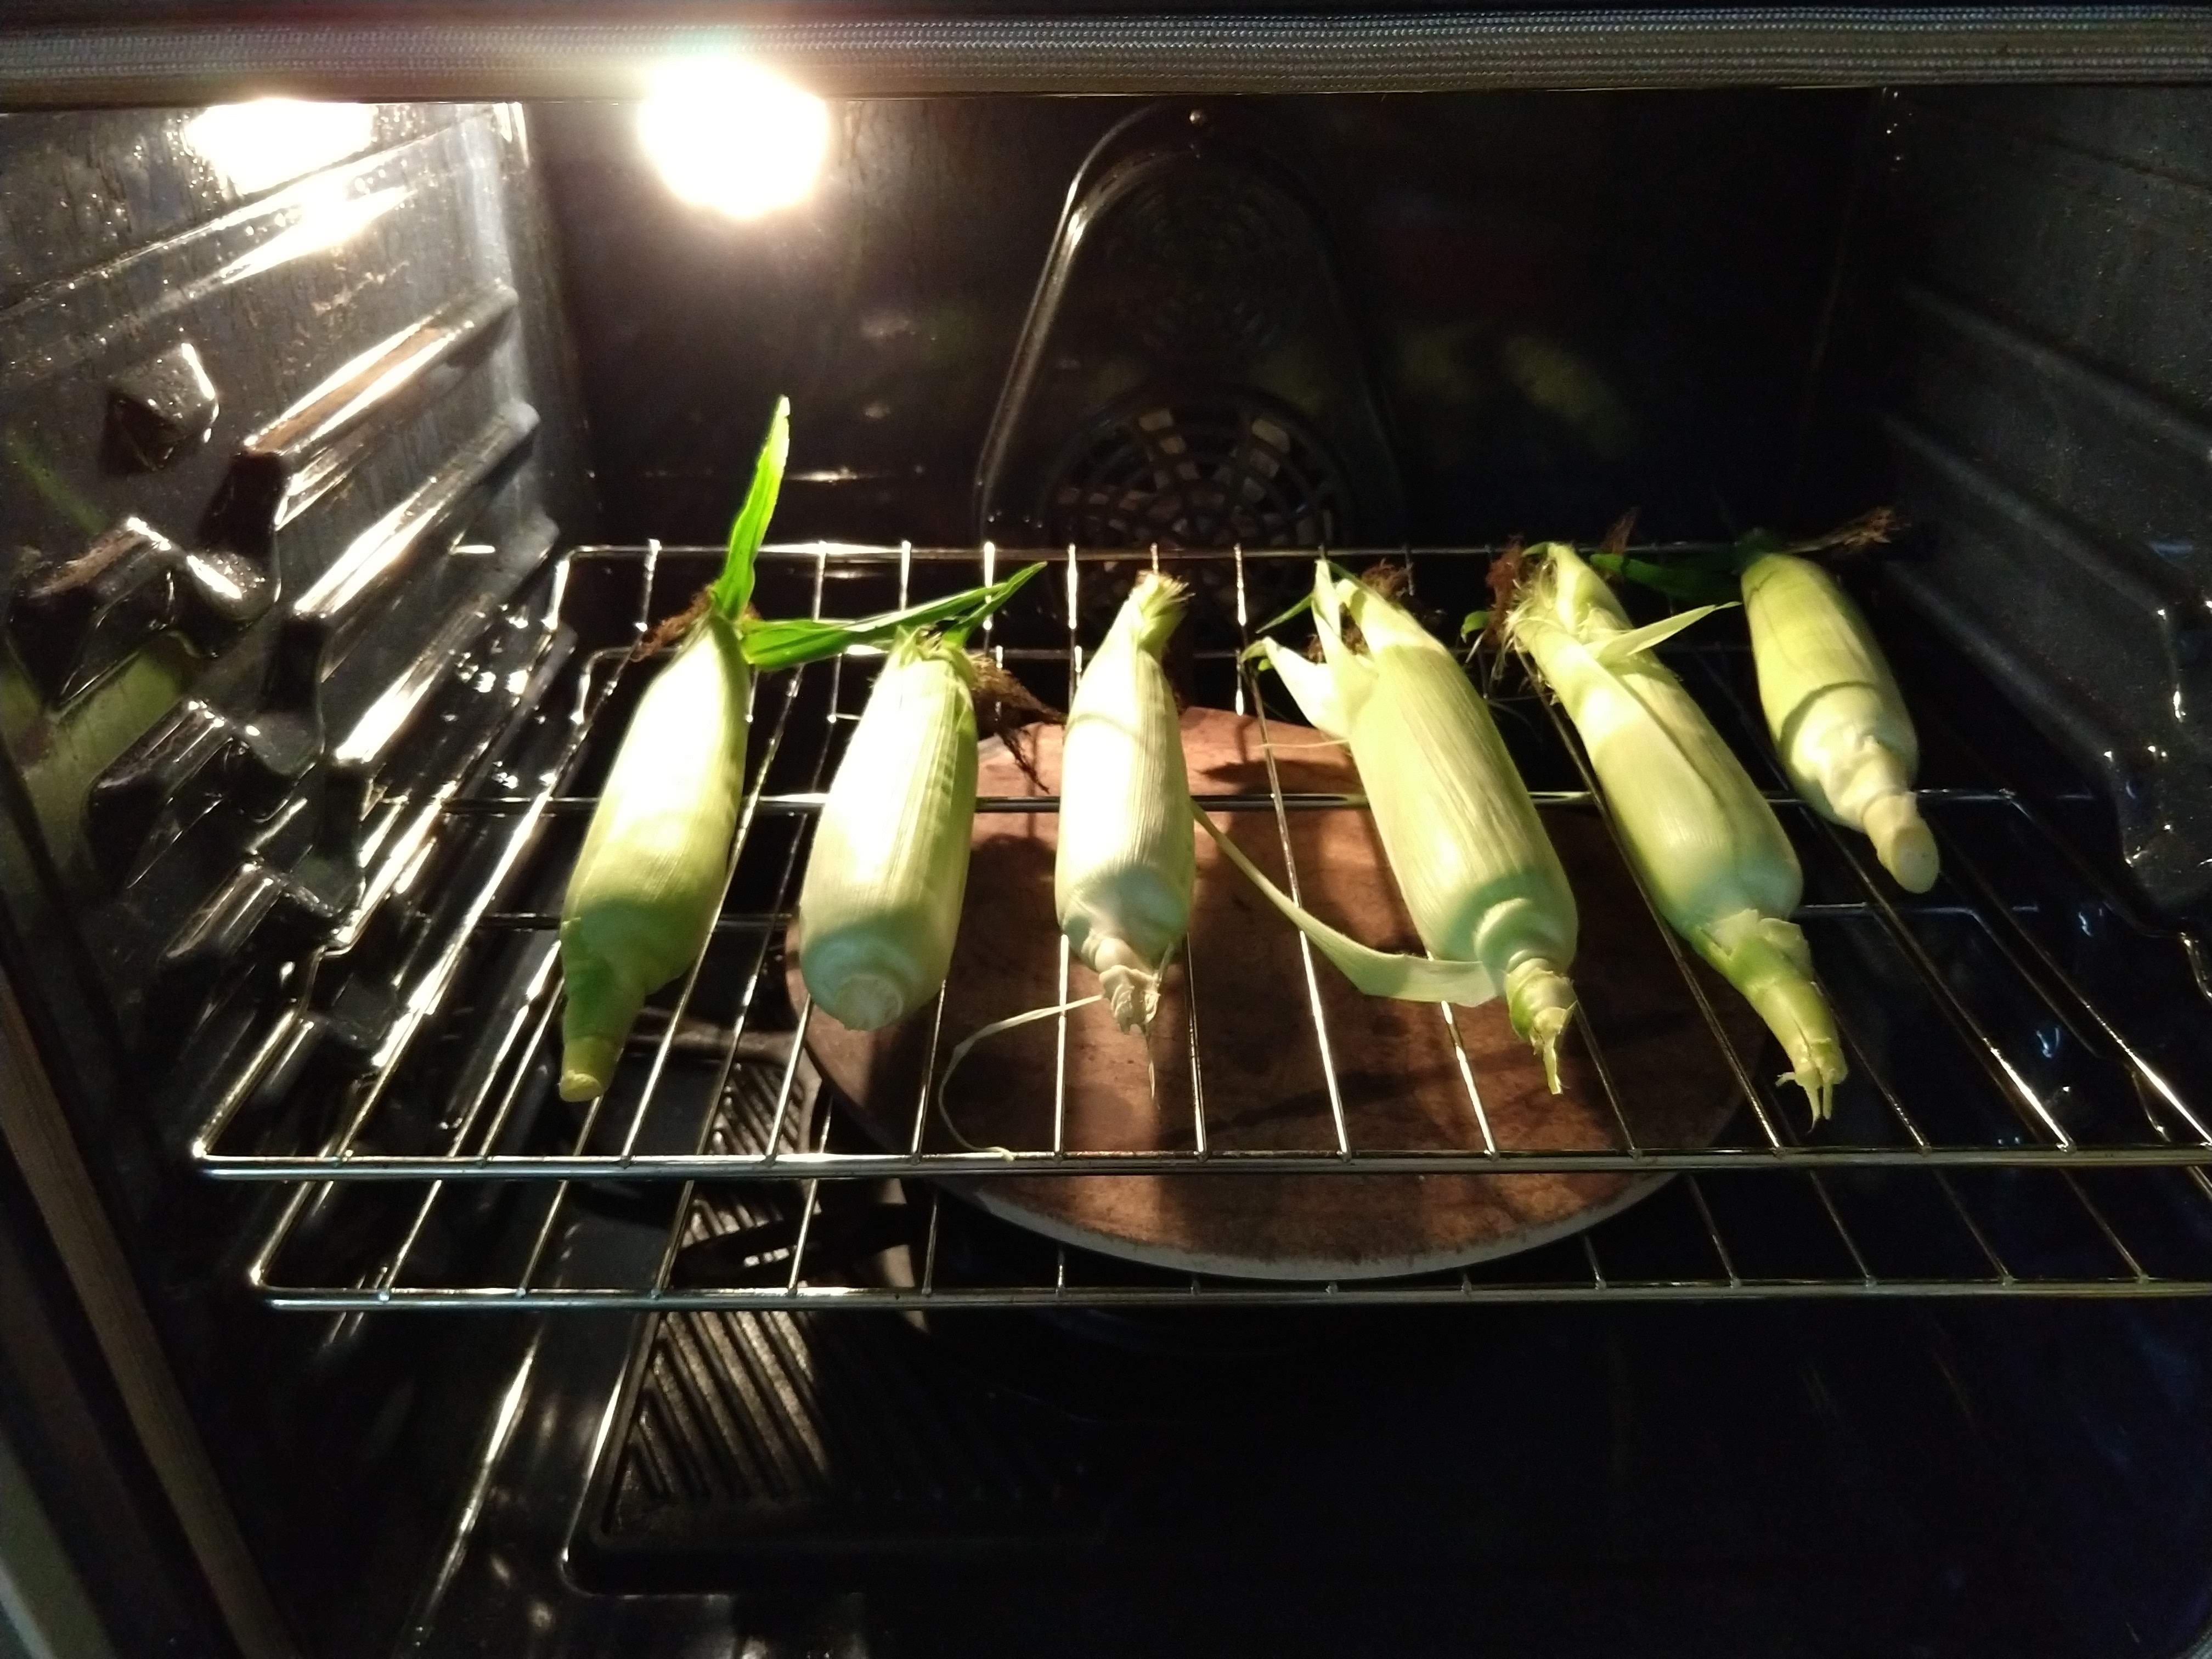 Boiling ears is fine, but Mr. Food It Yourself and I like them roasted. Take off just the outer layers of husk. Place the ears on the rack of a 350F oven and let them go for about 30 minutes.
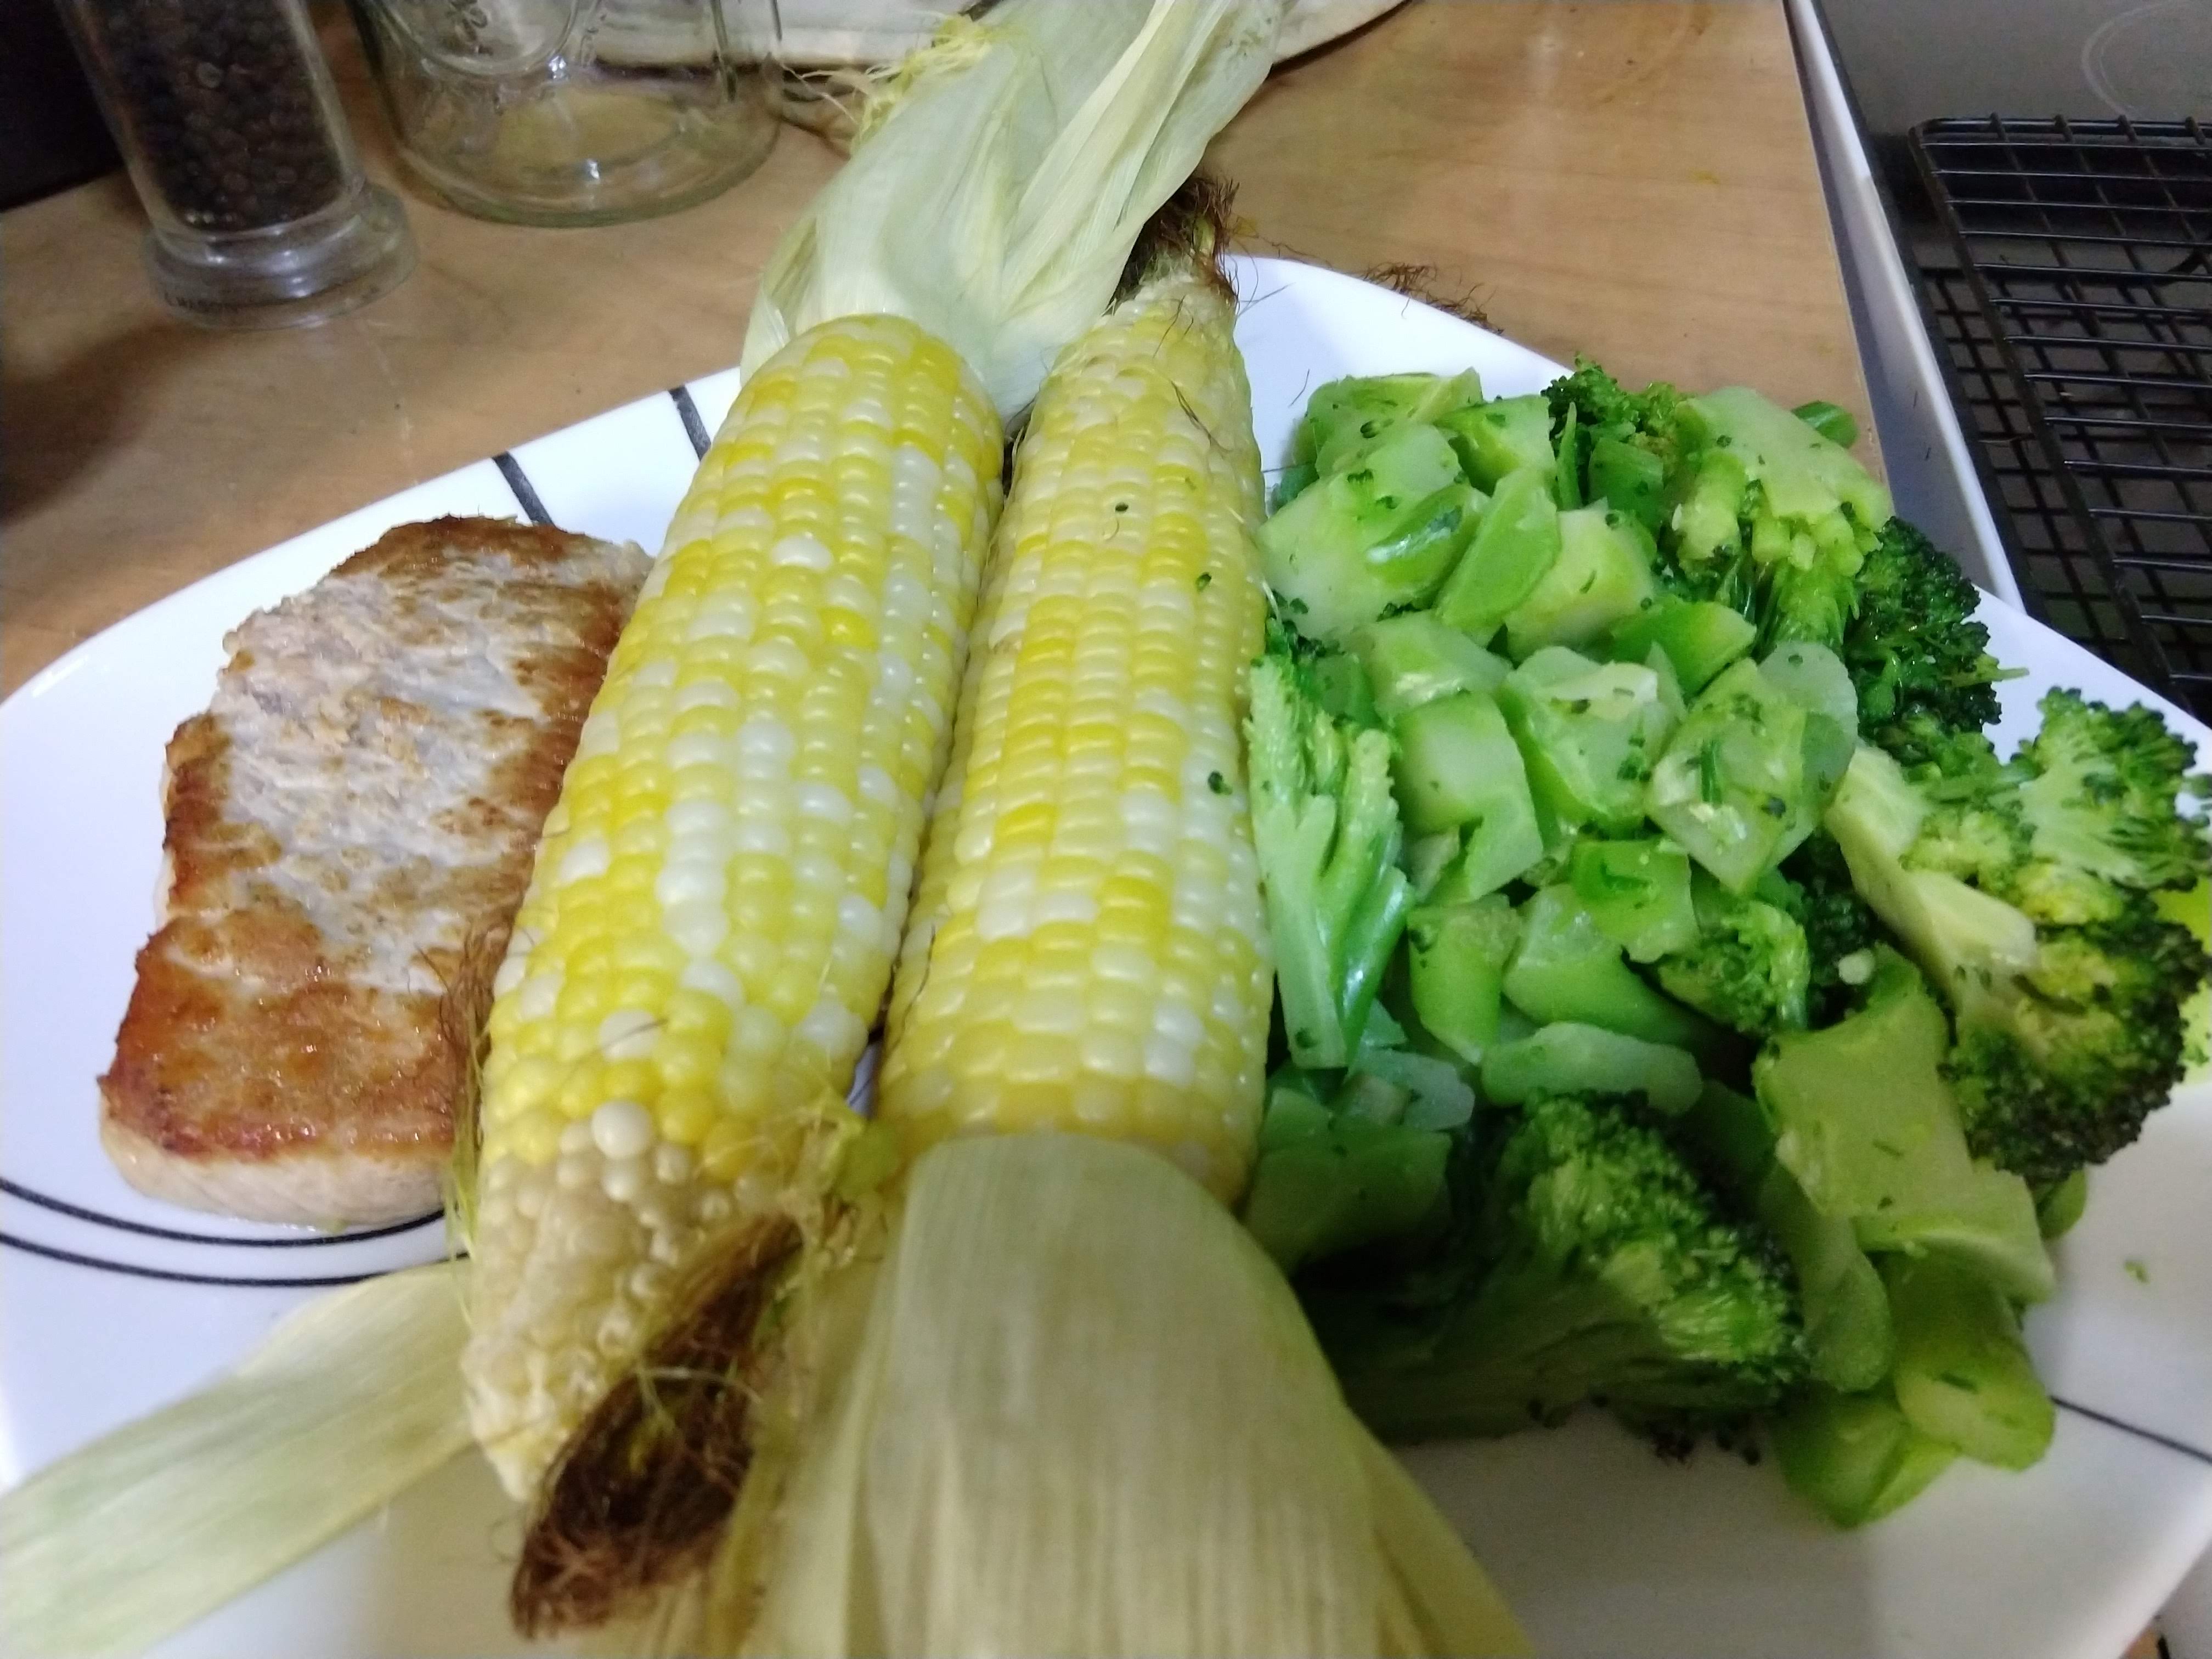
How pretty is that plate? They were not the sweetest ears of corn I ever had. I think the flavor got a little watered down in the rain. Mr. Food It Yourself agreed. On the positive side, the ears did not taste swampy and were not infested with bugs or mold. I think this is my garden win for 2018.
The next morning, however, I had a realization. All of the corn was ready to harvest, and we have too much to eat in one sitting. Thankfully, freezing corn on the cob is very easy.  Step one: pick and shuck all the corn. A few ears had some insect damage. Admittedly, I slacked off on my usual insect control routine during the rain. Don’t worry, these ears still got eaten. I’ll show you at the end of the post.
 Step two: a good soak in the (very very clean) sink. there might be a bug or three left in there. While they are soaking you’ll also want to remove as much of the silk as humanly possible.
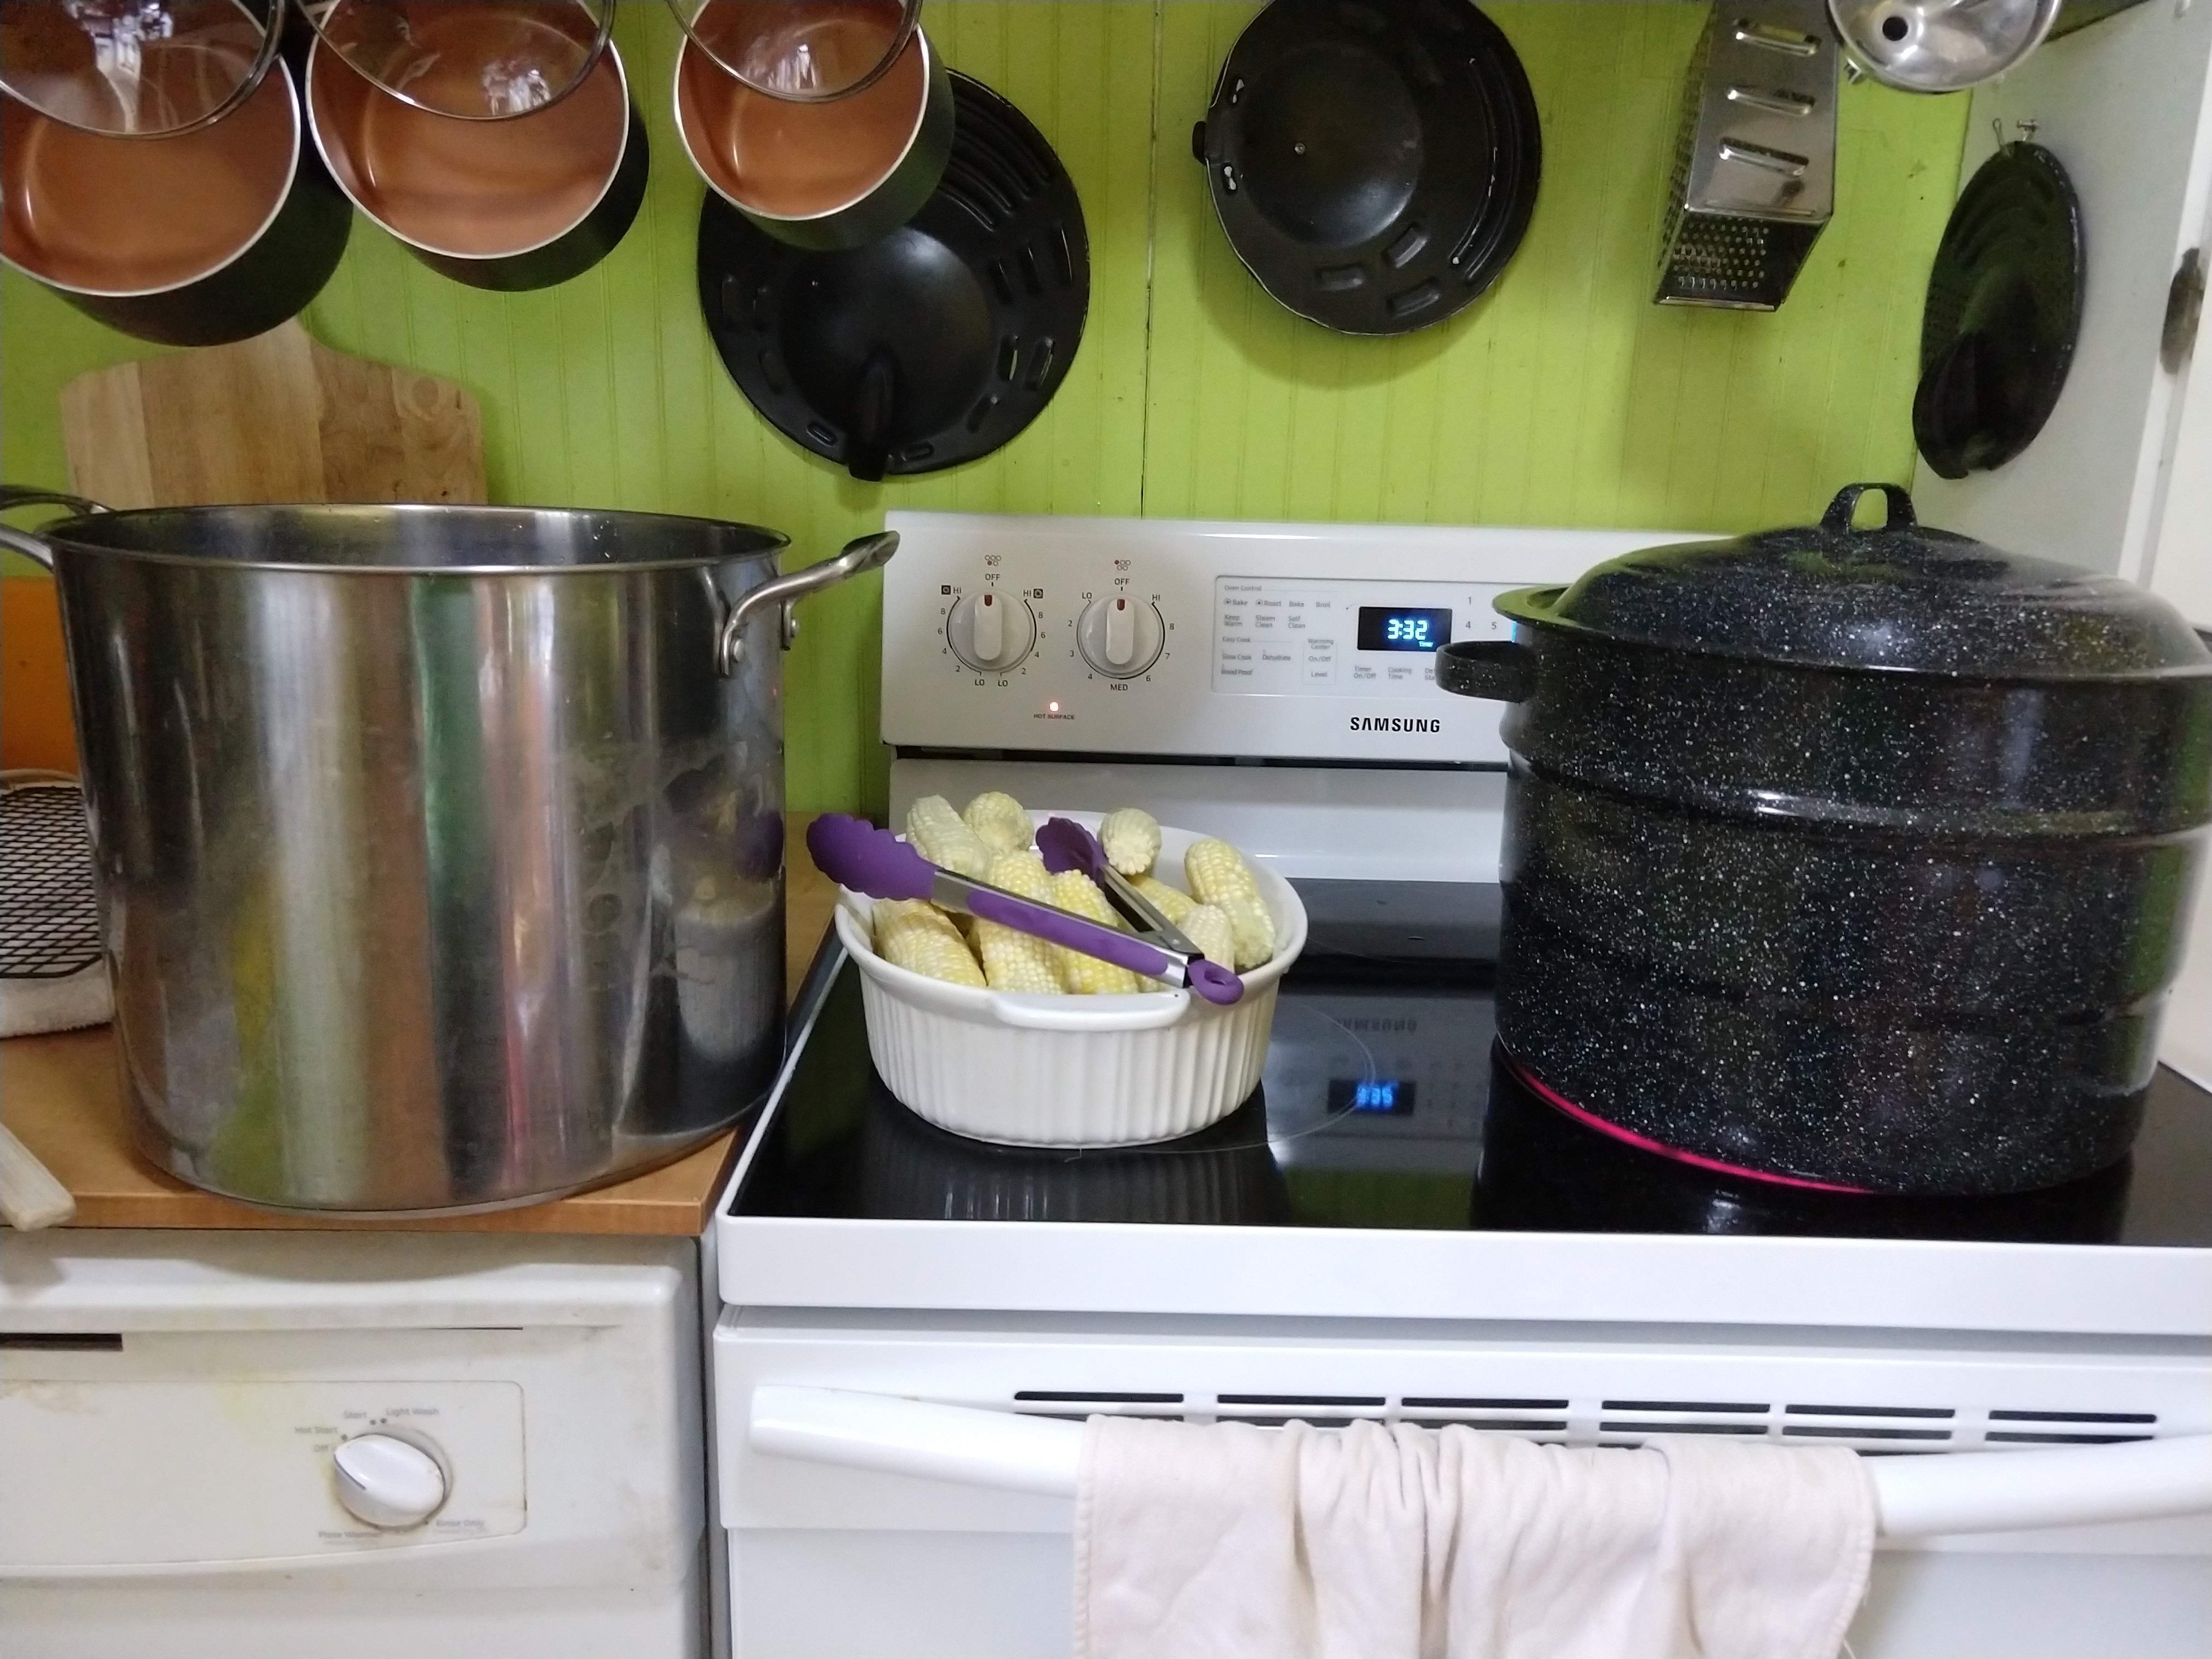 Step 3: Blanch the corn. When you harvest fruits and vegetables they are still biochemically active. I know, that is a little creepy to think about. The sugar in corn starts turning into starch through the action of enzymes. To keep the sweetness we need to deactivate the enzymes with a quick burst of heat and then a fast cool down. The kettle on the right is full of boiling water, the kettle on the left is full of ice water. Boil ears for 4-8 minutes (the thicker the cob the longer the boil) then move right to the chiller. You want them in the ice water for the same length of time you had them in the boiling water.
 Step 4: drain chilled cobs, bag, label, and move to the freezer. Blanched ears of corn can stay tasty in the freezer for up to six months!
Yes, I am thoroughly mortified that I have to buy zucchini this year. Yes, I will be missing home made ketchup for the next year. There are a lot of things that are going well, though. I am really trying not to be discouraged about this gardening season. My herbs are doing very well. My watermelons are not getting ripe, but they did not rot in the rain either, so we’ll see what happens. I even planted a fall crop of beans and peas that soaked up the rain and are growing at record speed. Hopefully the woodchucks are adequately baffled by my chicken wire fencing. I am so proud of how our corn crop turned out. Hopefully, next year we will have less extreme weather and sweeter corn; we are definitely trying this again.
What is going right in your garden this year? What is going wrong? Share in the comments!
Finally- here is how I used up the insect-damaged ears. Waste not, want not!
