Daddy-Daughter Project- Evicting the Woodchuck

By now, you know all about the woodchuck problem I had this year. In fact, those critters were a problem for both me and my next door neighbor. He managed to get one of the baby chuckies in a trap. Our exterminator almost got the mommy at one point, but she escaped at the last minute. With hibernation season quickly approaching in central Massachusetts we needed to:
- Evict the family of Woodchucks from beneath our shed.
- Make sure no other furry-scurry-garden-muncher was able to move in for the winter, lest said beast decide to stay for the 2019 garden season.
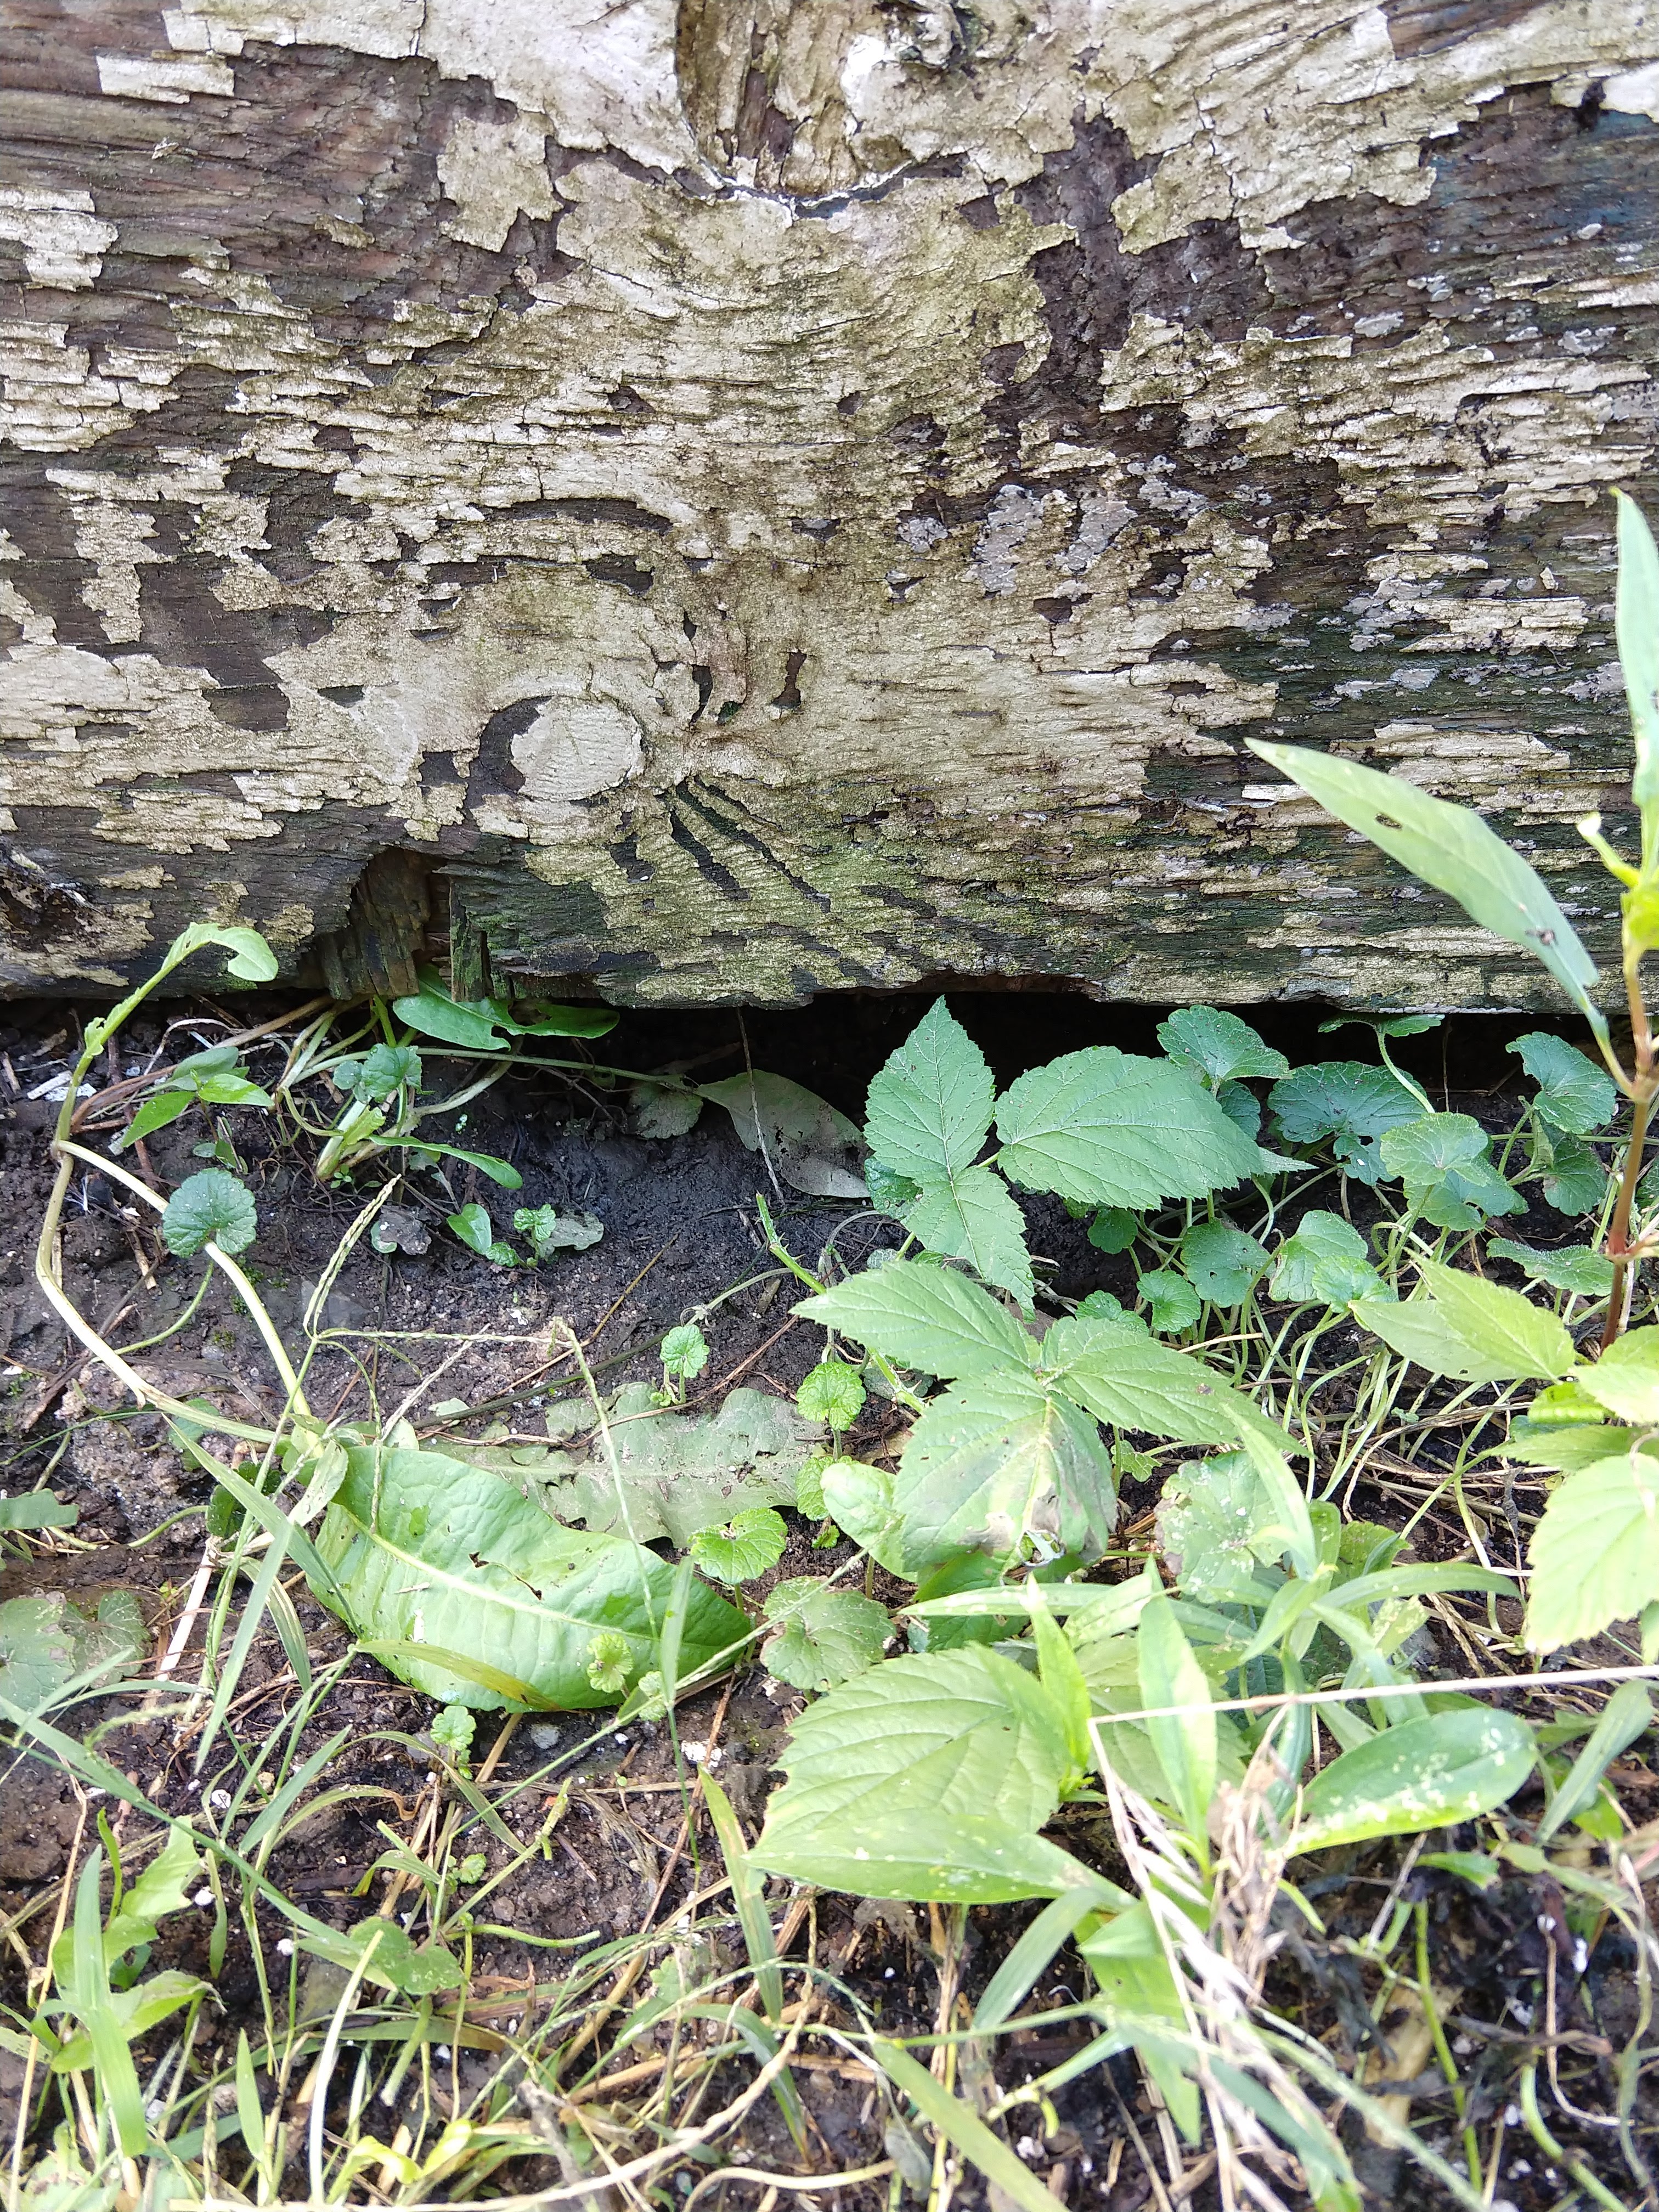
Evidently, this is what the front door to prime rodent real estate looks like.
I am very fond of advising my fellow DIYeters to seek assistance from more experienced gardeners and cooks when it comes to growing or cooking new things. For this preemptive garden pest removal project, I called upon the best problem solver, engineer, and fix-it guy I know- my Dad. (He also has a very strong dad-joke game.)

This is where I found inspiration for how to get rid of the woodchucks. Clearly, we need a new floor in the shed. This hole, right in front of the door, will lead to a catastrophic failure the first time I have to roll out the snow thrower. What to do? We pull up the old floor, make sure the woodchucks are gone, then put down a new floor. A simple double win! That is not how things went down.
Removing all the stuff from the shed was easy. However, as soon as Dad and I began removing the old floor we realized that the shed was somehow both over engineered and poorly constructed. The sills were made of pressure treated 2×6’s. That is good! The plywood floor was neither pressure treated nor sealed in any way. That is bad! The uprights were toe-nailed to the floor with-I kid you not- 8d framing nails. There was no way to pull the nails out and therefore no way to remove the tidbits of old flooring that were sandwiched between the uprights and the floor studs. The floor was fastened to the studs with 4 inch drywall screws. The heads were rusted on all but six of them such that we could not remove them with even our most powerful power driver.
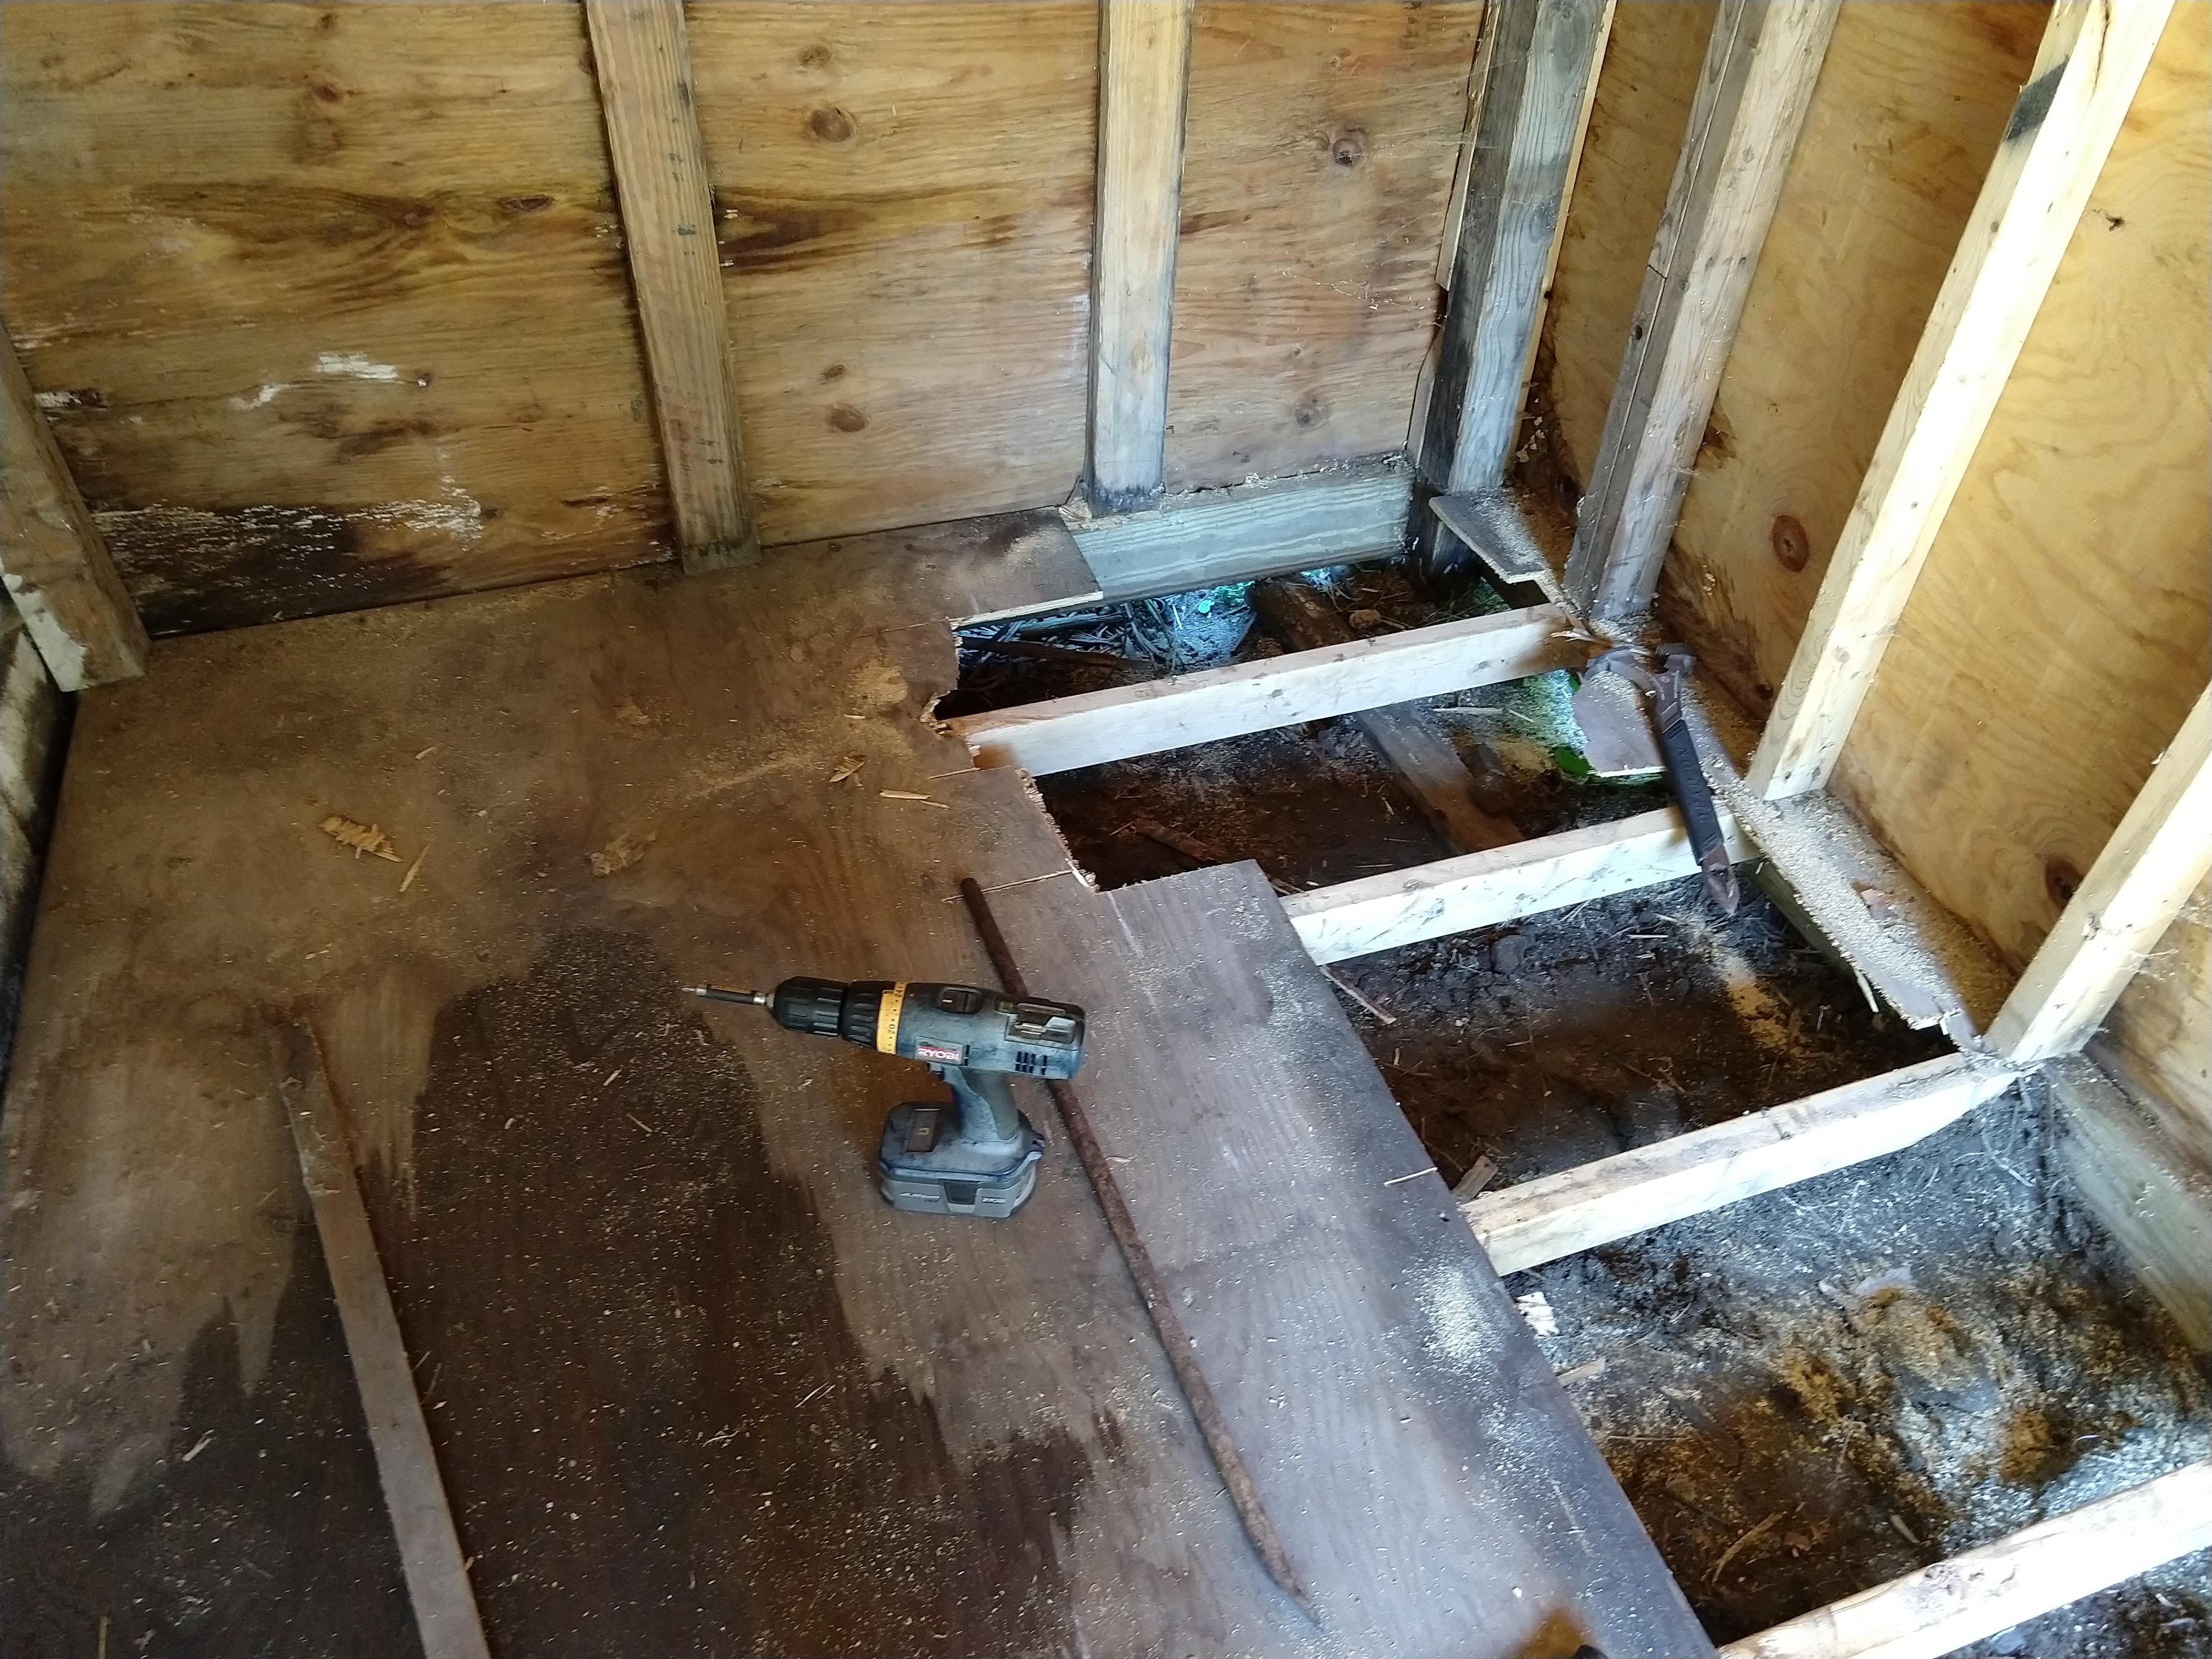
This is what 2 and a half hours of working with two crow bars, a claw hammer, a circular saw and a reciprocating saw got us. Slow, frustrating work to be sure!
After a while, Dad and I worked out a system, and cutting/prying up the old floor went faster. We trimmed the old plywood close to the uprights with Mr. Food it Yourself’s new oscillating multi-tool. We leveled the rusty screw heads that protruded from the floor studs with the reciprocating saw. Then, we notched the new pressure-treated plywood flooring to match the contours of the uprights. Finally, the new floor was secured with properly rust resistant decking screws. I do not have too many pictures of the process, as power tools and digital cameras do not mix well, but here are some highlights.
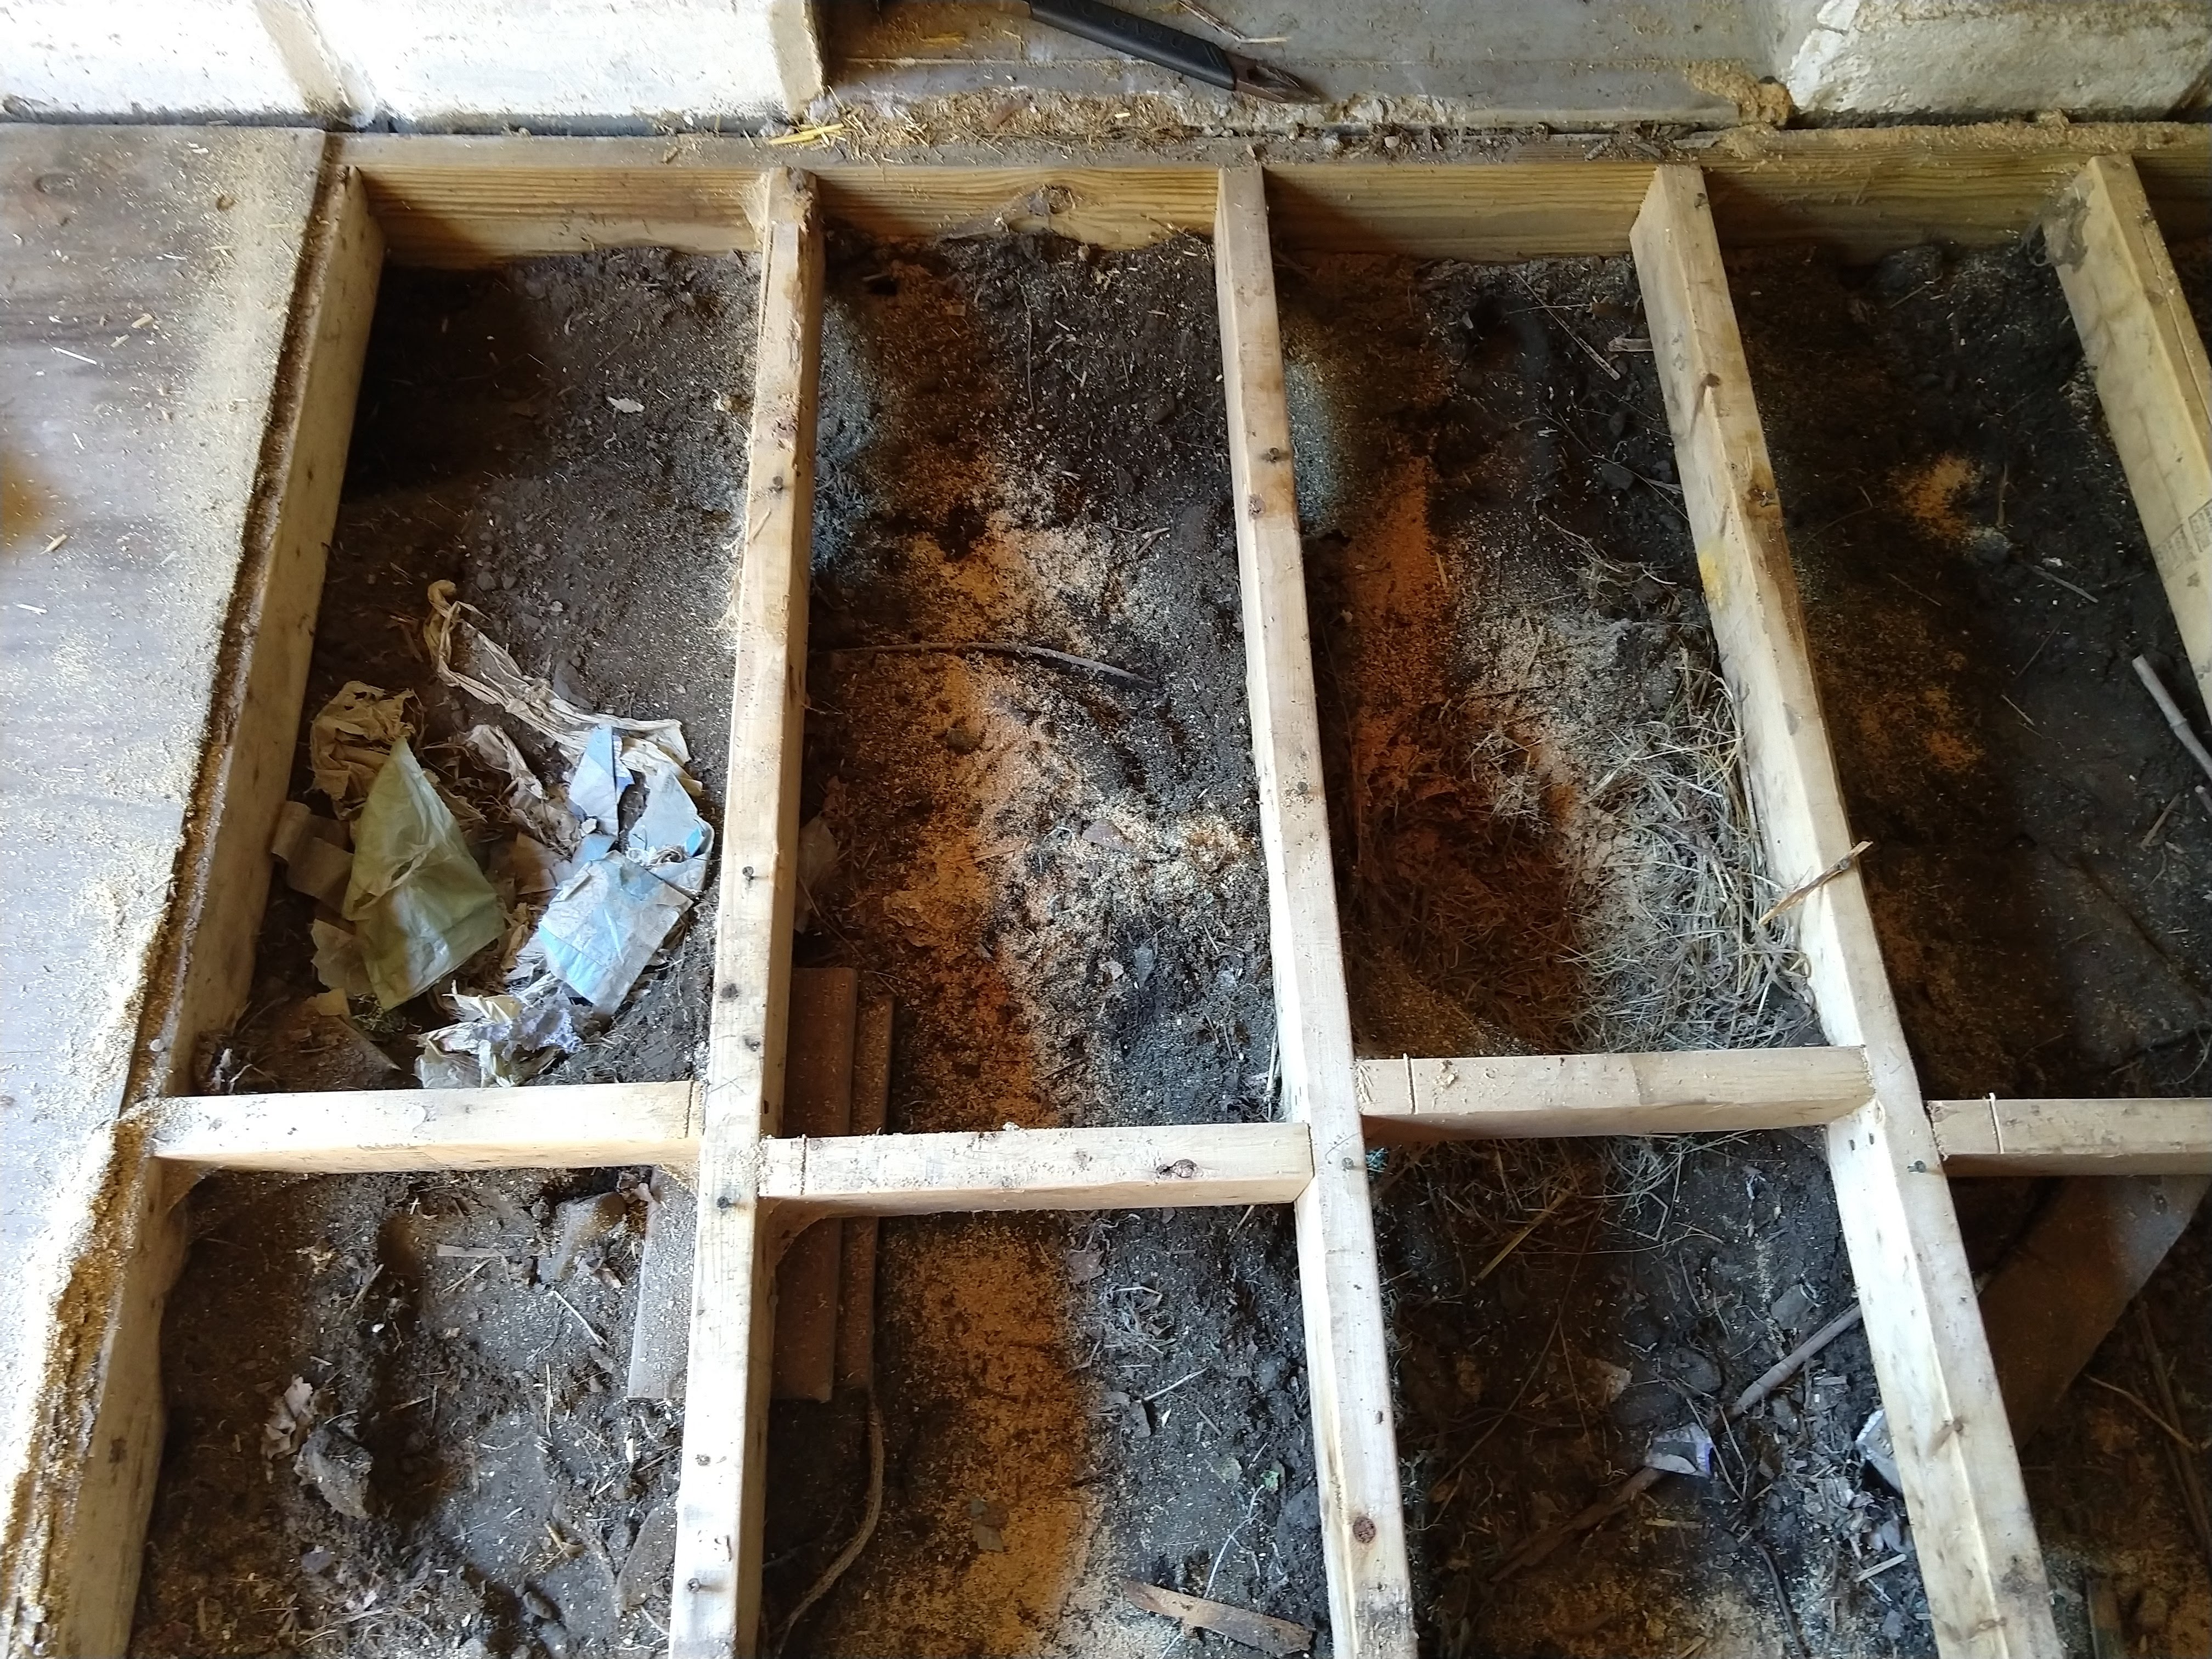
Turns out the Woodchuck Estate is a duplex. Note the traditional style of the unit on the right (lined with native grasses and clover) and the ultra modern unit on the left (lined with shopping bags). We also spotted evidence of a small in-law apartment that was under construction. Thankfully, it looks like the chuckies have already moved out. I was prepared to start chasing them with a broom if need be.
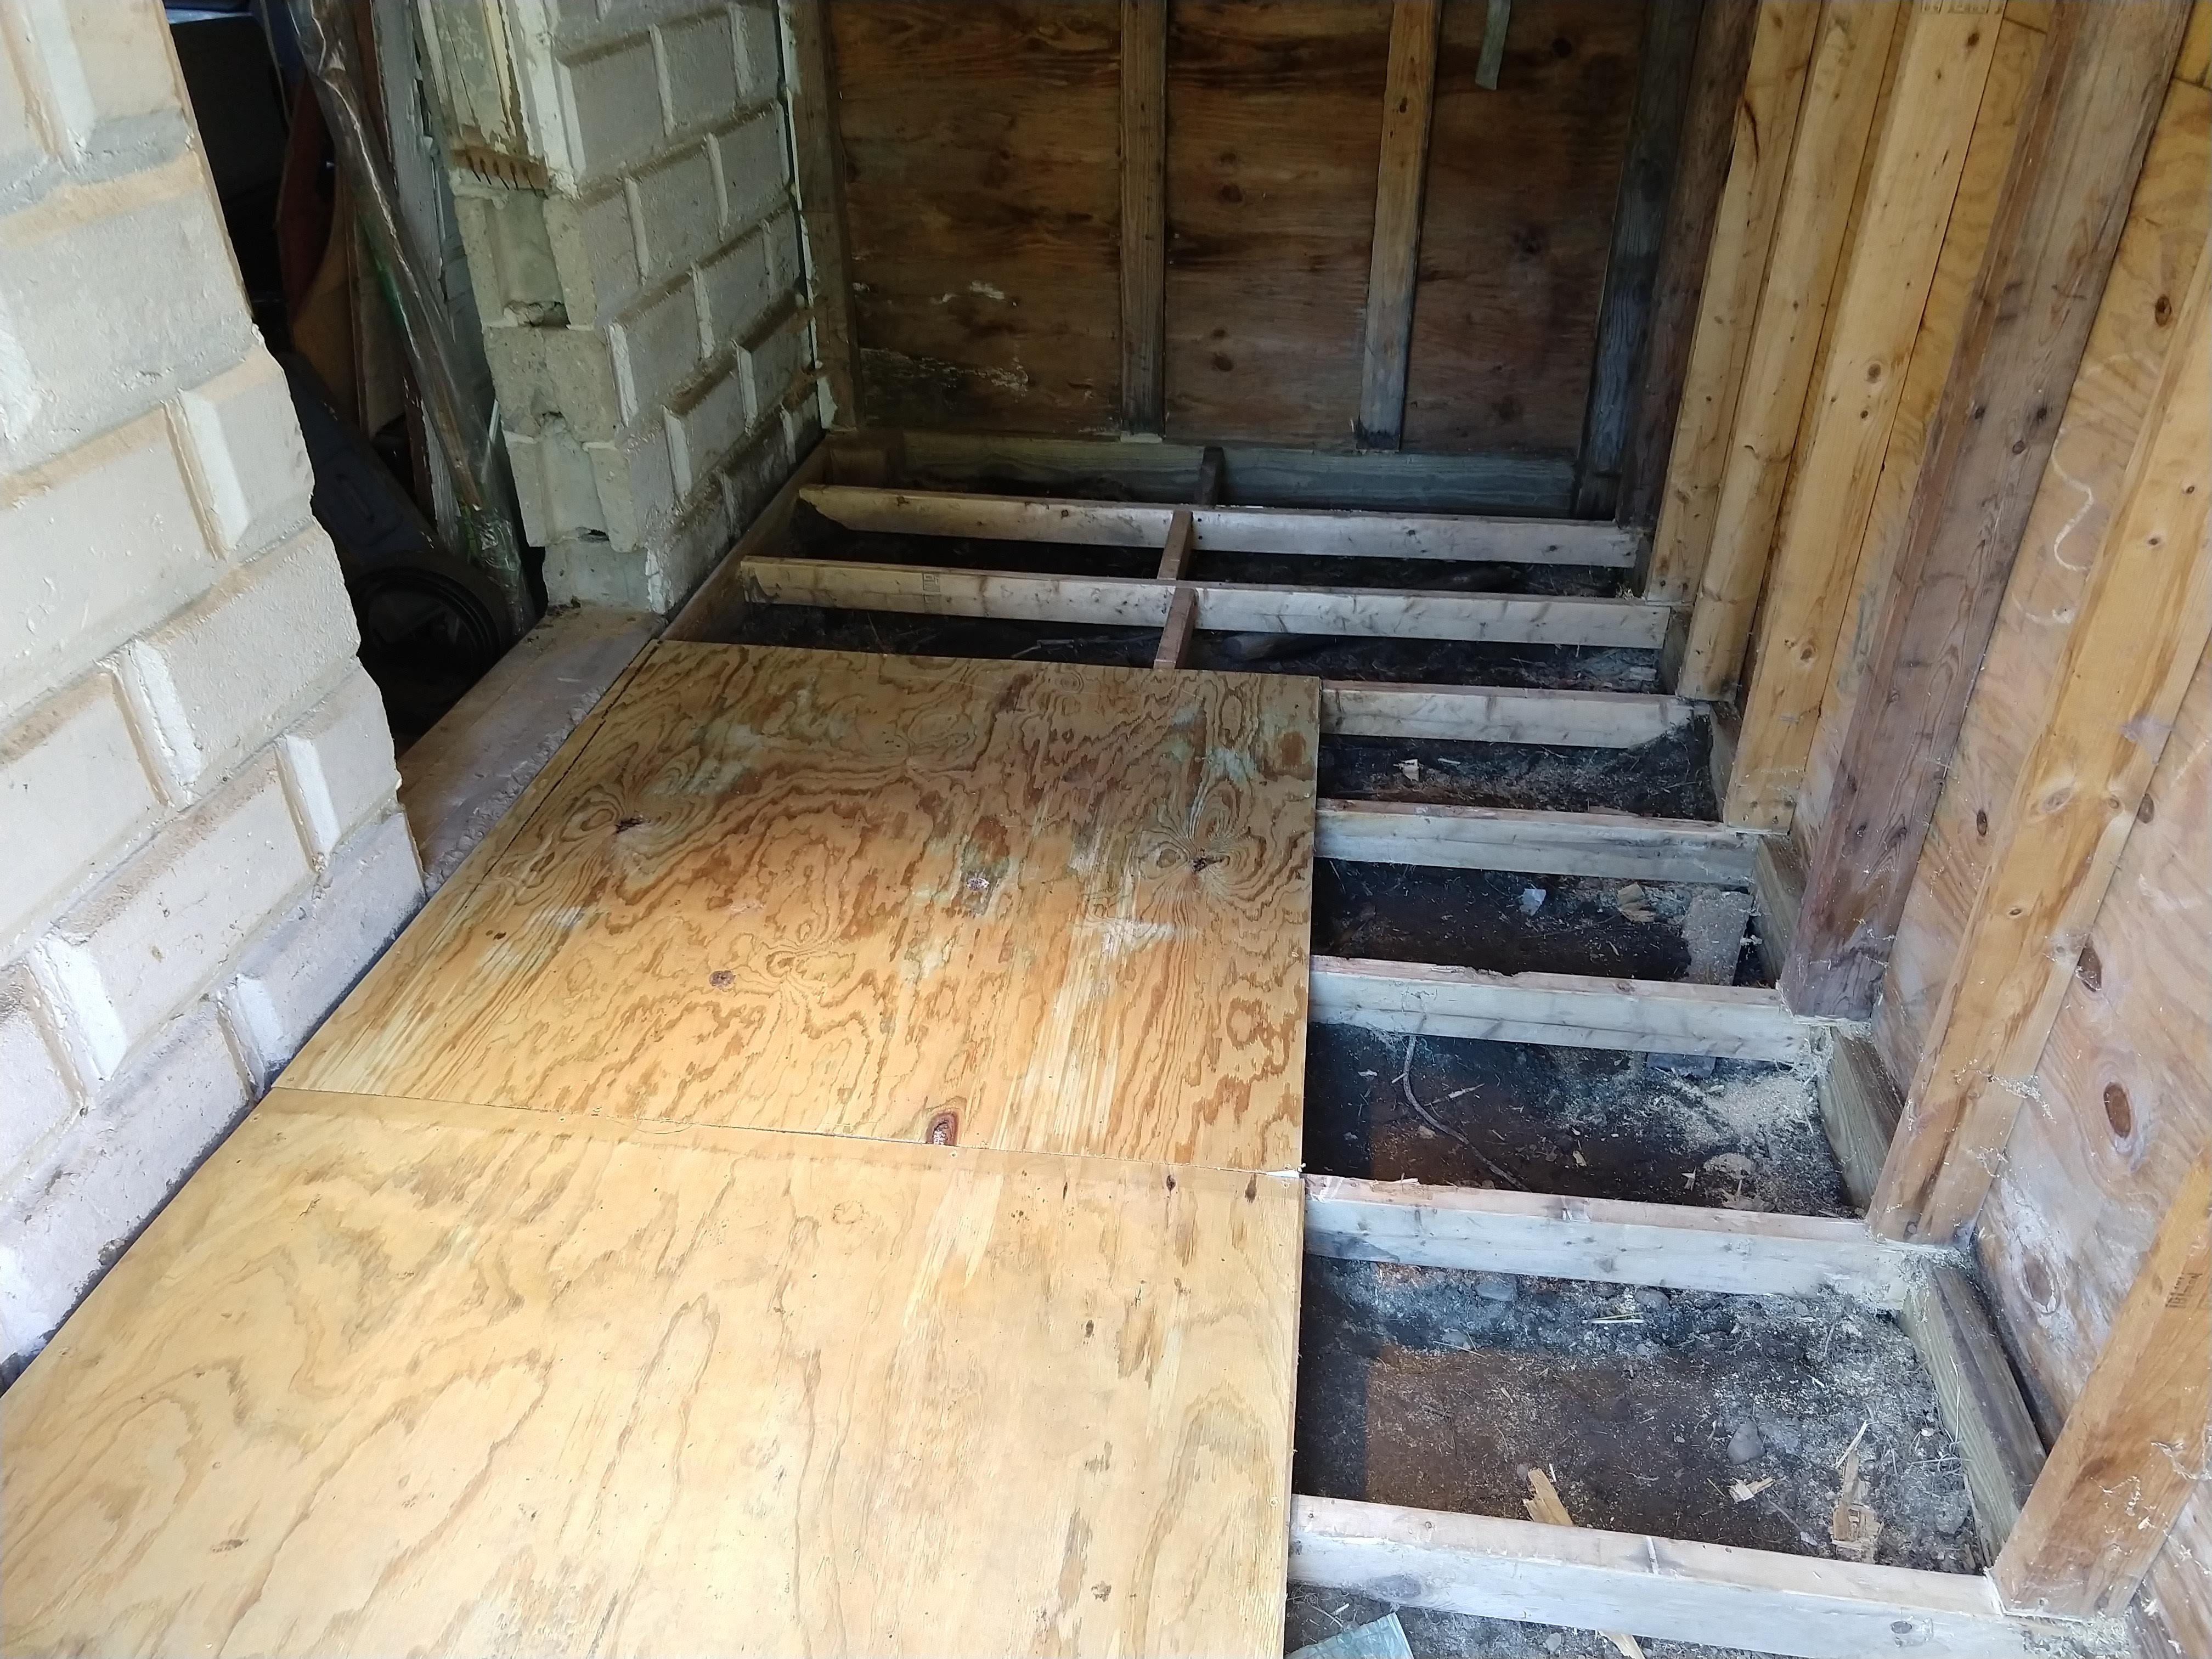
There’s something about smooth, flat, freshly installed plywood flooring that is just so satisfying. These two pieces were easy- no major notches needed to be cut. The rest were a little trickier. Thankfully, Dad is a wizard at measuring and planning for cuts. I did not inherit his linear mind.

Here we see Mr. Food It Yourself securing the last floorboard.
From the time I started clearing out the shed to putting all the stuff back in on the new floor about 10 hours had past. Dad was there for seven and a half of them. That’s nearly an entire work day! How awesome is Dad? Very awesome indeed.
It only remained to prevent further occupation under the shed. That was actually the easy part. It took just a few hours the next day. Observe-
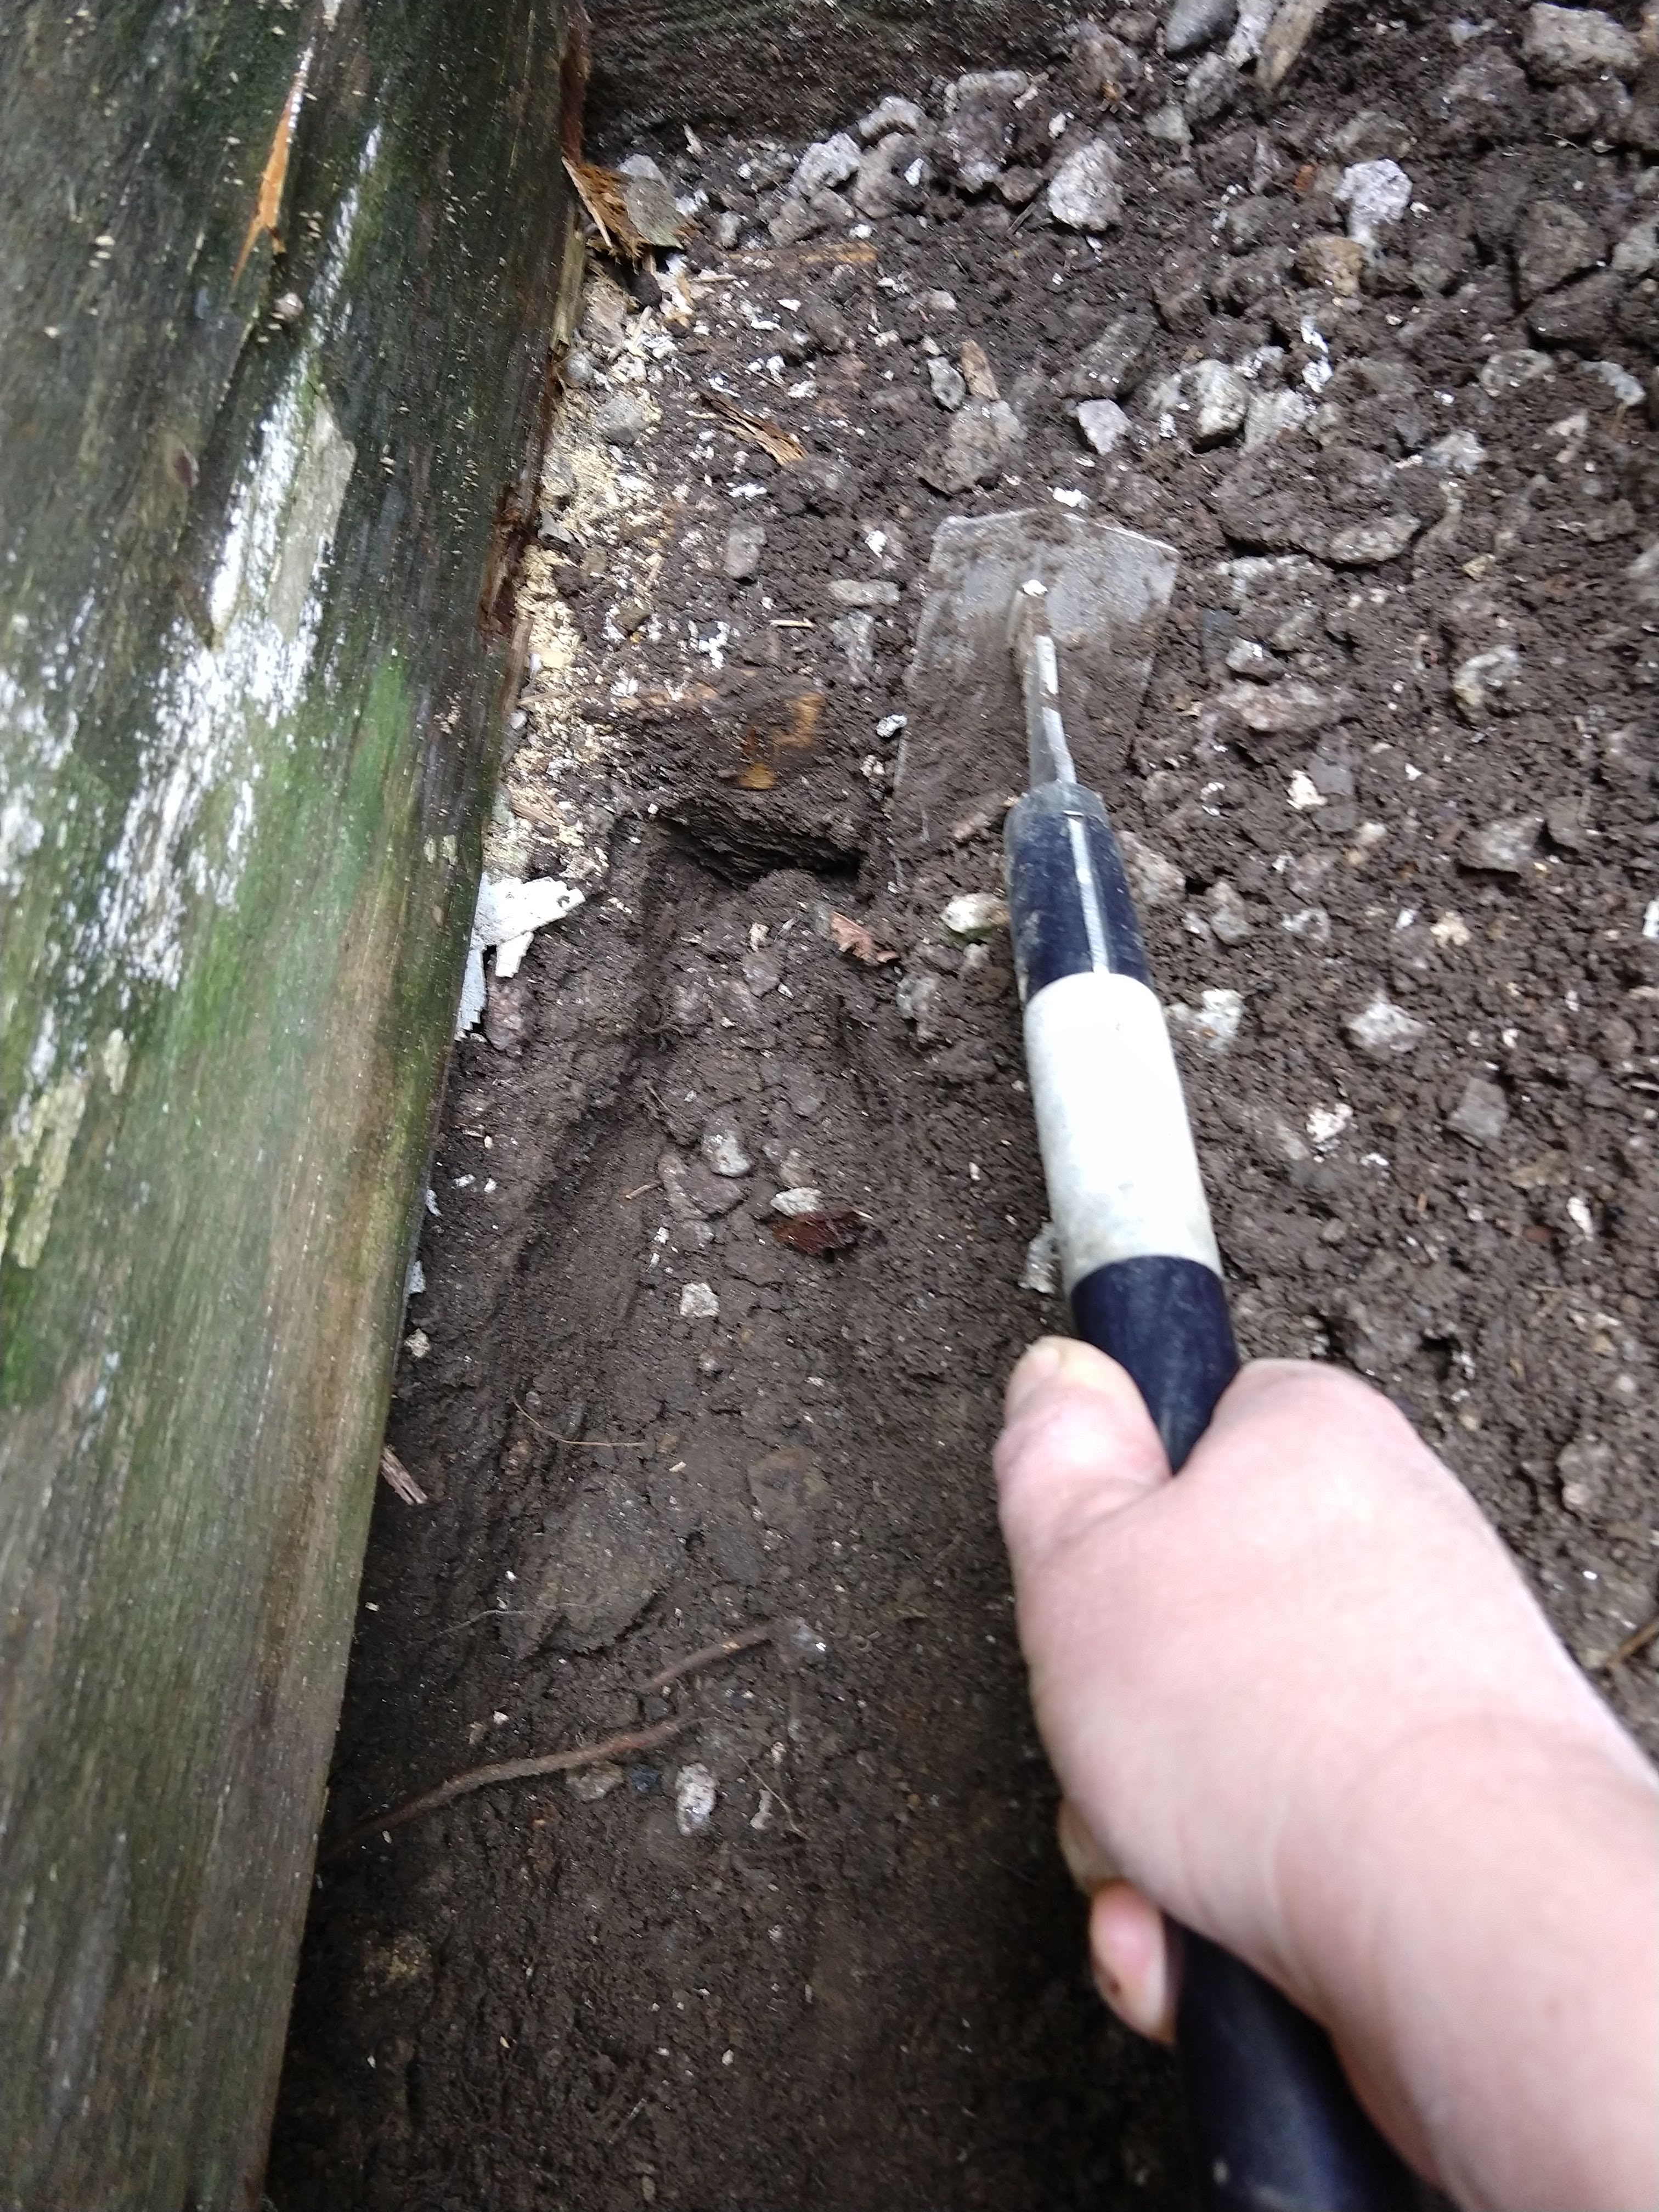
First, I dug a narrow trench around the perimeter of the shed. Our soil is stony by nature, and a previous owner had covered the area with gravel. I was able to rip through it with my Japanese-style hoe. If you have stony or extra heavy soil in your garden one of these is a good investment.

Next, I cut chicken wire to span from the bottom of the trench up the outside wall of the shed. This effectively barres the door and hopefully will prevent rodent squatters on the property.
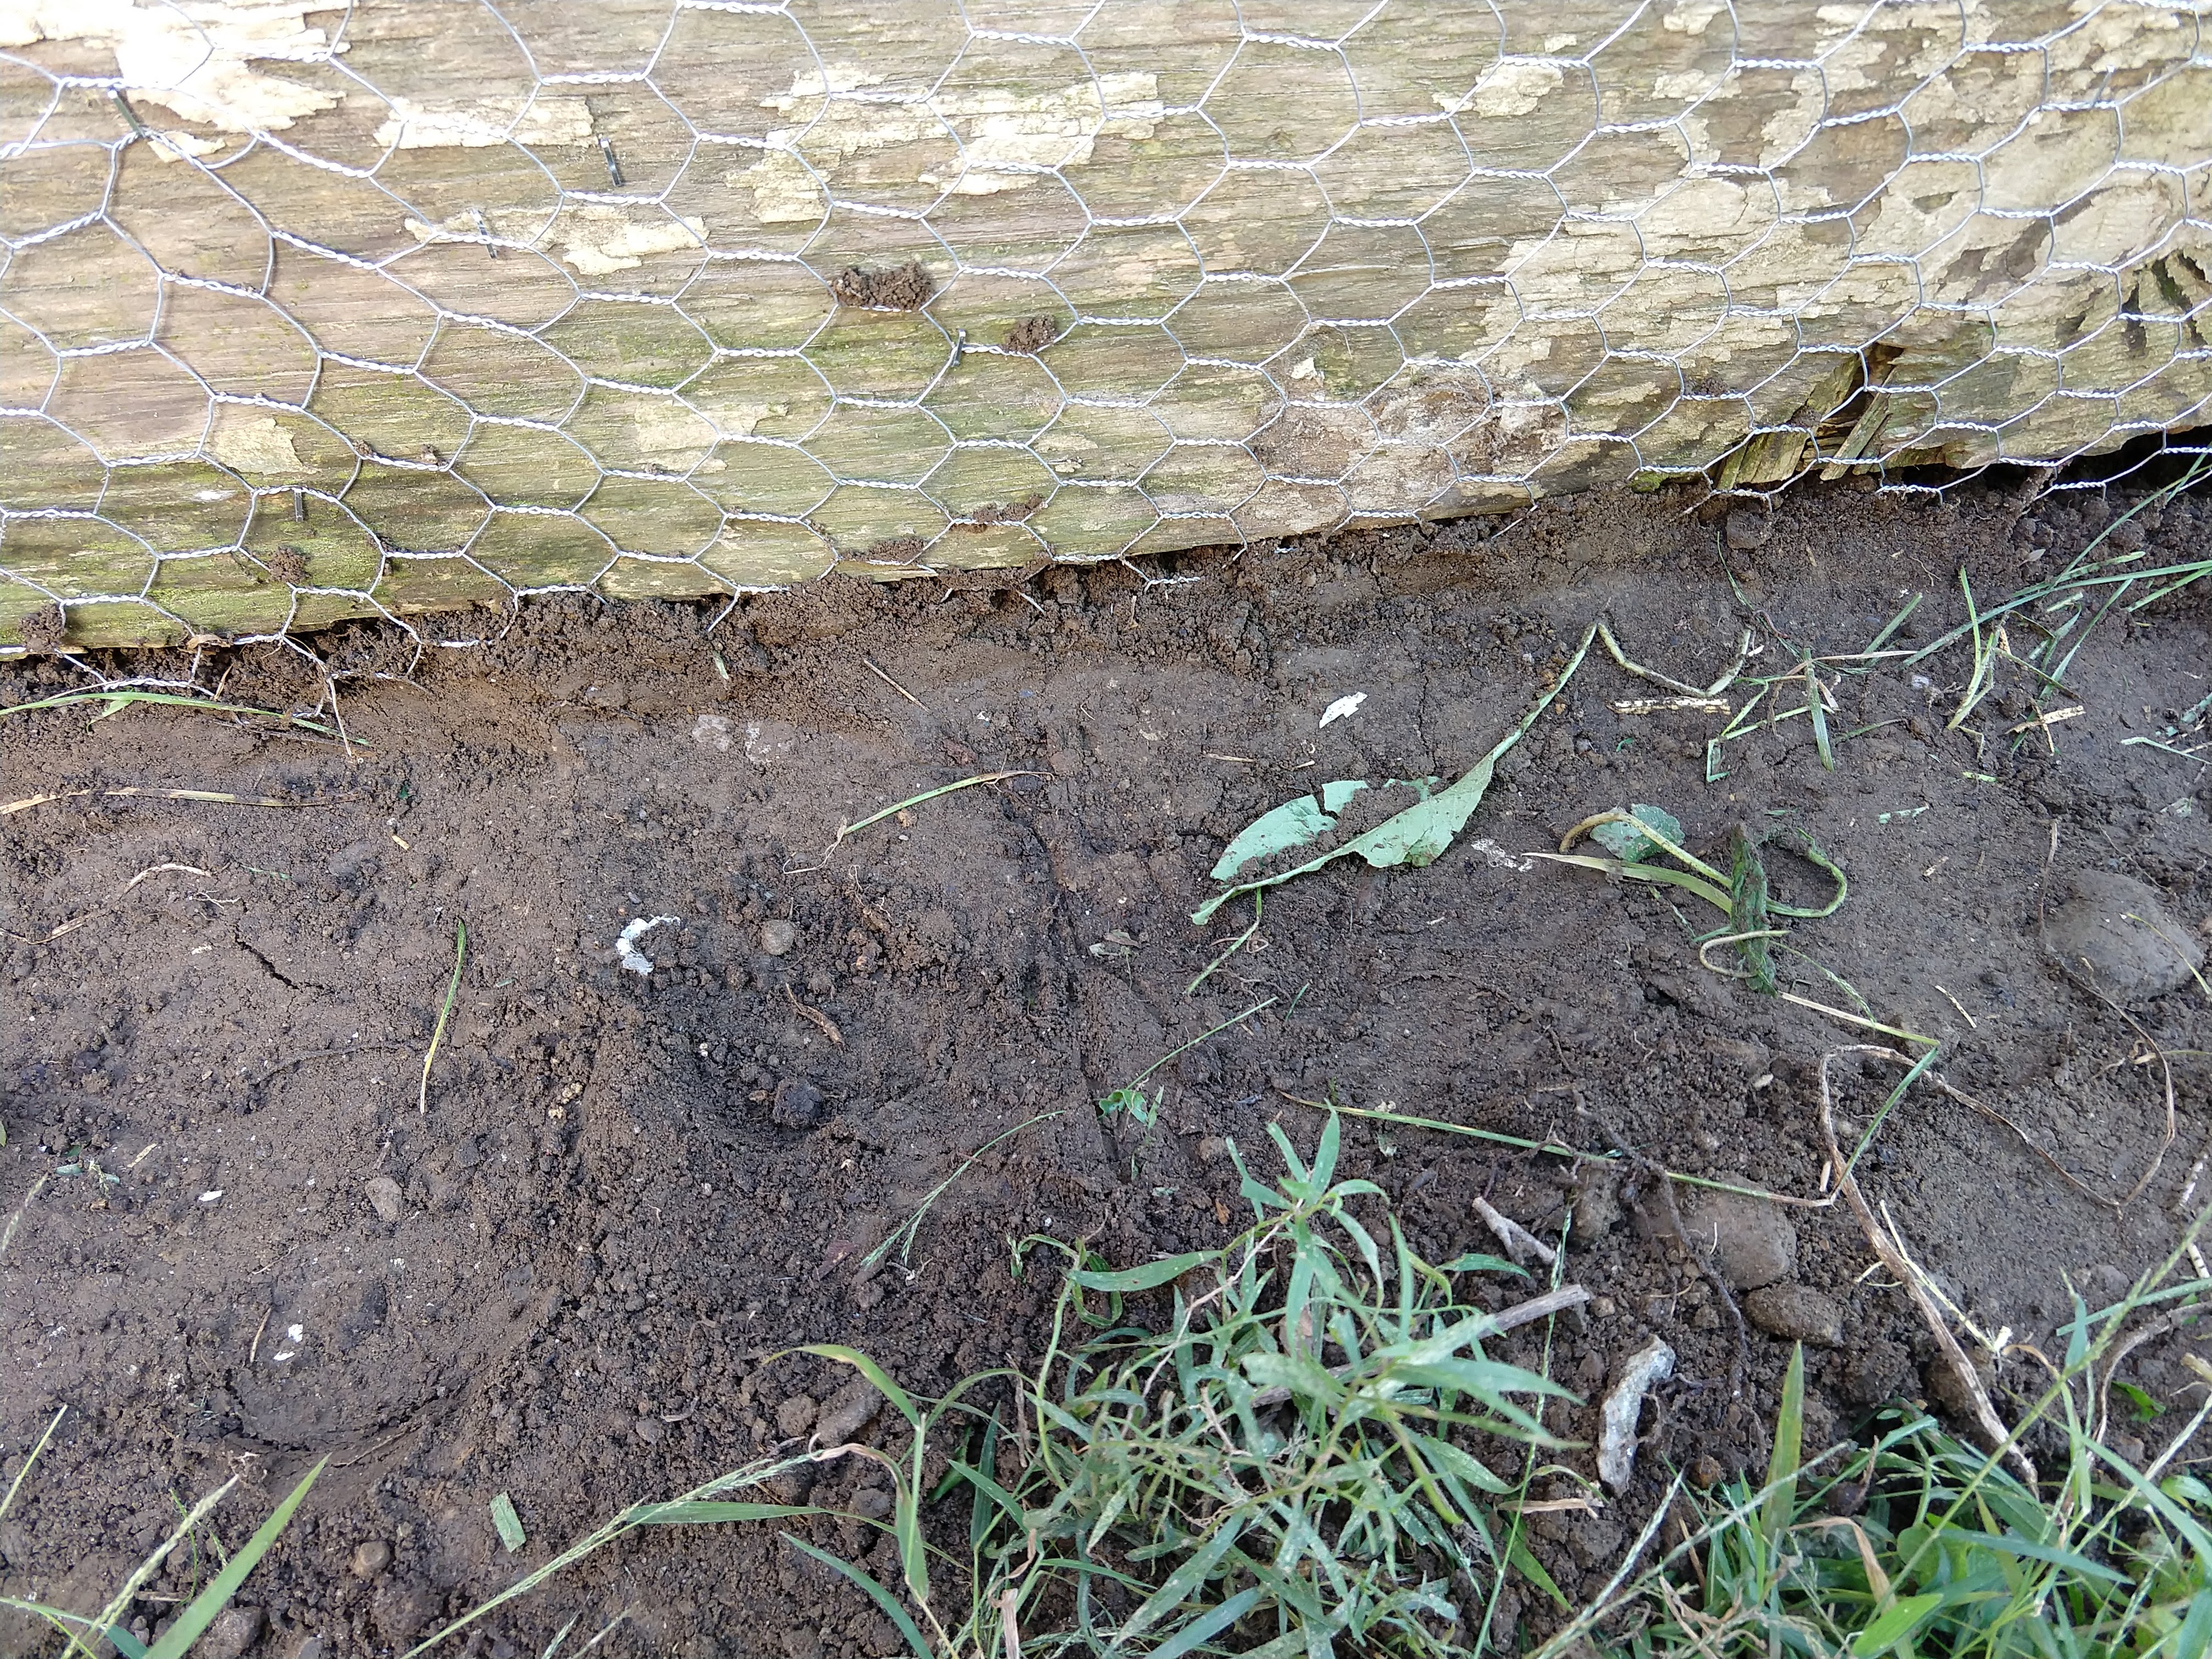
I stapled the chicken wire in place and back filled the trench, and packed the soil down. It will settle more in the next week or two, and I will add another layer of soil . Take THAT woodchucks (and skunks, and rabbits…)
I love spending time with my family. Even at my age I still love daddy-daughter projects. Even though this one was more complicated, and took much longer than I had planned, it was still fun. I am immensely thankful Dad is willing and able to help me make my garden the DIYet depot that it is. Who is your favorite cooking, gardening, or landscaping partner? Share in the comments!
