How to Pick Up Chicks Part 2- Go Get ’em!
It happened! We have our baby chicks. It took a lot of planning and preparation, but our six baby egg suppliers are growing and chirping in the spare room of the Food It Yourself house.

Finding a way to exclude D0ttMatrix (the Food It Yourself cat) from the spare room was a major priority. Thankfully, Mr. Food It Yourself and my father were able to design and create a door for the oddly-shaped doorway. I think it looks good.
Next, we needed a brood box. Chicks are small and move quickly. Also, they need to be kept warm. There are plenty of options available for purchase on the internet, but you know how we DIY things around here. Mr. Food It Yourself managed to find a large wooden packing crate bound for the dumpster at work. We lined it with craft paper, since very young chicks can get sick from eating loose bedding material. We will switch to pine shavings when they are a little older.
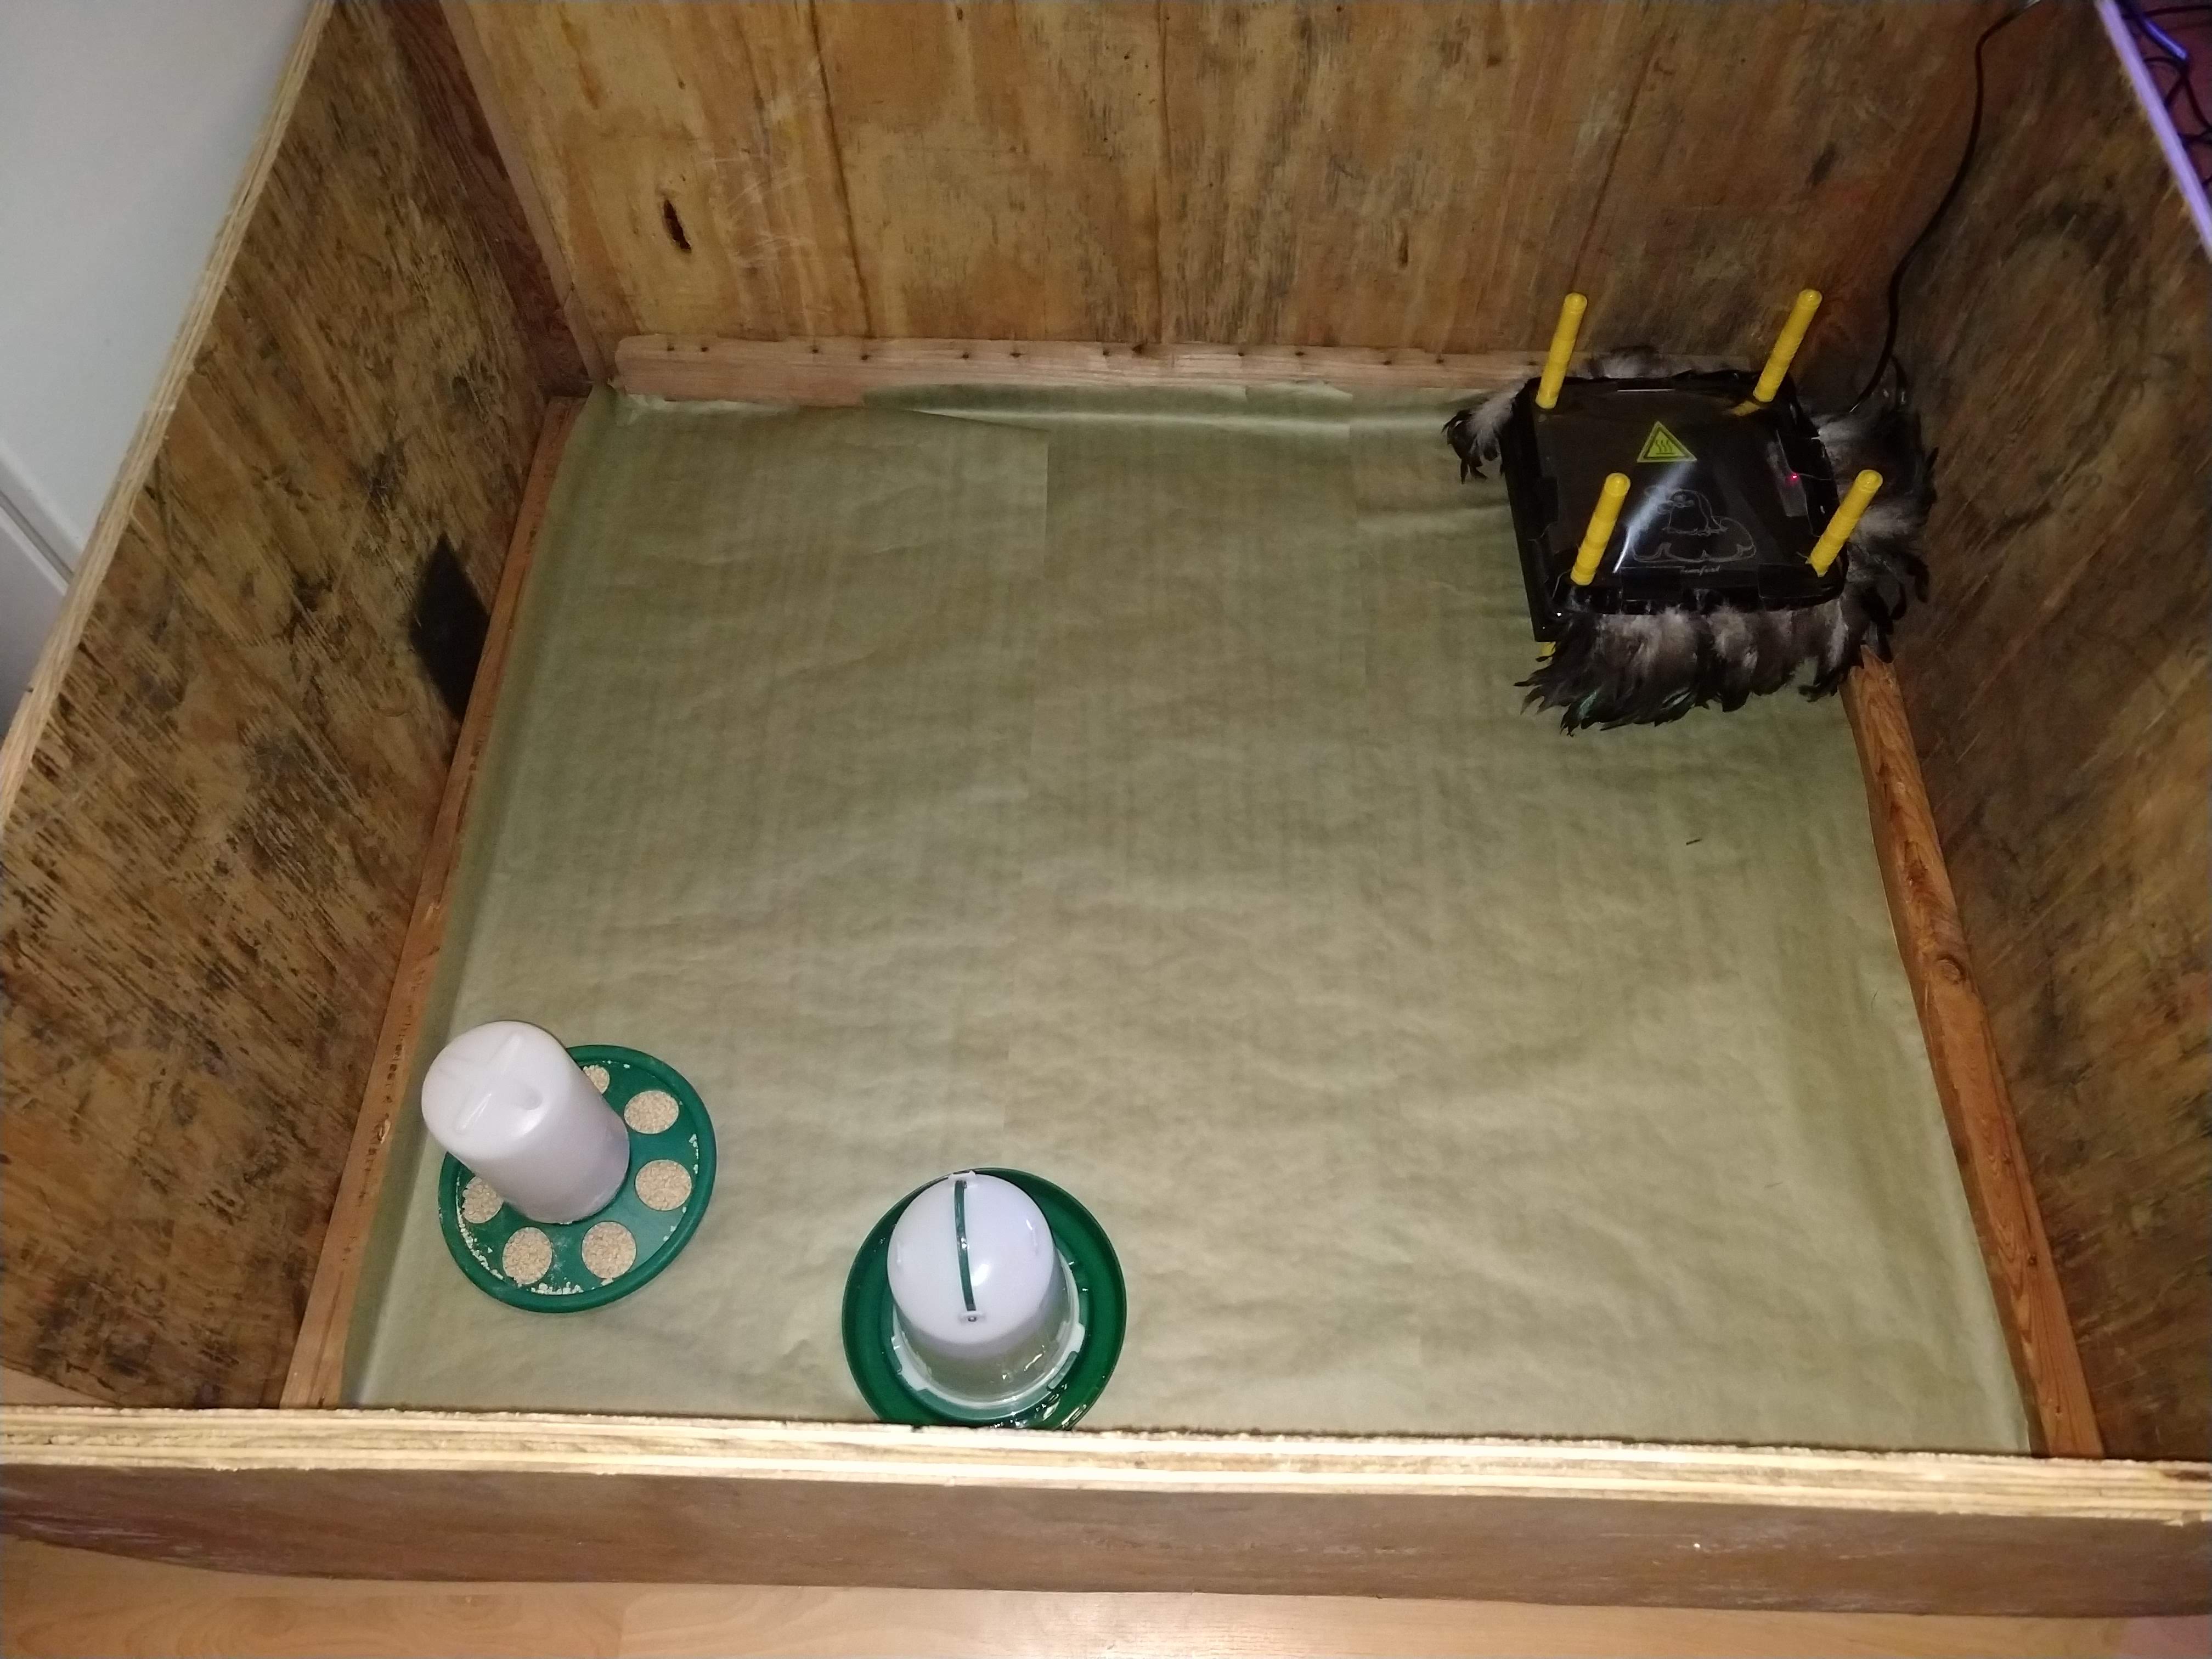
As you can see, the brood box is quite spacious. In the lower left corner are the food and water dispensers. In the upper right corner is the “false hen”. It is a special heater designed specifically for keeping baby fowl toasty, but not too toasty. (The feather skirt is optional, but awesome.) Again, there are plenty of options when it comes to heaters for a brood box. This is definitely not an item you want to DIY, however. SERIOUSLY, NEVER USE A HEAT-PRODUCING DEVICE FOR A PURPOSE OTHER THAN THE ONE FOR WHICH IS WAS DESIGNED. You could harm your brood. Or start a fire. Don’t be stupid. Spend a few bucks and get something safe.
Not shown in this picture is the box’s cardboard lid with attached lights. You need a lid to keep both the warmth and the chicks inside the box. We cut small “trap doors” for access and little vents for air circulation.
All this was set up before I left the house to collect the chicks from the farm co-op. I knew the little peeps would be stressed after the journey from the breeder to the co-op to our house, so I wanted them to have food, water, and heat available right away.

They ran right for the heat! Two made it under the “wings” before I could get the camera out.
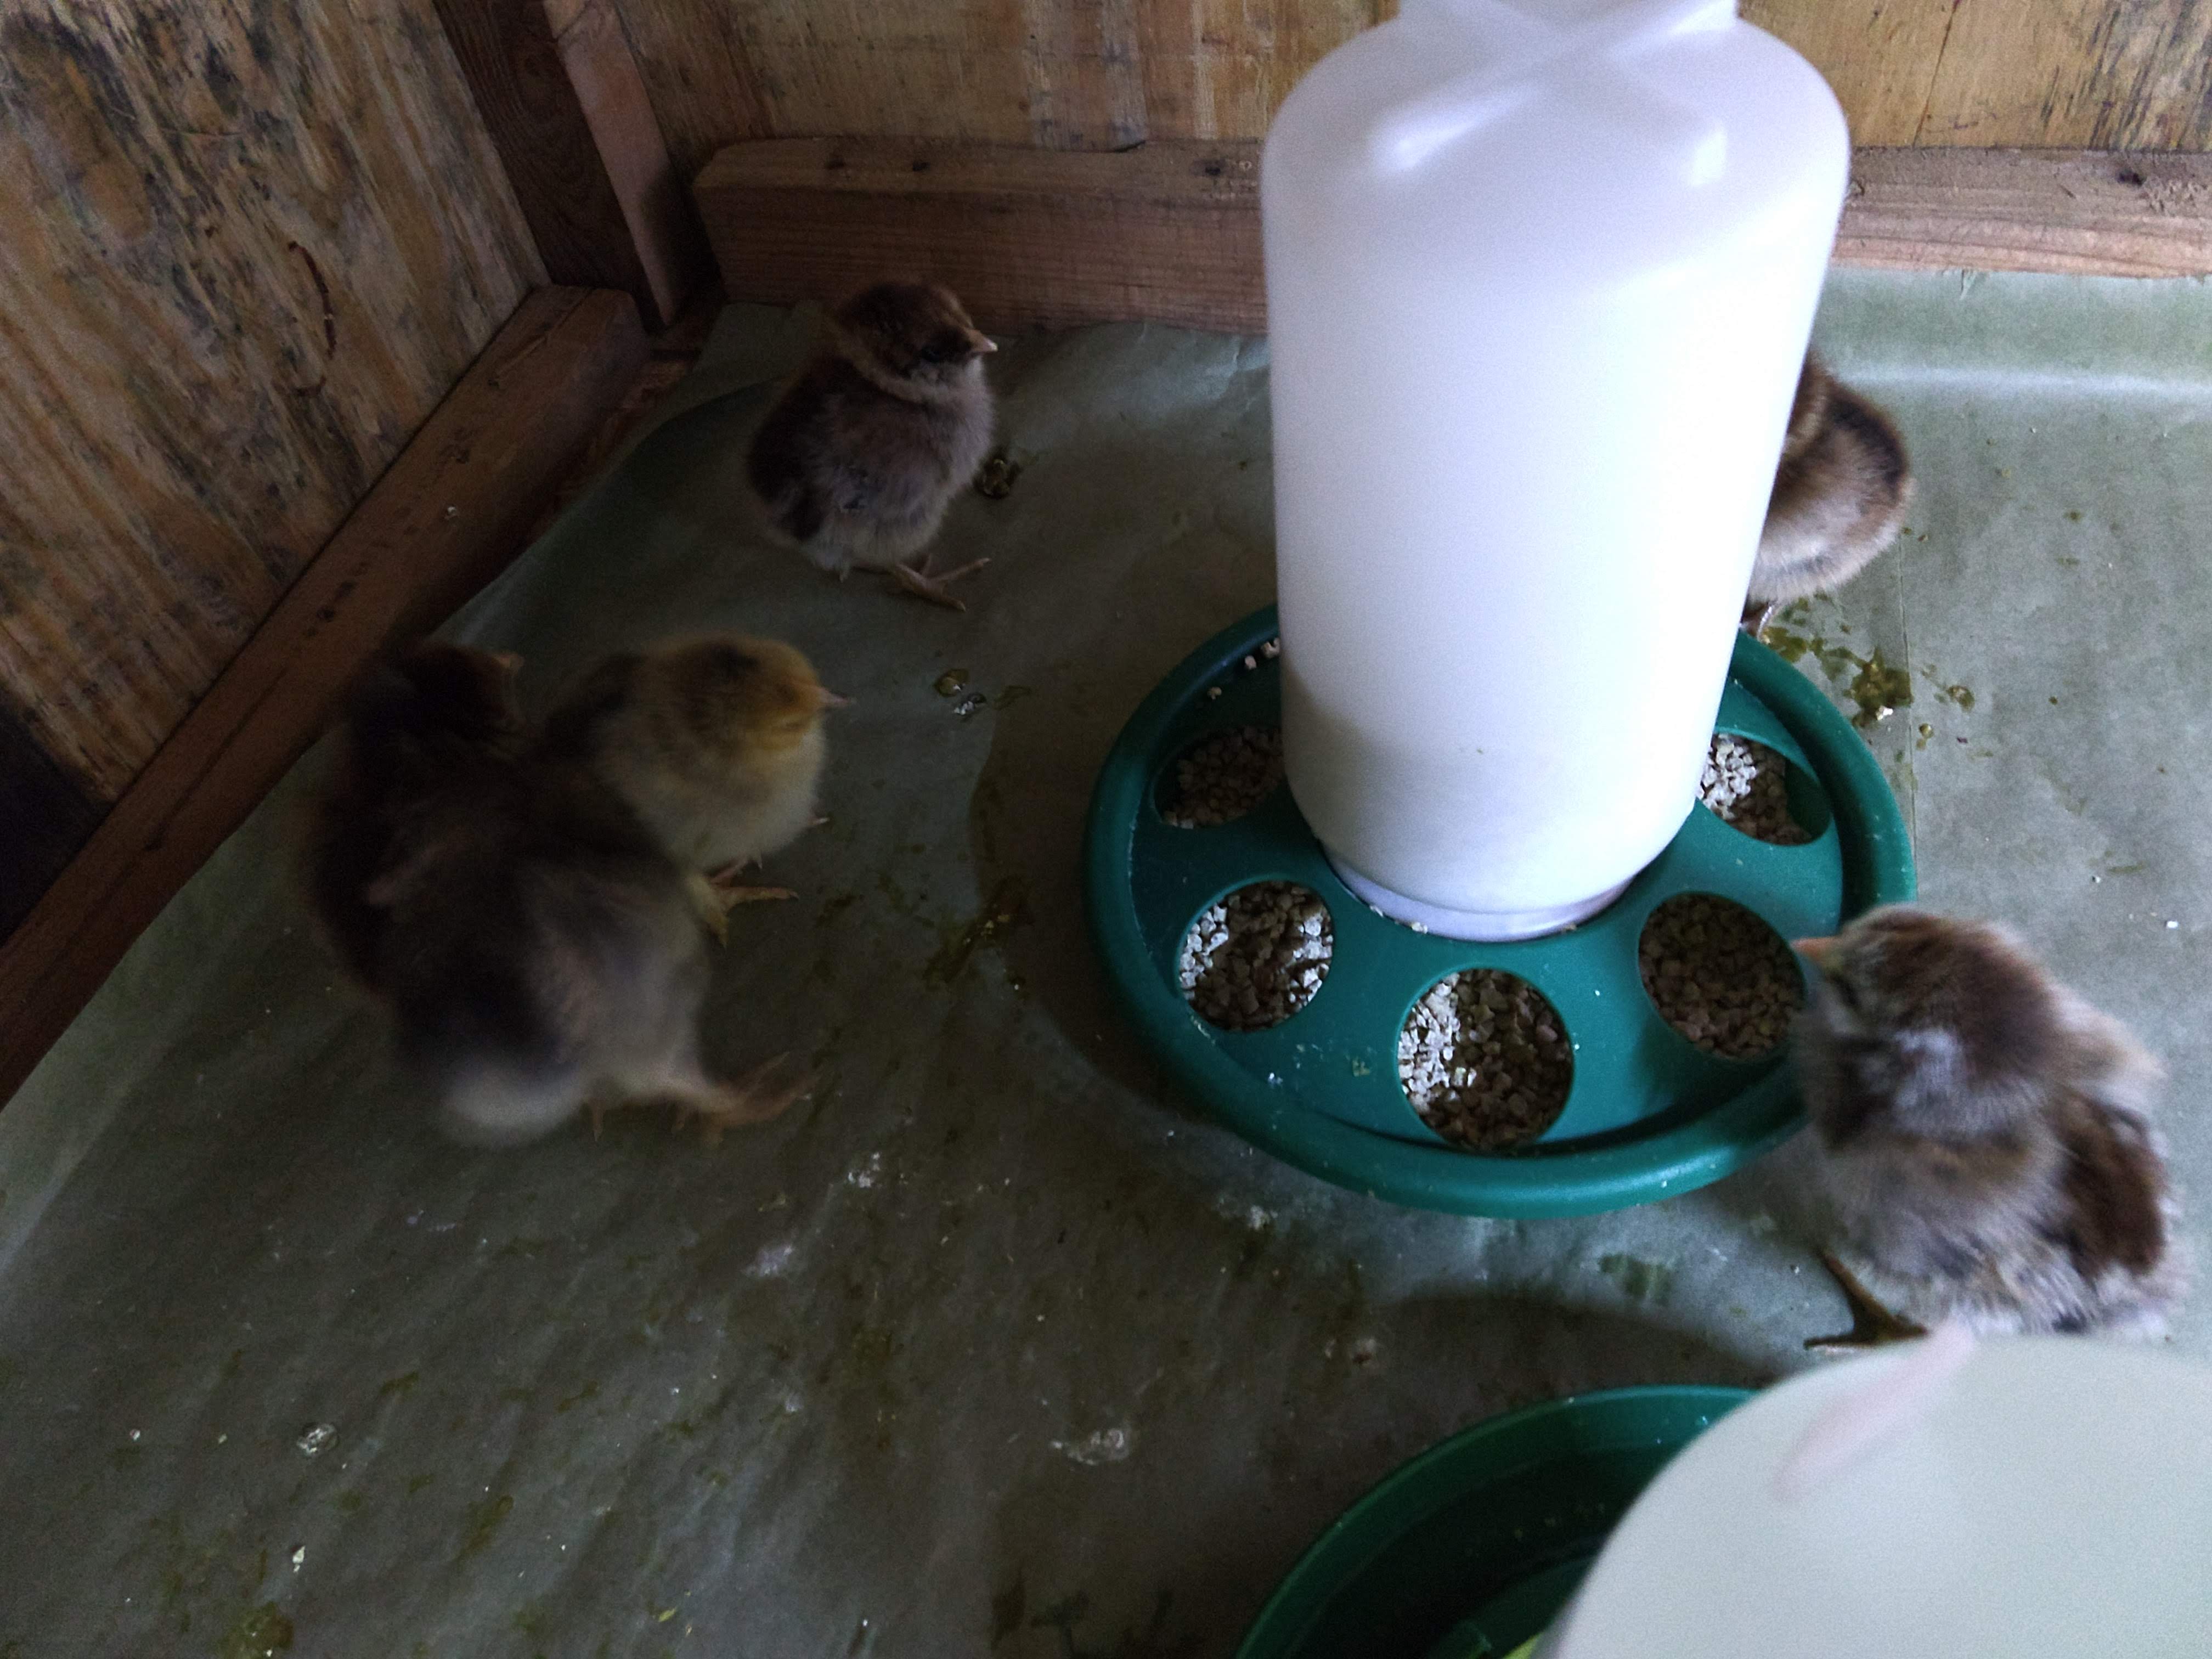
Four of the chicks are a variety called Amerucana. They are a smaller breed that lays-wait for it- blue shelled eggs. Two are a larger breed called Brahma. As you can see none of them had any trouble at all finding the food and water.
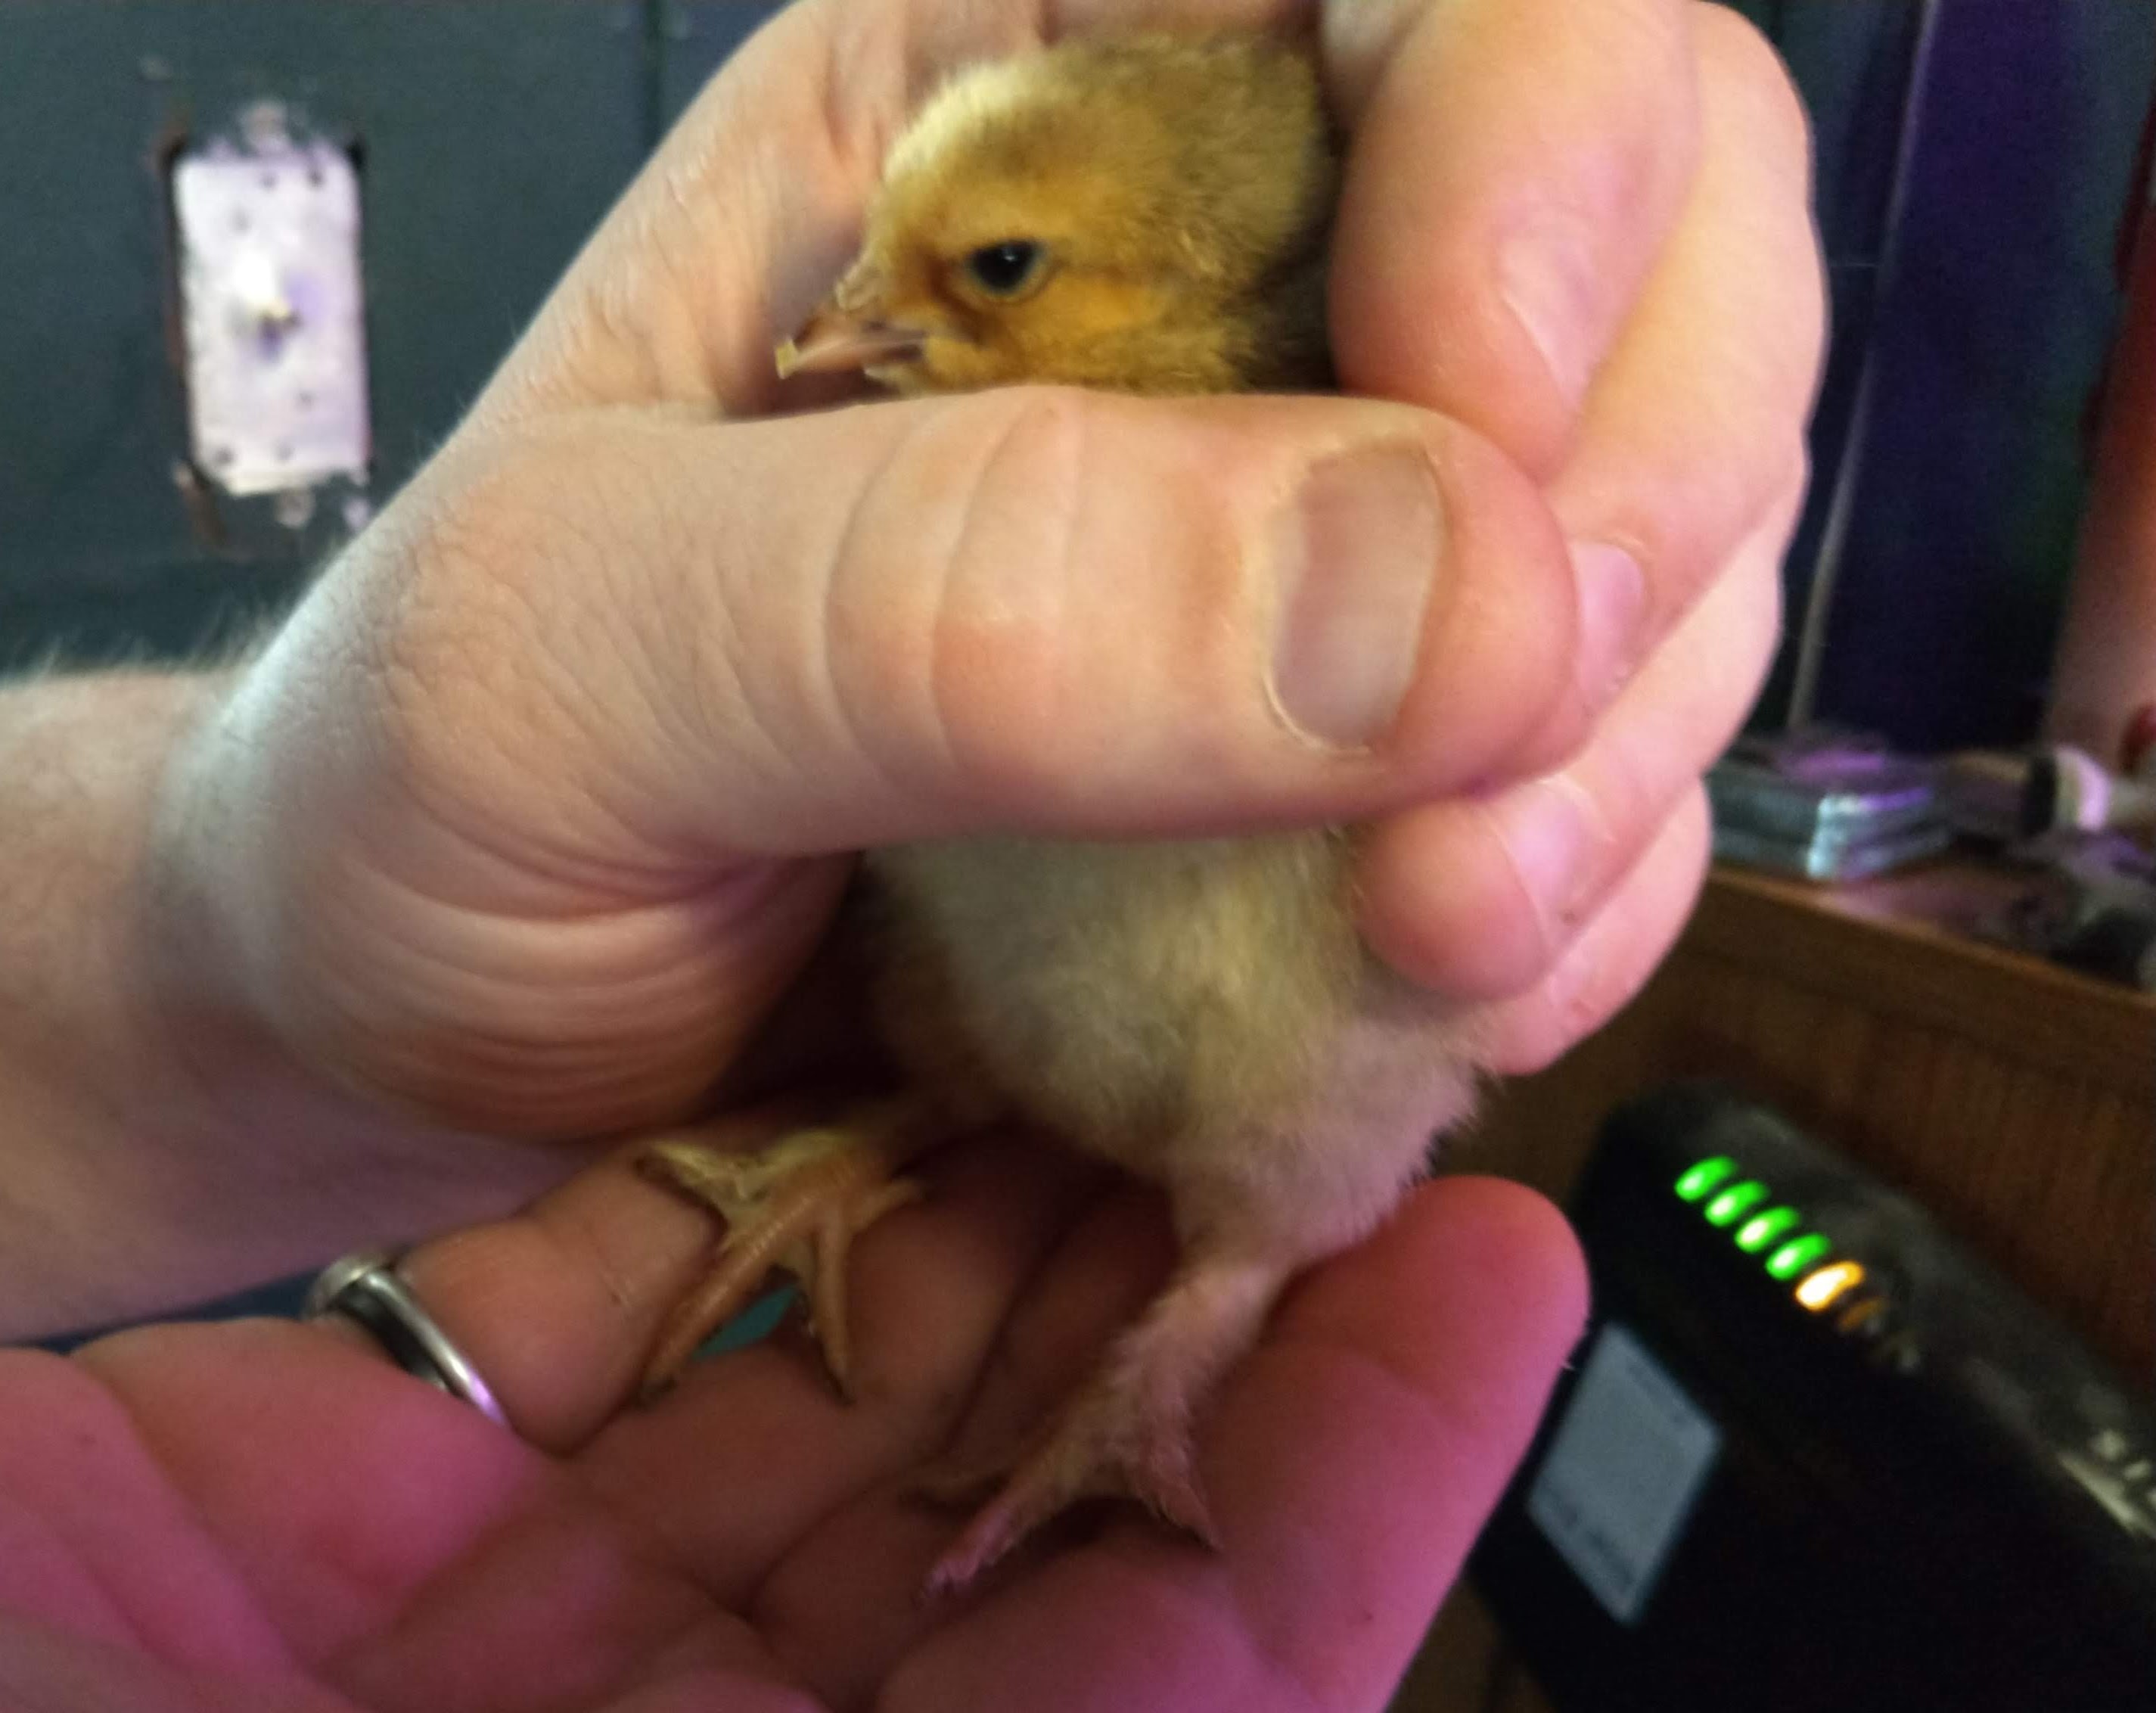
Mr. Food It Yourself managed to get this baby Brahma to stand still long enough for me to get a picture of her legs. Look how adorably downy they are.
I am so excited to raise these birds. The inevitable challenge of getting them to co-habitate with out two remaining New Hampshire reds is at least two months away, but we will have to cross that bridge. In the mean time, we are enjoying the sweet chirps of our little peeps. I assure you there will be updates on them throughout the summer, so check back in with us, my fellow DIYeters!
What has springtime brought to your home and garden? Share in the comments section!
