Flapjack Is Fun to Say
There are two types of people in the world. Some (like me) wake up hungry and ready to dive in to a healthy breakfast before attempting any other activity. Others (like Mr. Food It Yourself) are not hungry first thing in the morning and prefer to put off breakfast by an hour or two. This was not a problem for Mr. Food It Yourself at his previous job. He was able to keep breakfast foods in his office to enjoy when he eventually felt hungry. However, he recently changed to a job that has him traveling to different customer sites every day. We needed a grab-and-go-and-probably-eat-while-stuck-in-traffic option for his breakfasts.
After some brain storming and research we found a possible option: flapjack. While the word “flapjack” is a synonym for “pancake” in the USA, in the UK it is very similar to a chewy granola bar. I found this delightful recipe from the BBC‘s Good Food page. I did have to use almond butter instead of peanut butter, as I am allergic to peanuts. I also used slivered almonds instead of the seeds noted in the recipe as Mr. Food It Yourself is not fond of sunflower or pumpkin seeds. Here’s how it all came together.


Step one is always pre-heat the oven. My oven does not have a metric setting, so I set it to 320F.
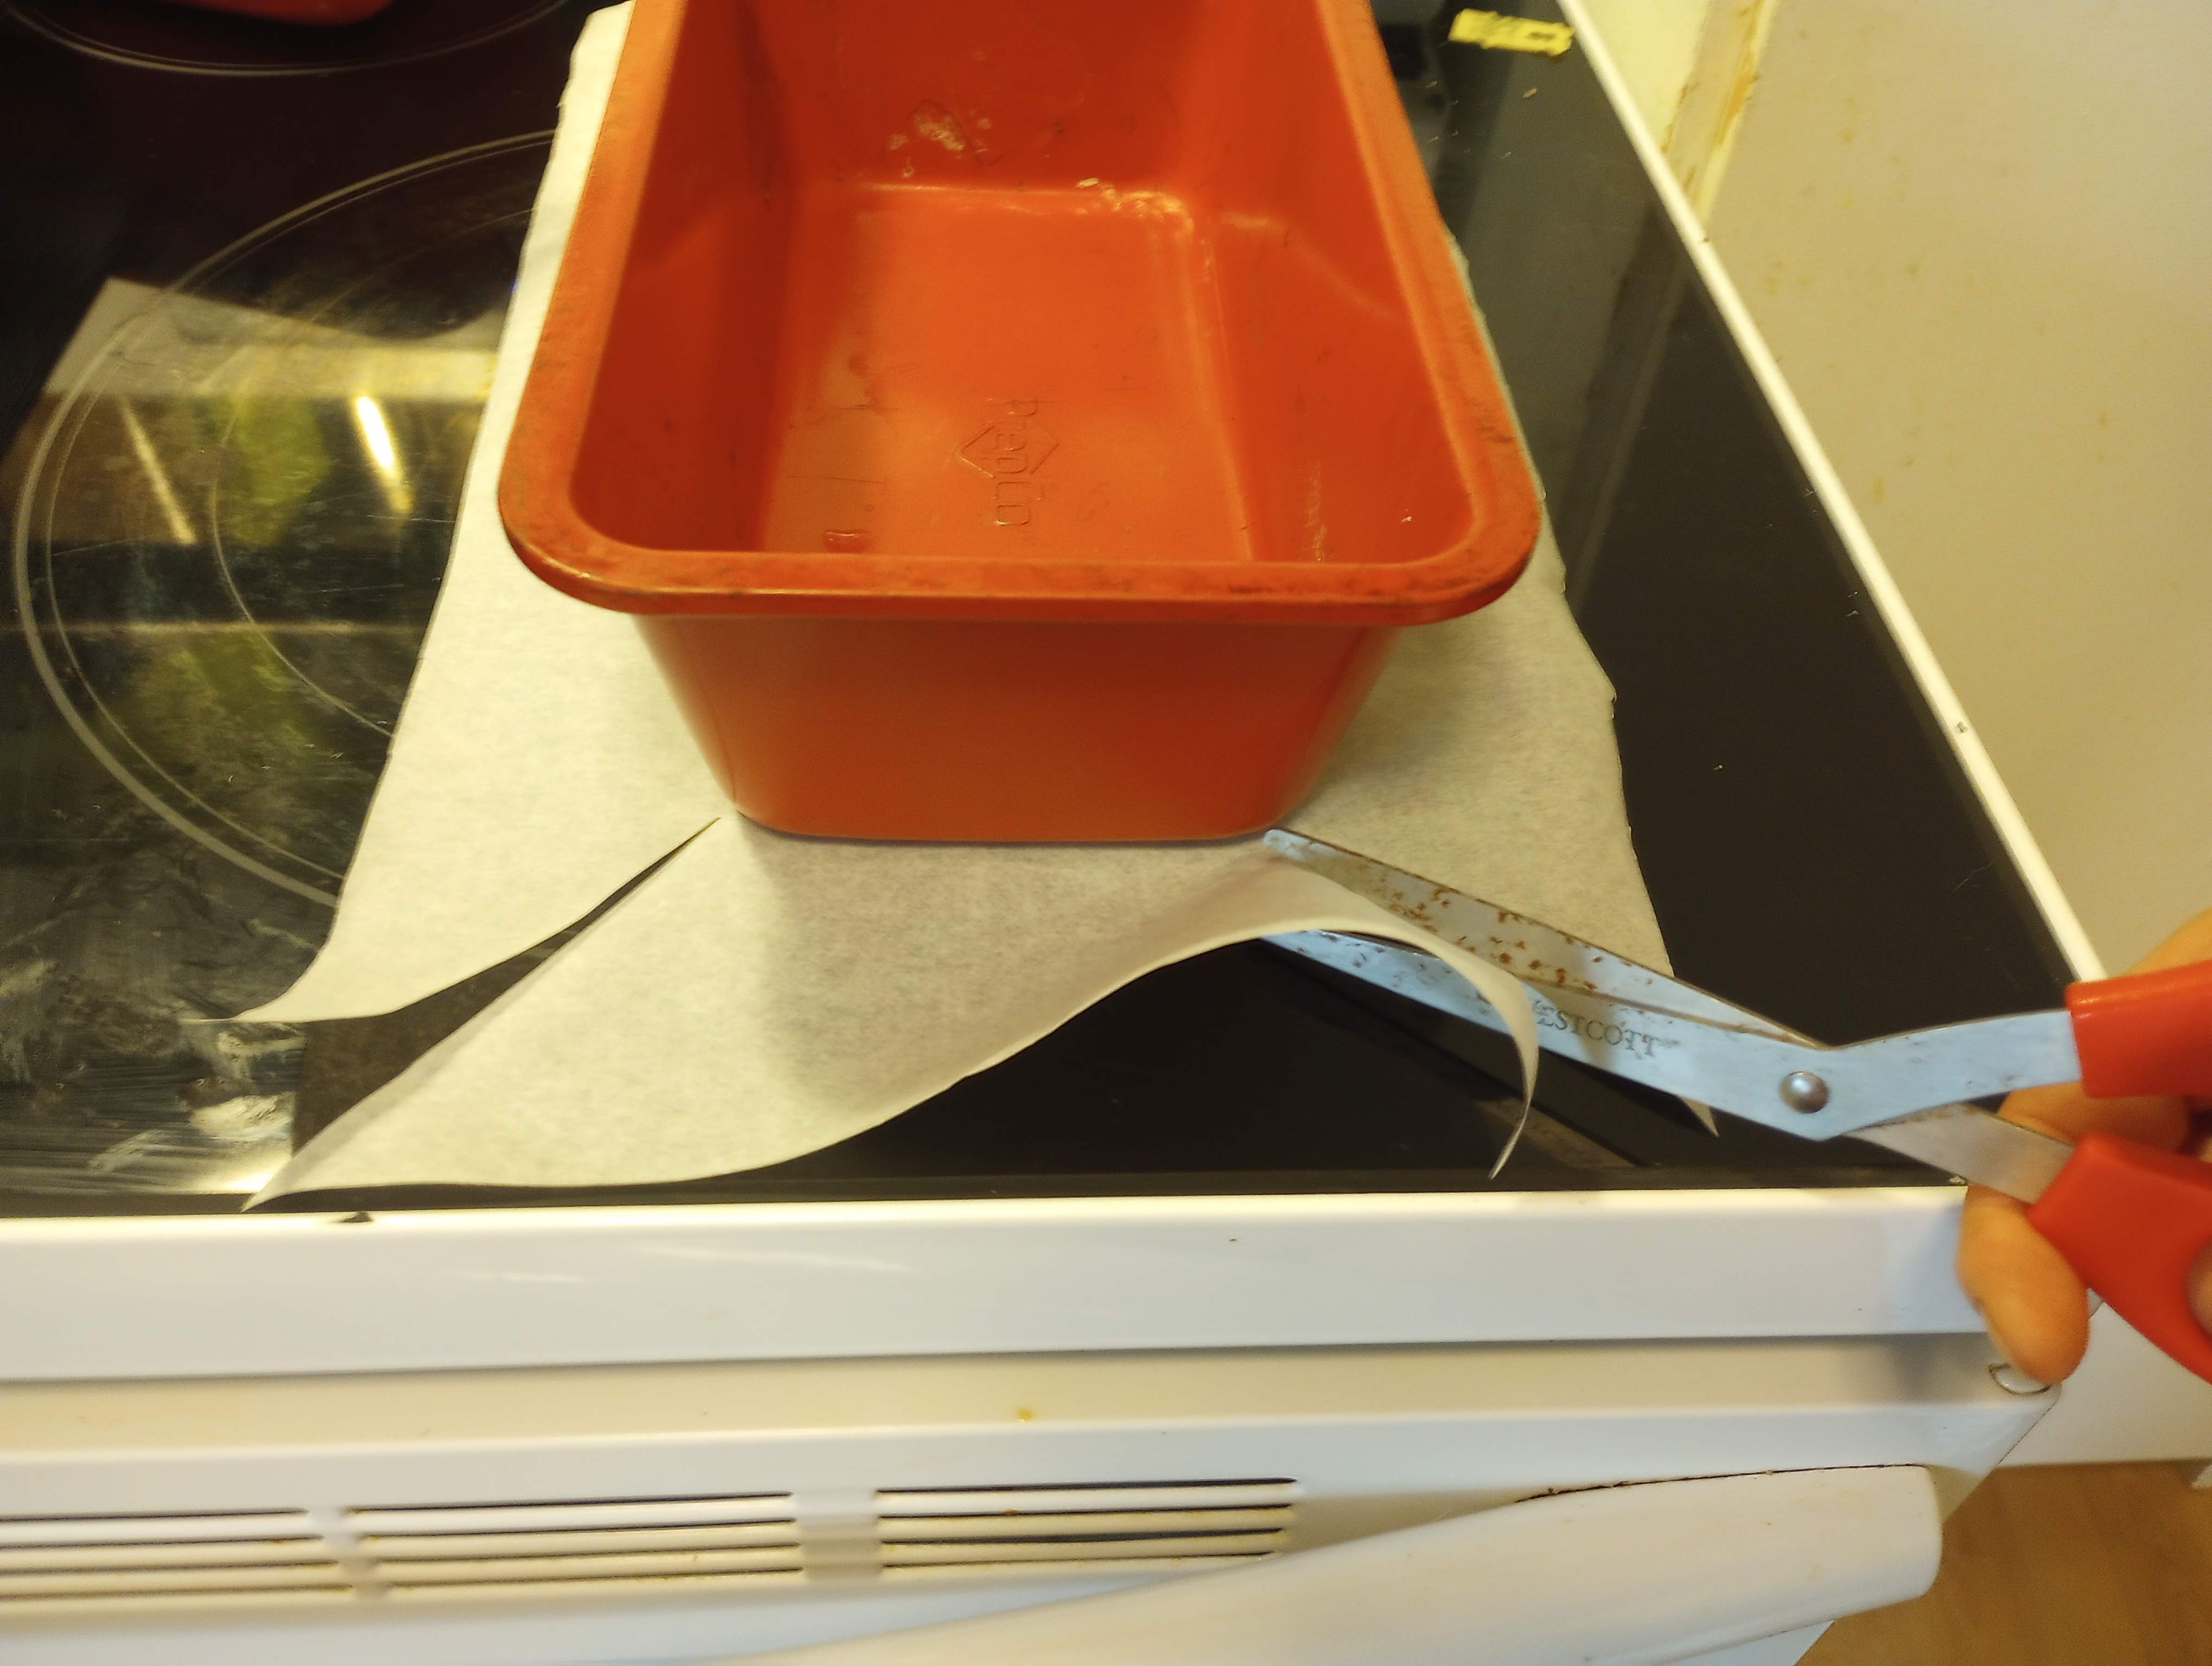
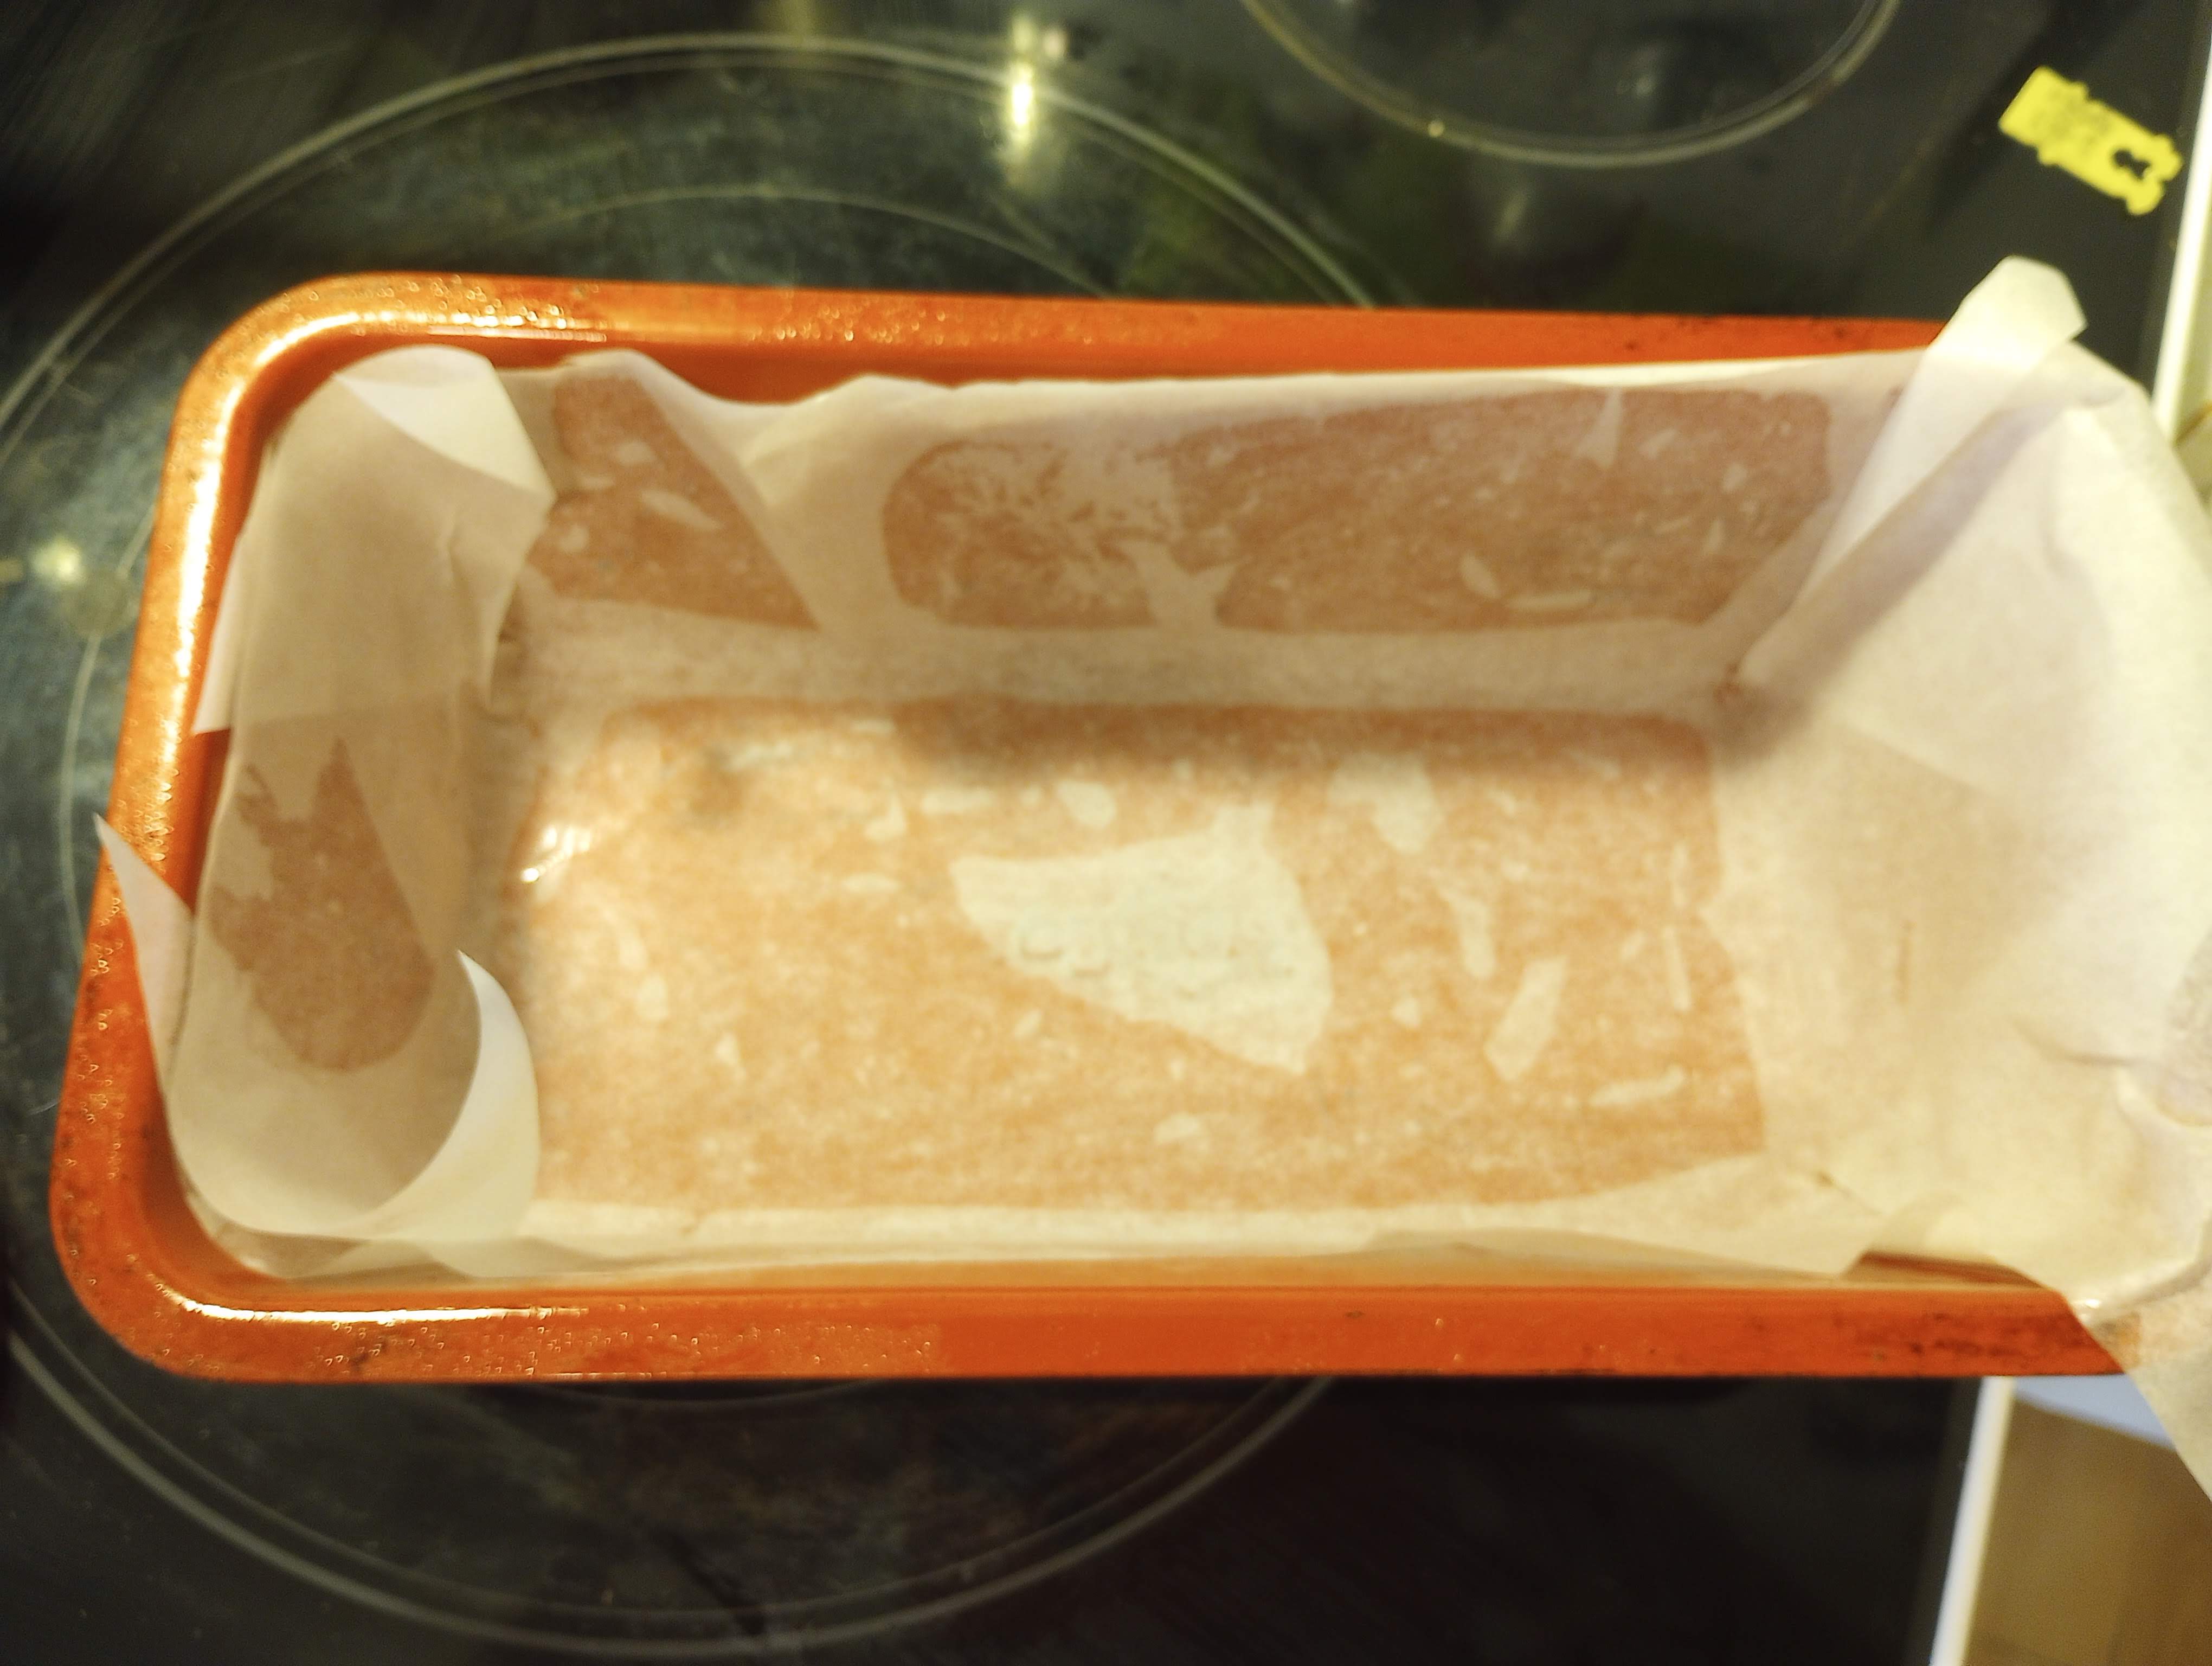
Step two is always prepare your pans. I do not own a 20 cm square pan, or an 8 inch square pan. However, my two loaf pans are just about right when used together. Here is my favorite way to make parchment paper pan liners. Cut a sheet of parchment, center the square or rectangle pan. Snip from each corner of the paper to the matching corner of the pan. The sides fold right in with minimal wrinkles.


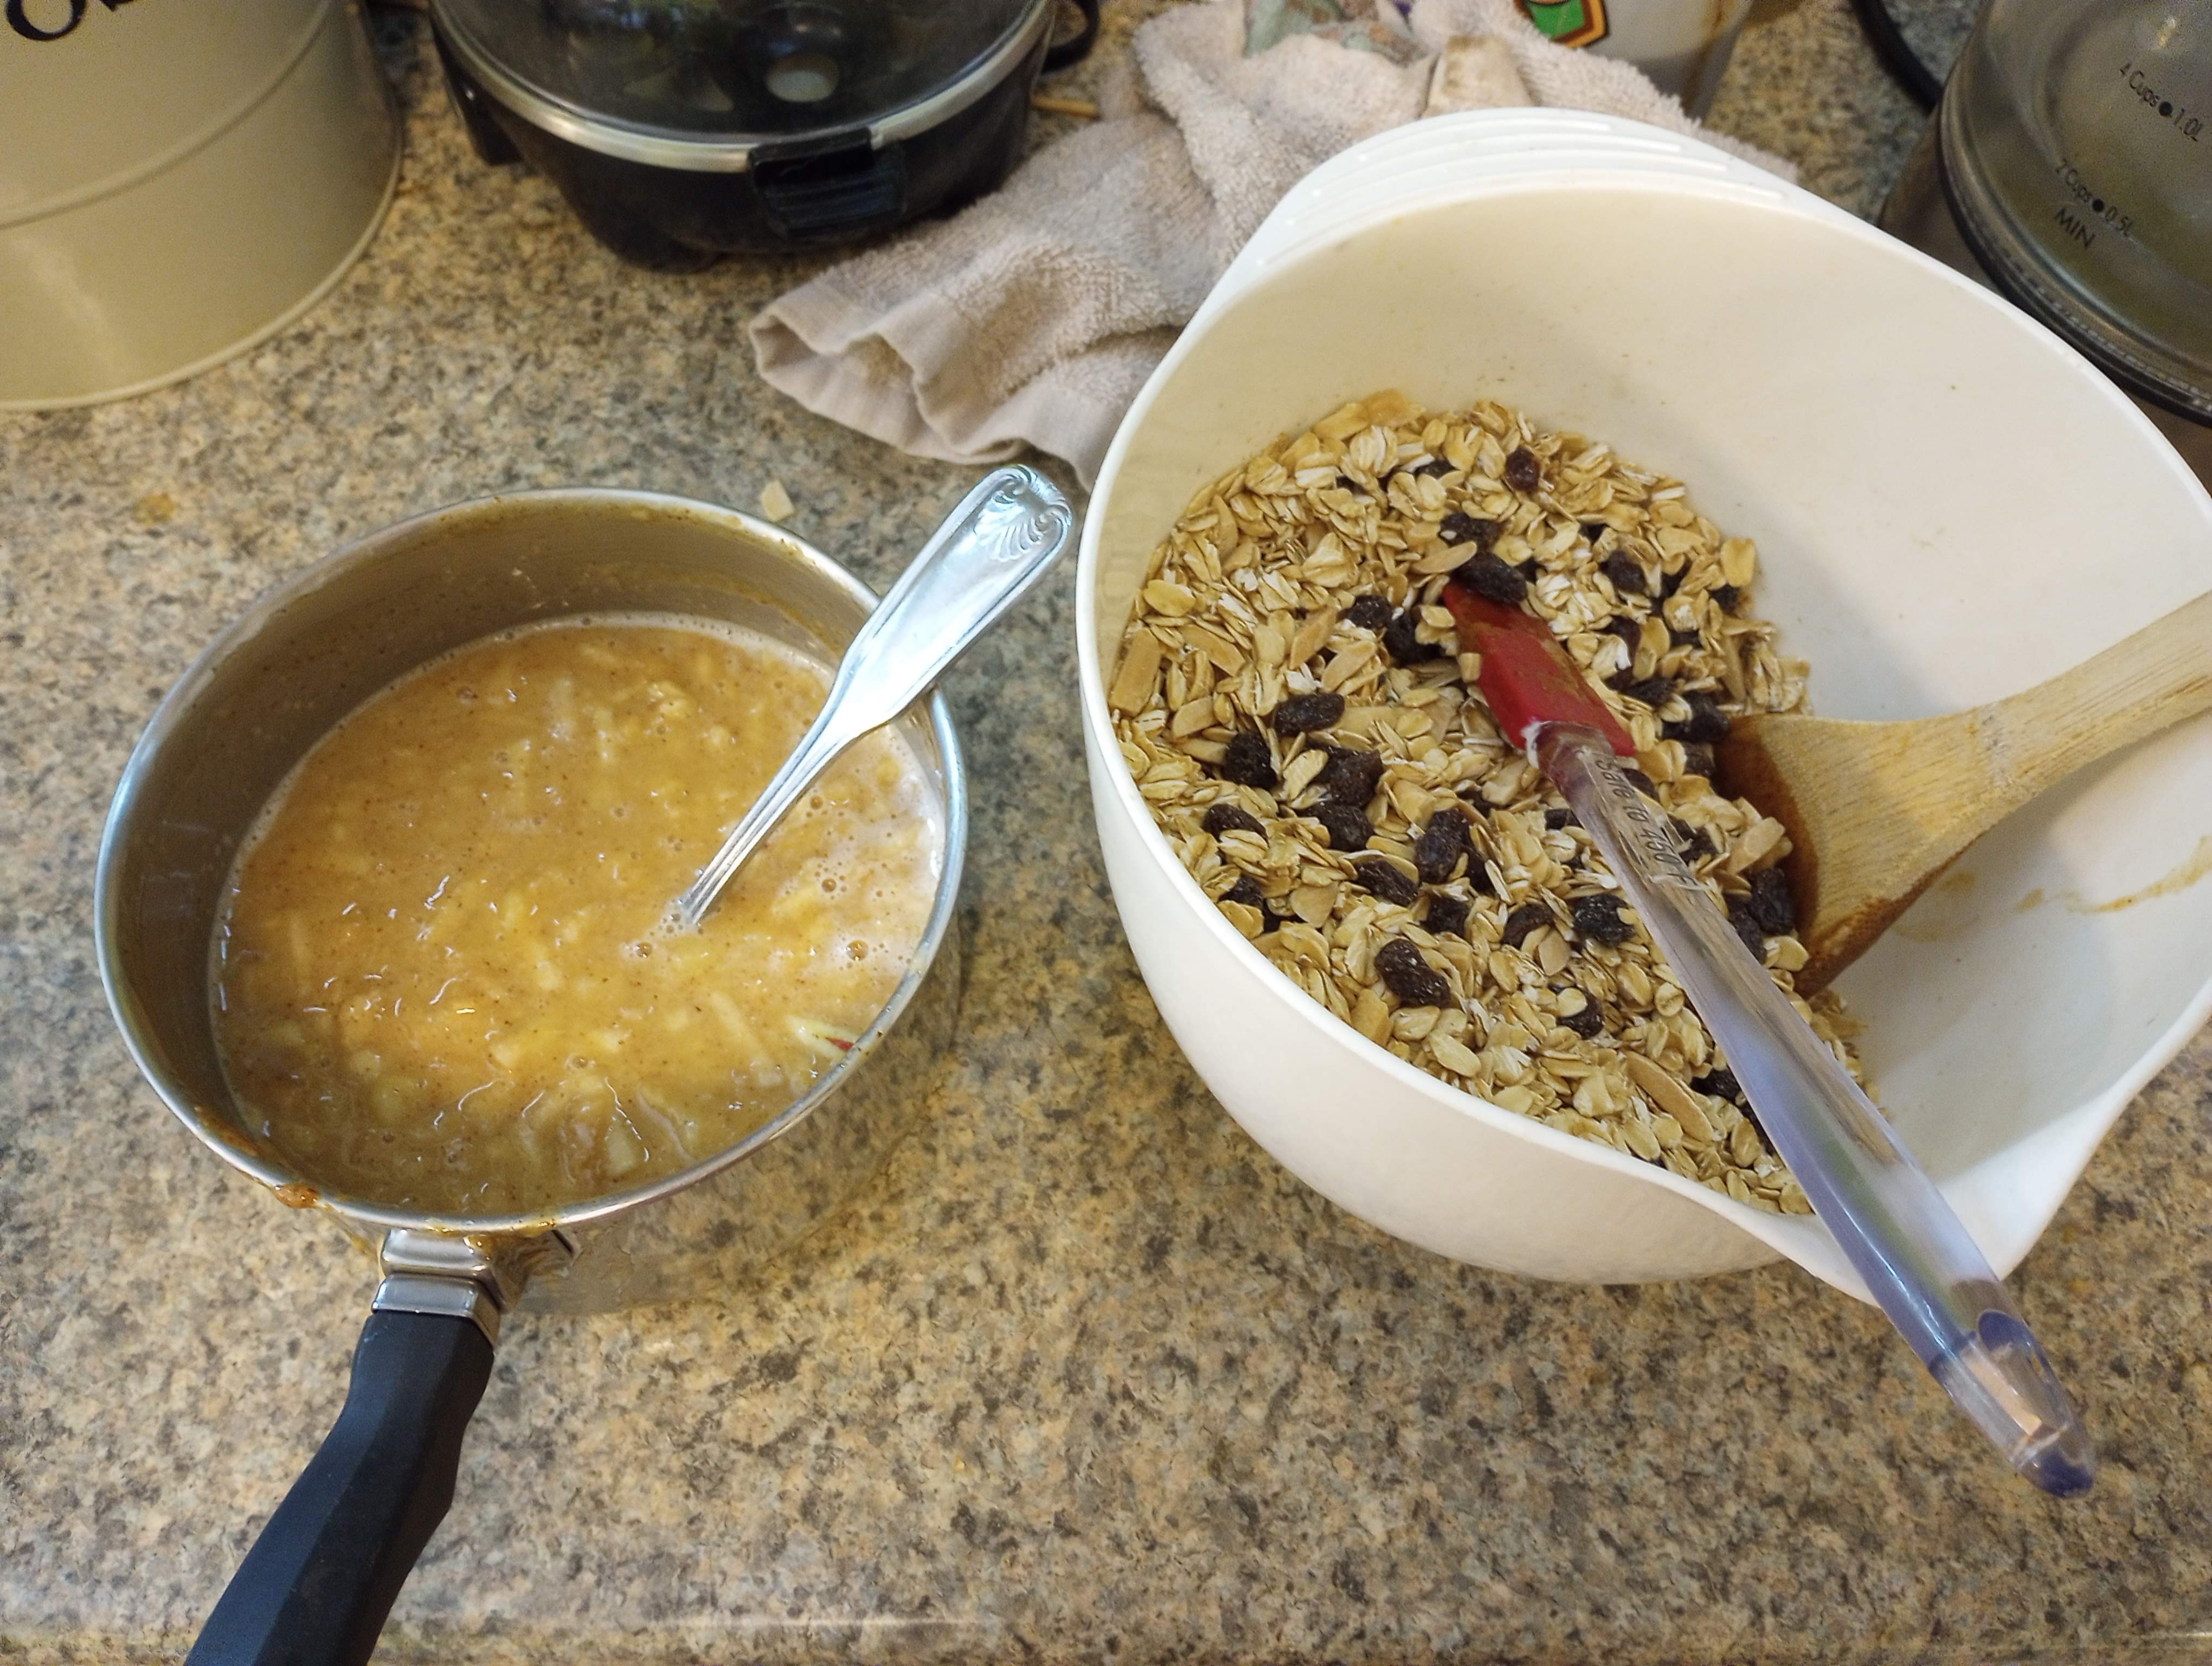

Yes, this is another recipe that requires weighing ingredients. I weighed out the oats, fruit and nuts while the butter, maple syrup, and almond butter were melting. Just as I was about to mix it all together, realized my chosen mixing bowl was too small and I upsized it. Proper mixing in any recipe requires room. When in doubt, grab the bigger bowl.
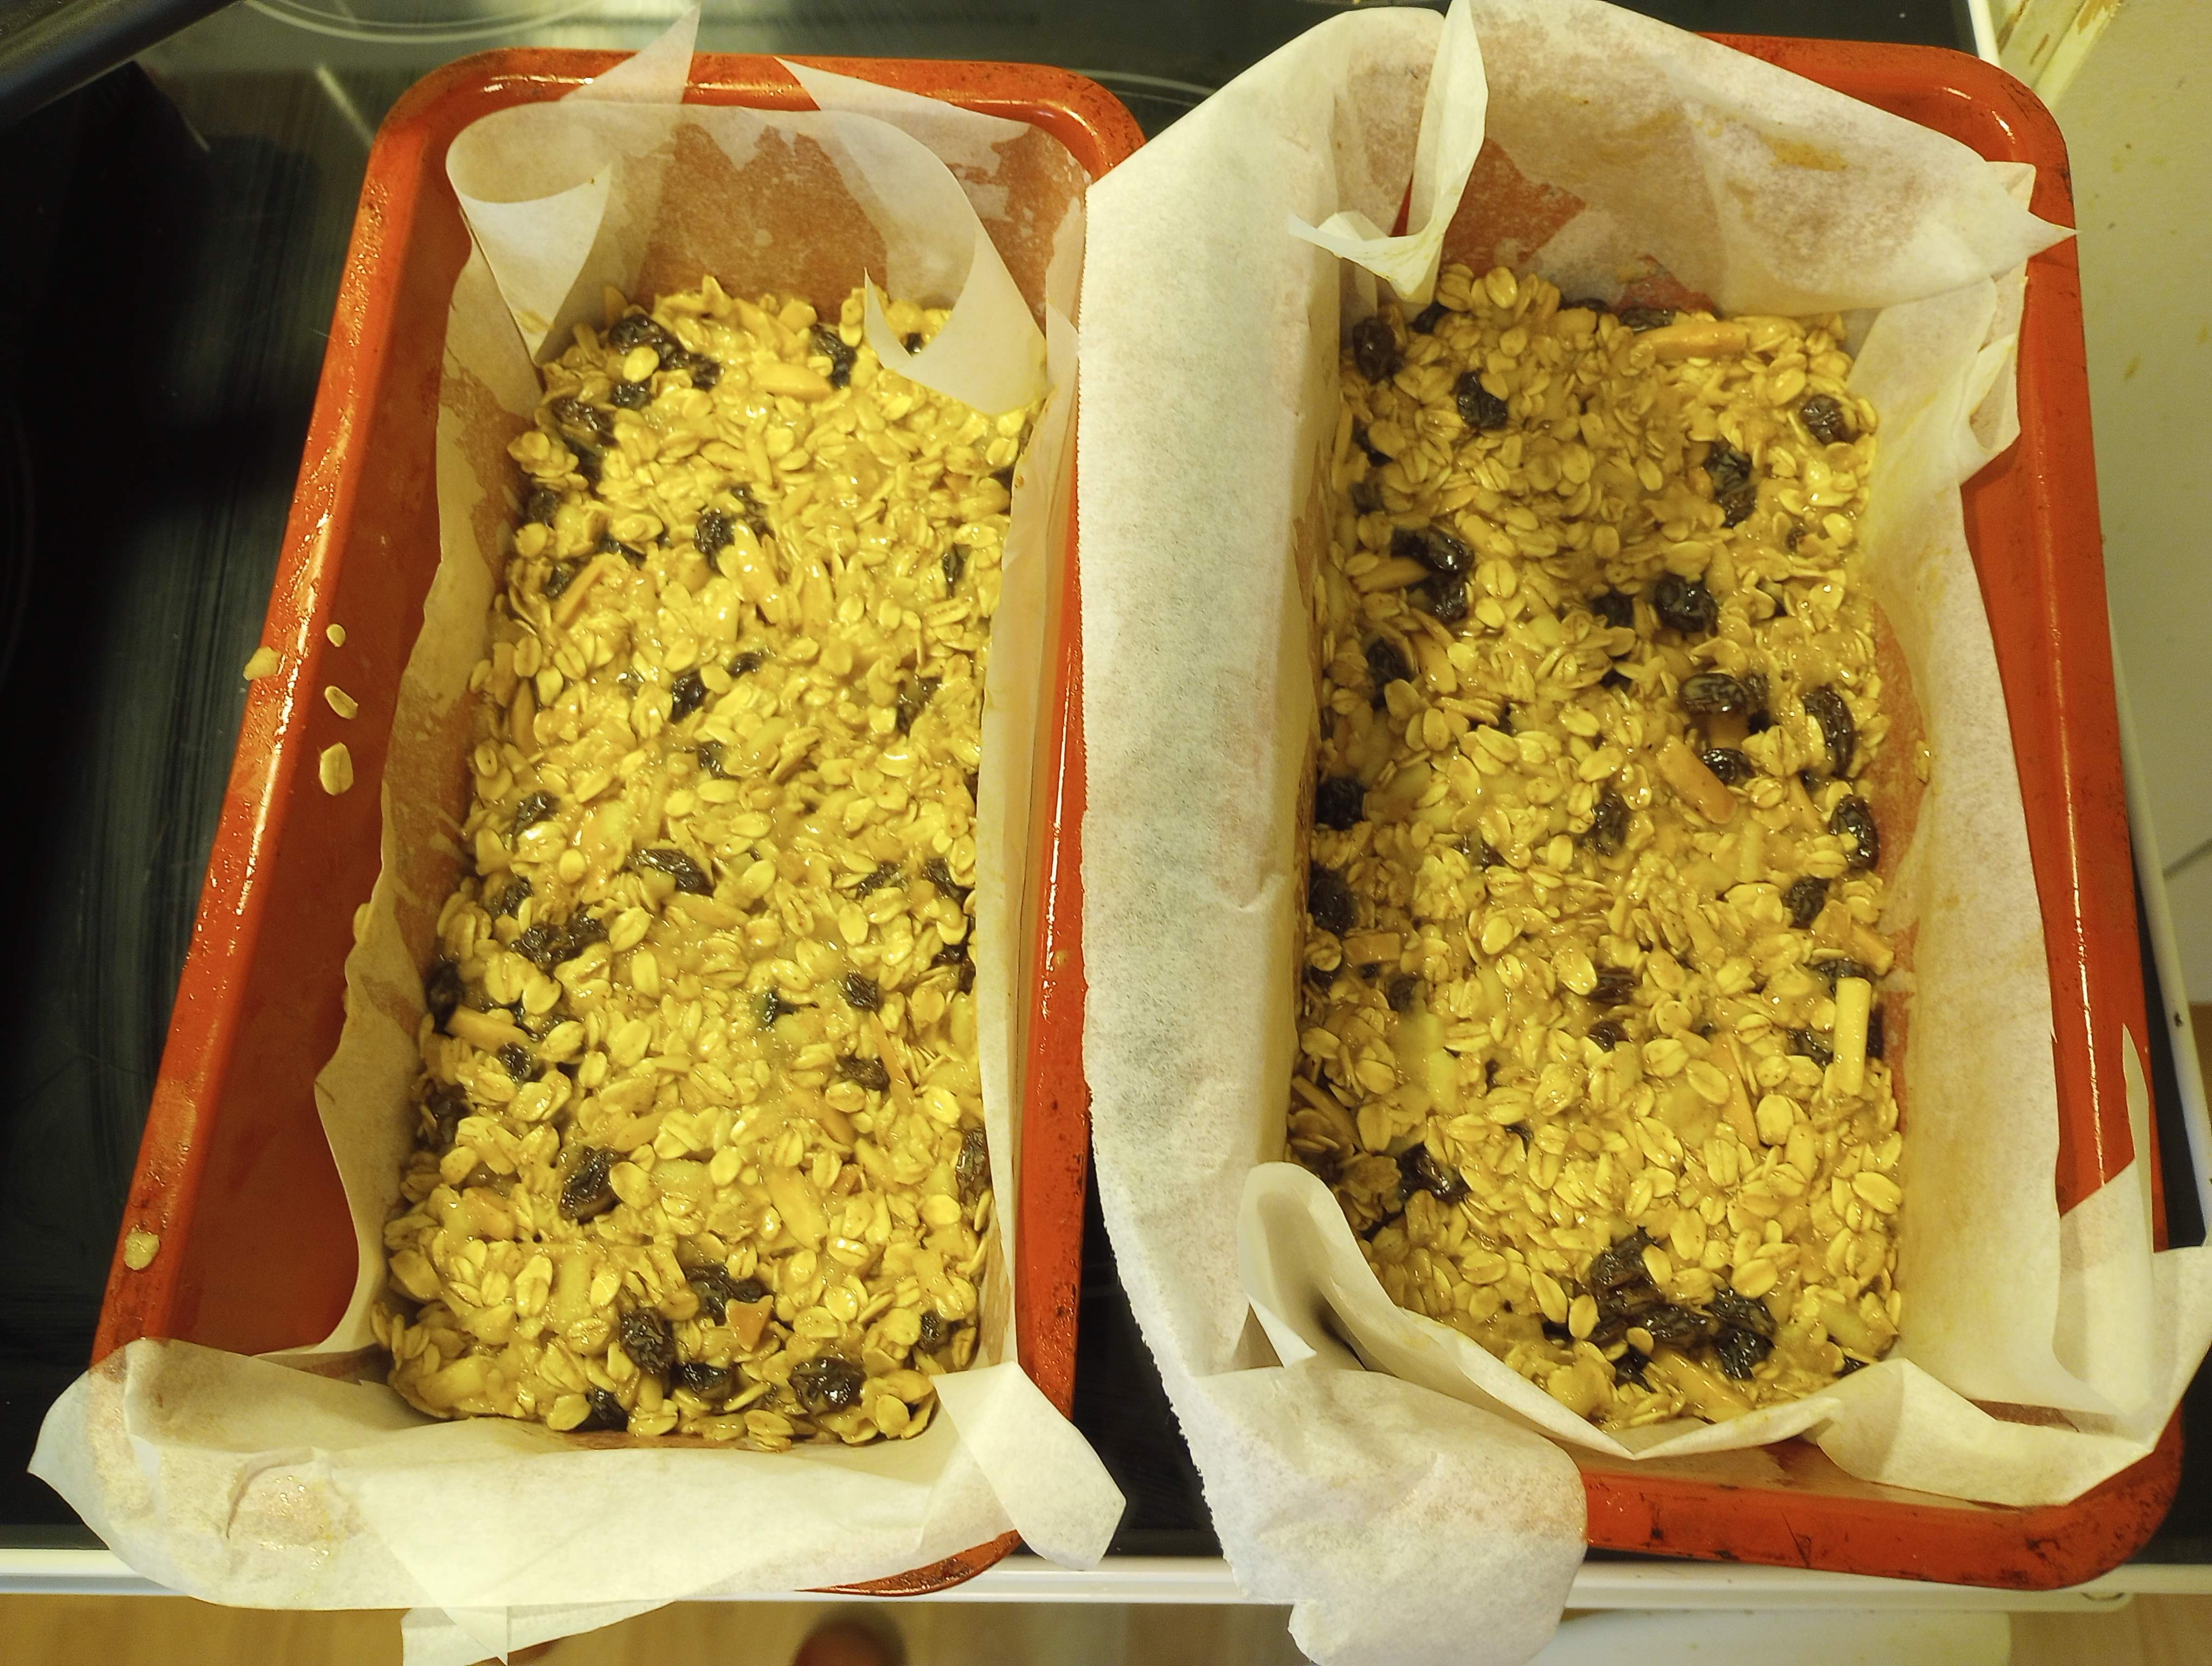
After baking and cooling, Mr. Food It Yourself felt the mix was still too crumbly for cutting. I suggested a little extra time in the oven. He countered with the suggestion to leave them uncovered in the refrigerator for a while. I moved the two “loaves” to a cooling rack and popped them in the refrigerator.
While we let them firm up, I did a little digging into the history of oats as a food. The Old Ways Whole Grain Council has an interesting article on the history and nutrition of oats. Wild oats were eaten by Neolithic humans, and we are still enjoying them today. I find that truly amazing.
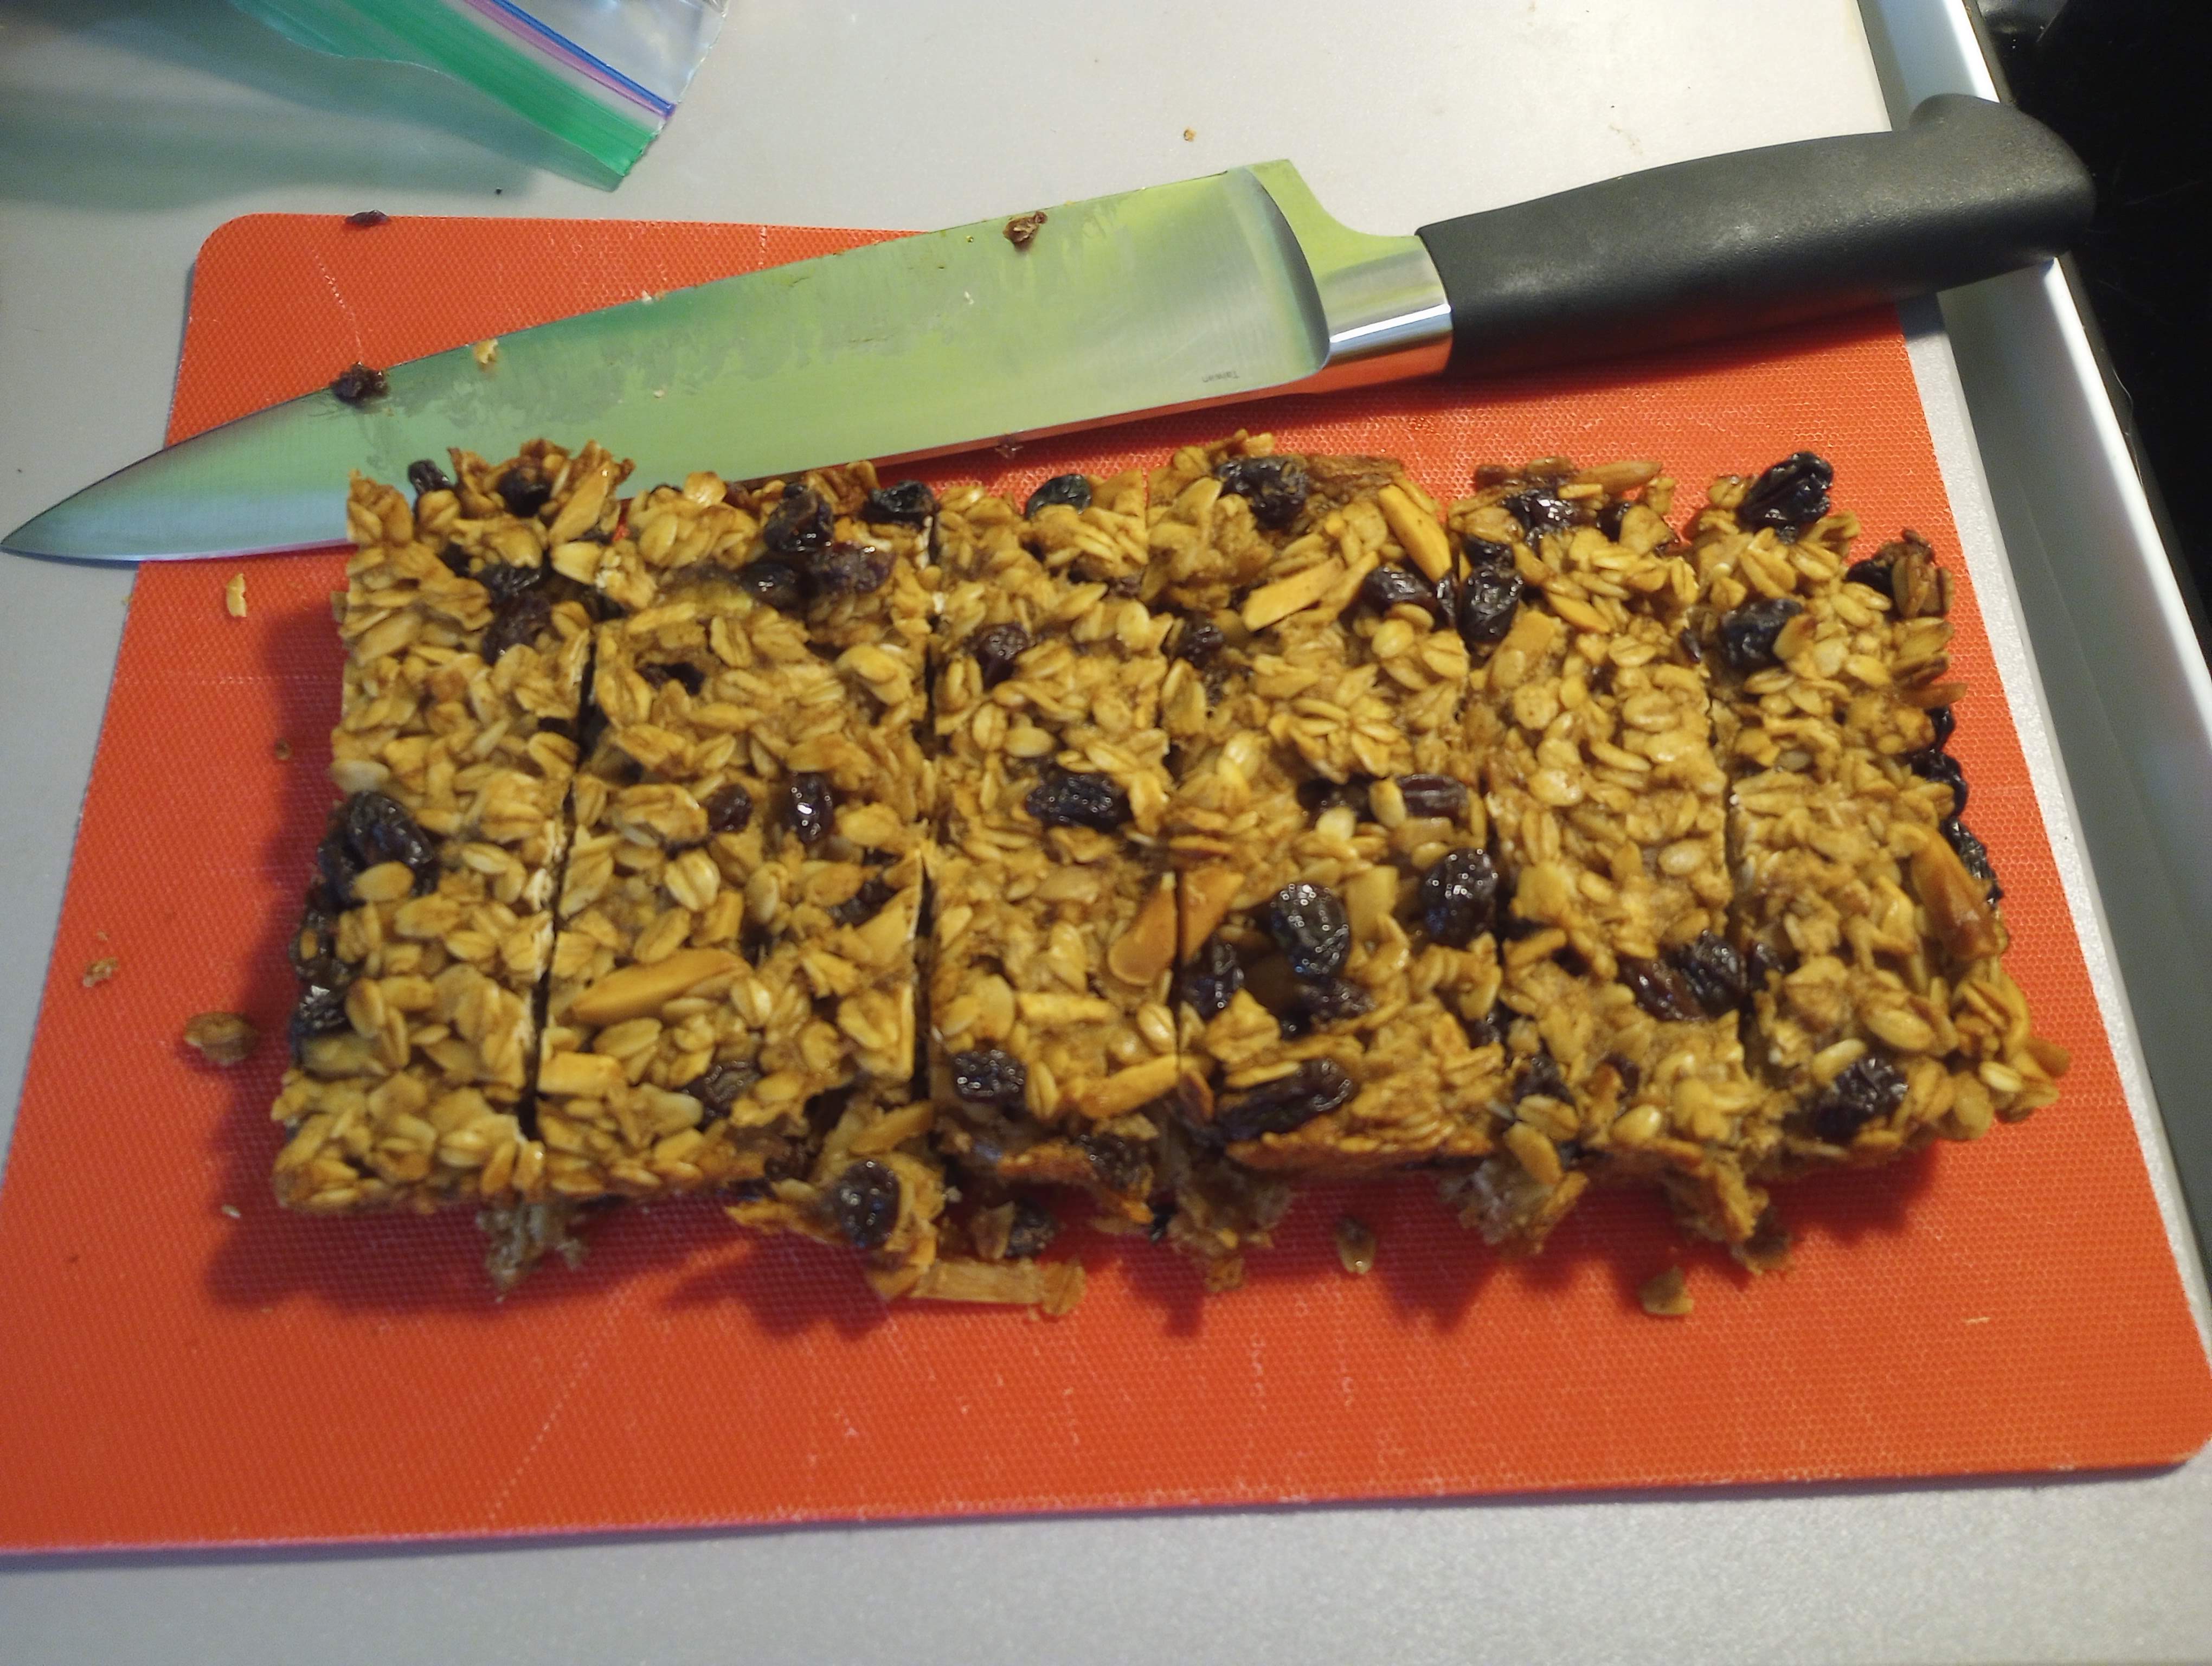
After a solid 48 hours in the refrigerator (yes, it took that long) I cut the loaves into bars. The bars are bagged and ready for Mr. Food It Yourself to pick up on his way out the door. The taste is very good. I might add a little cinnamon to the next batch. I feel that they are also still a bit crumbly. I might try grinding some of the oats in a blender to make more a dough to hold it all together. I am also open to any suggestions you might have. Please drop a comment.
Life changes. Sometimes the changes are big, sometimes they are small. When the dynamics of mealtime change a few DIYet skills can make the change a little easier. What tips/tricks/life hacks (is that what the kids call them these days?) do you have for meal time in your home? Share in the comments.
