It’s a New England Thing
What can I say? New Englanders love ice cream. My family members have been known to brave the chaos of a supermarket just prior to a blizzard, not to stock up on bread or milk or toilet paper, but because we did not have ice cream in the freezer. When I was dating Mr. Food It Yourself he had a functional ice cream freezing machine. After many years of faithful service, this machine broke down a few months ago. For Christmas, Mr. Food It Yourself purchased a new rig that works with our stand mixer. We just had to try it out. There is a Polar Vortex upon us…why would we not make ice cream?
We used Alton Brown’s Serious Vanilla Ice Cream recipe. I do not think I have ever been disappointed by one of Alton Brown’s recipes. Before I detail the process, be aware that making DIY frozen deserts is not a fast process. It is, however, very rewarding in my experience. Check this out…
First, we put the freezer bowl in the freezer. The instructions noted that the bowl should be chilled in the freezer for at least 15 hours. Double check the recommendation for your freezing rig. They can vary.
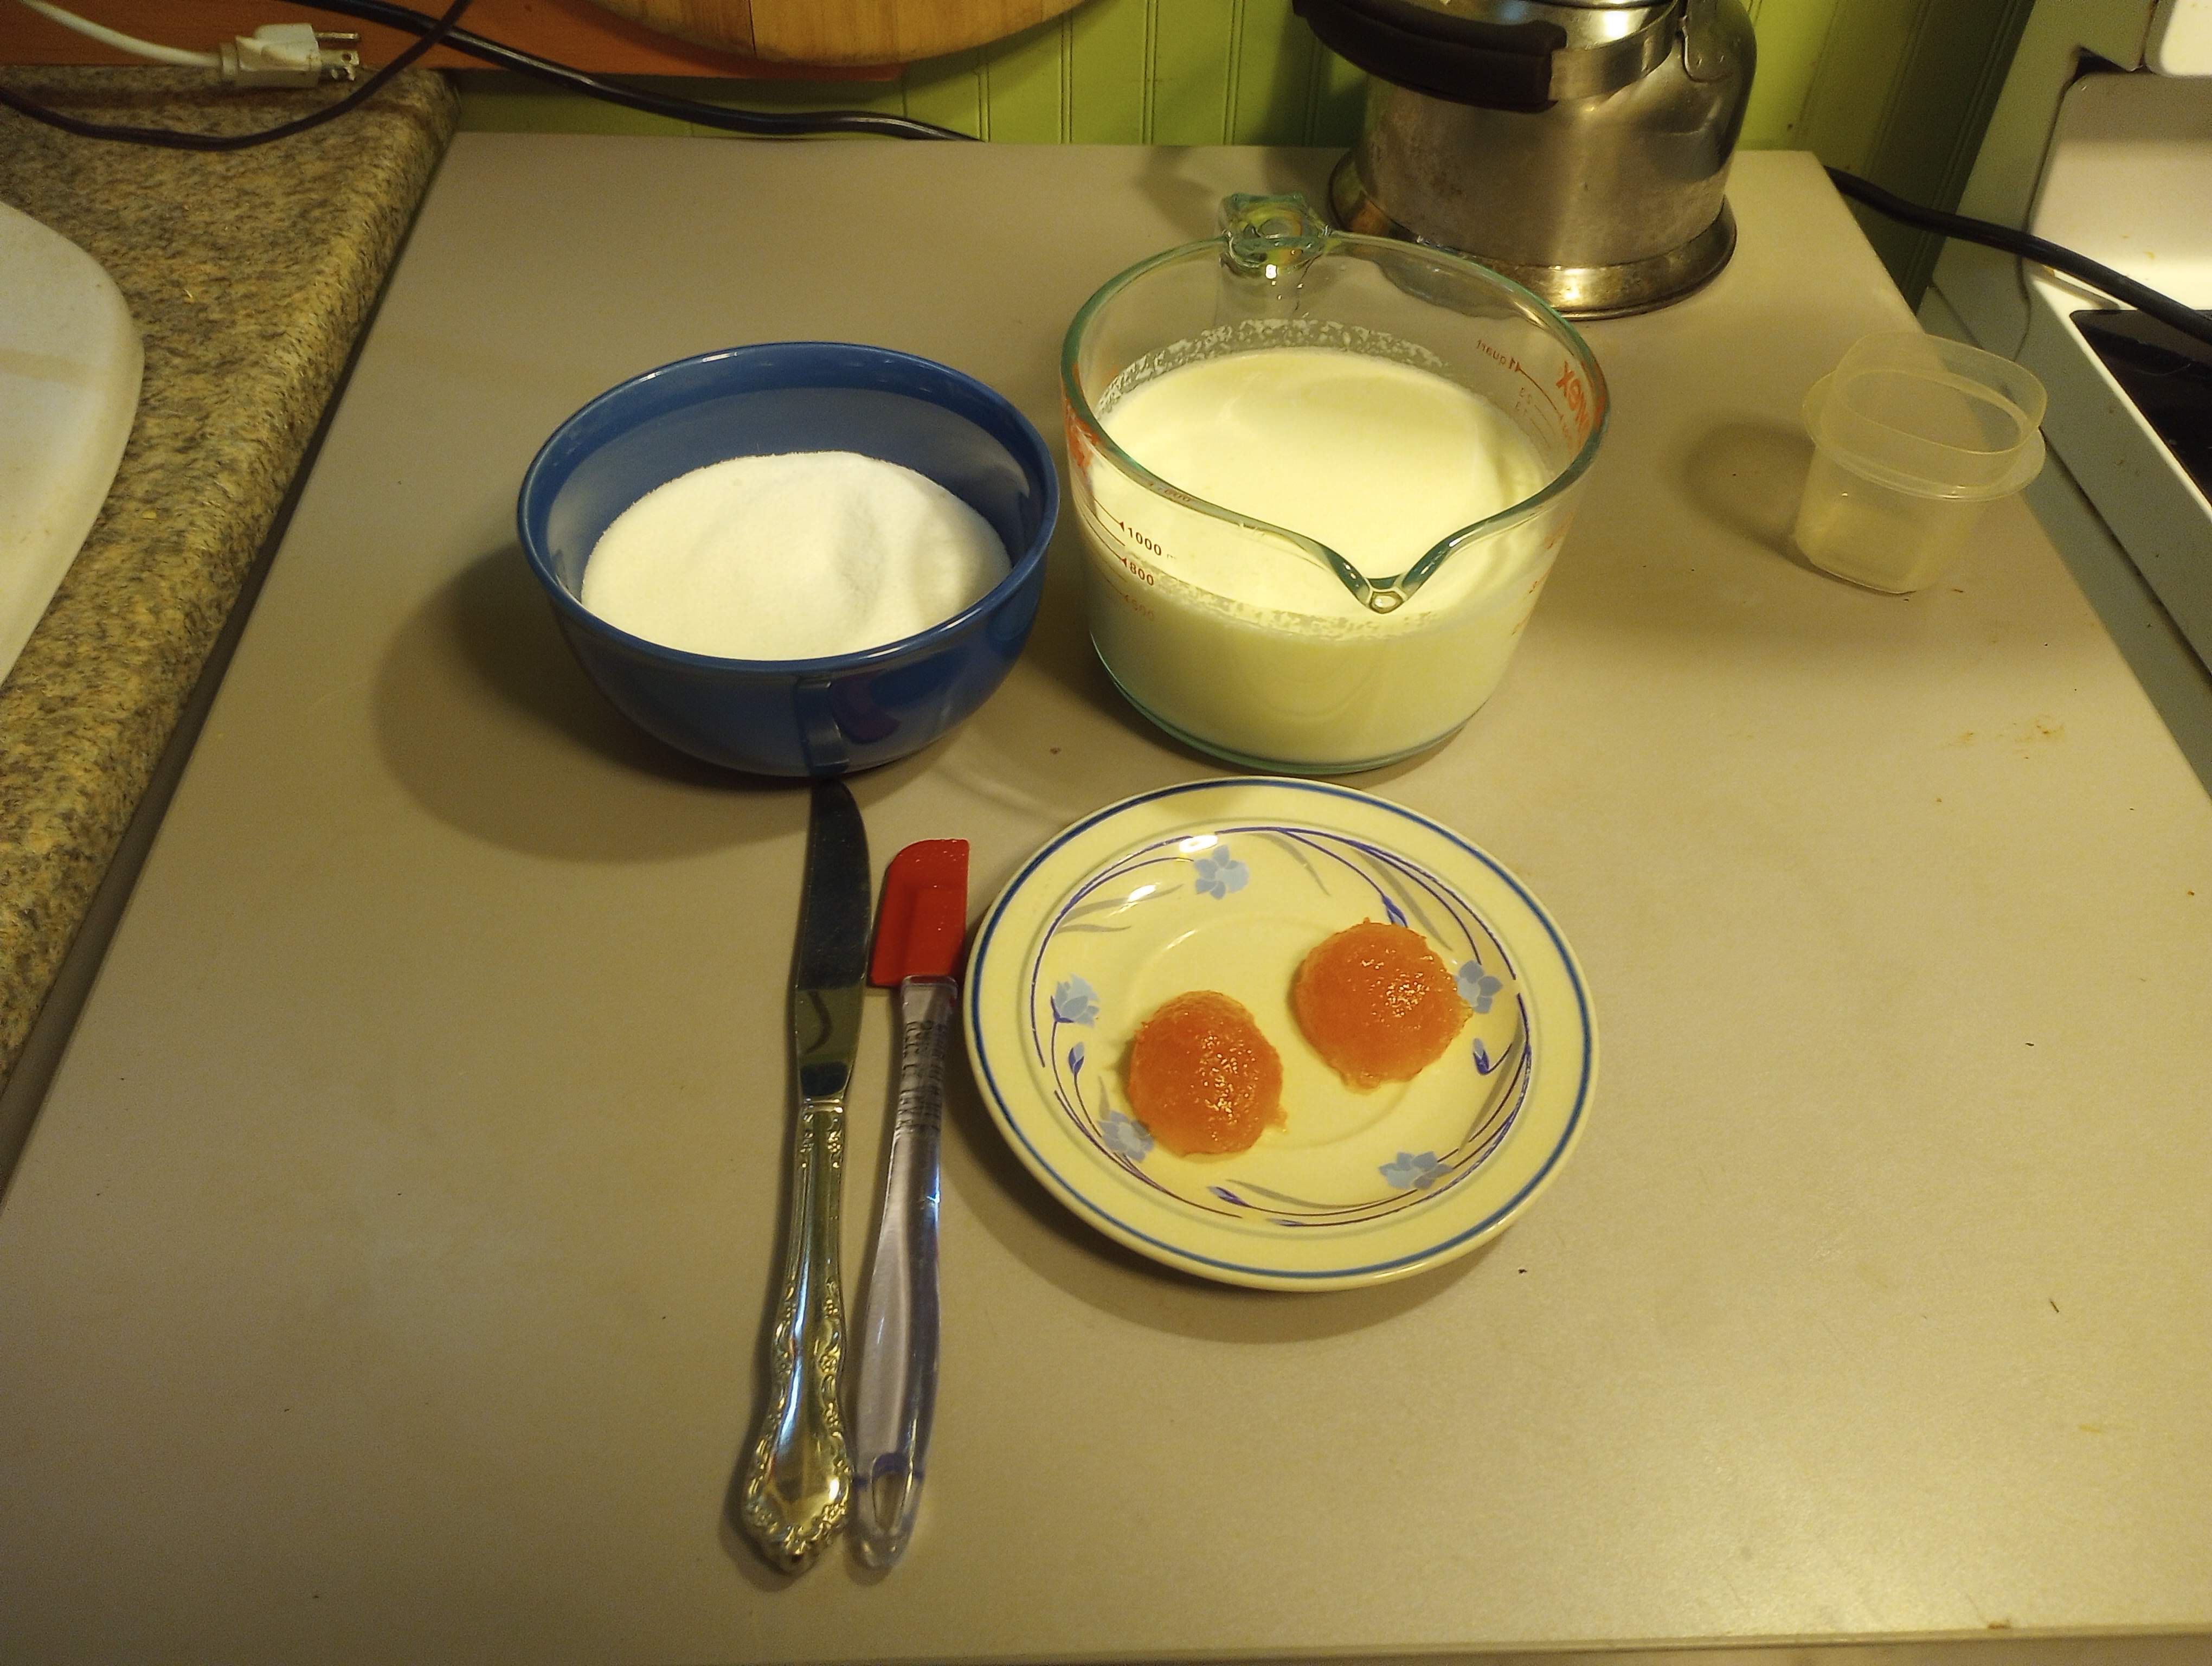
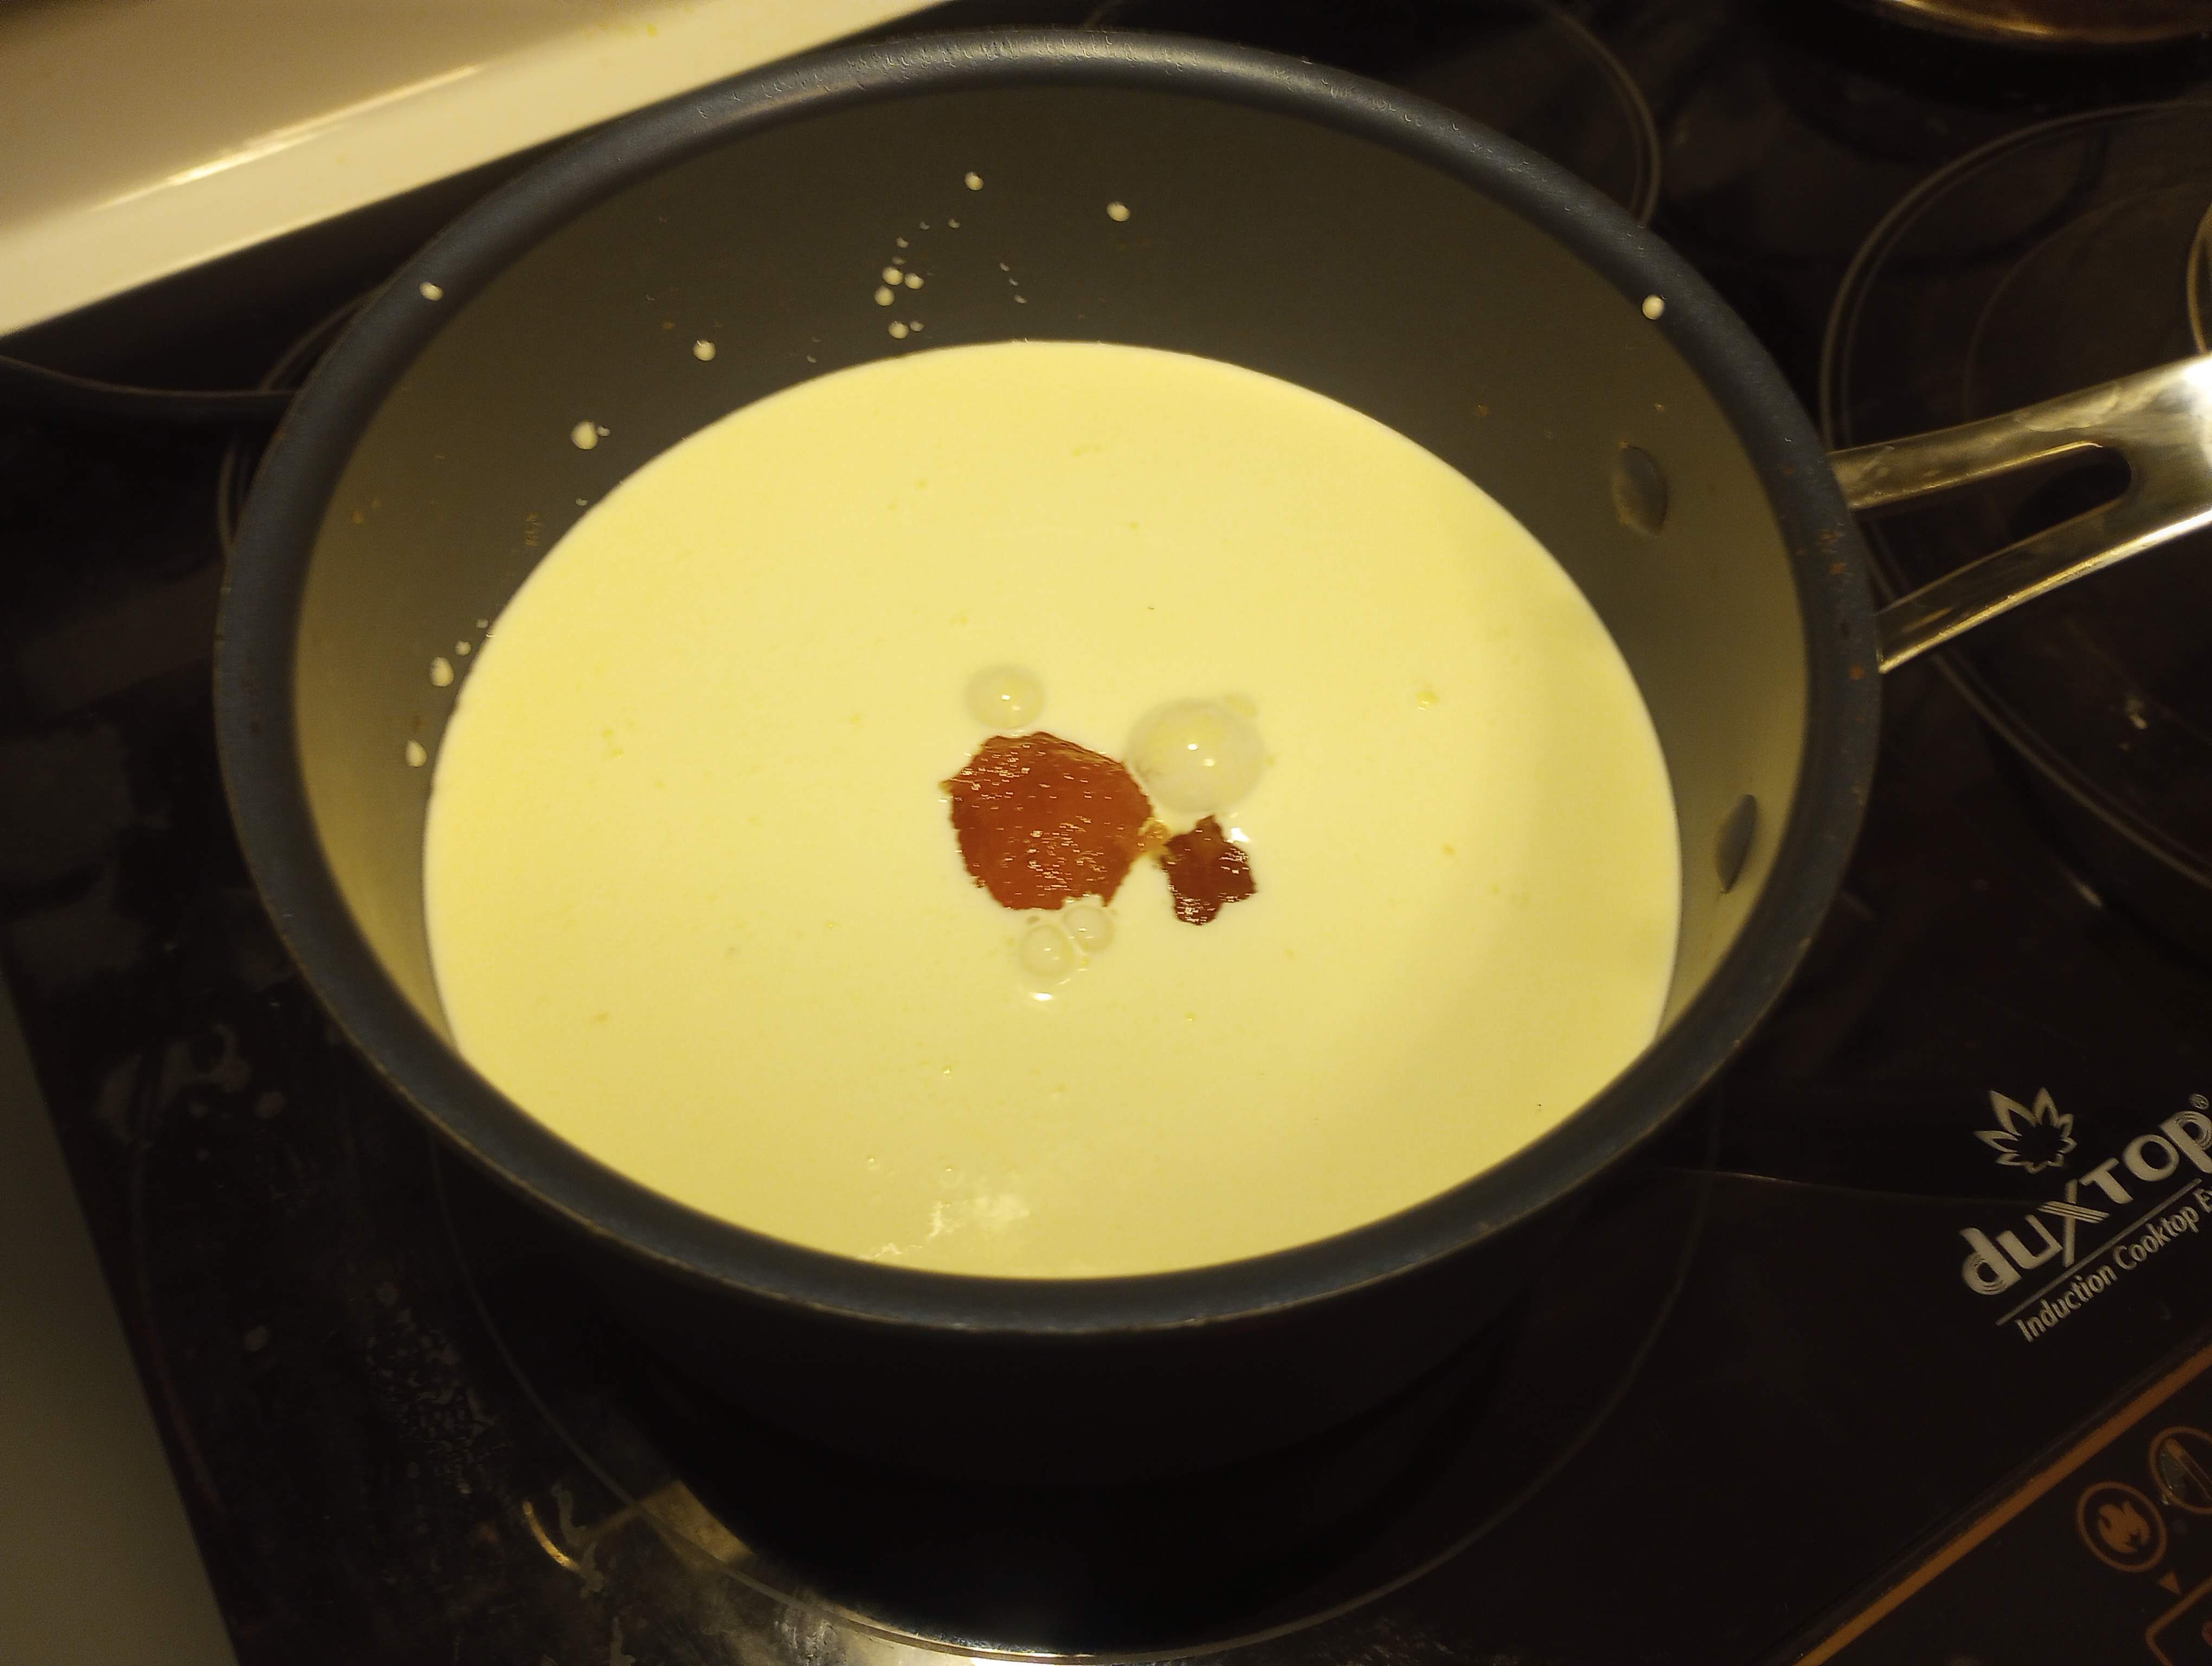
We measured out the ingredients, mixed them in a sauce pan, and heated them together as instructed. We did “cheat” on the vanilla bean part an just used a good dose of vanilla extract. Mr. Food It Yourself measured with his heart, as one should.

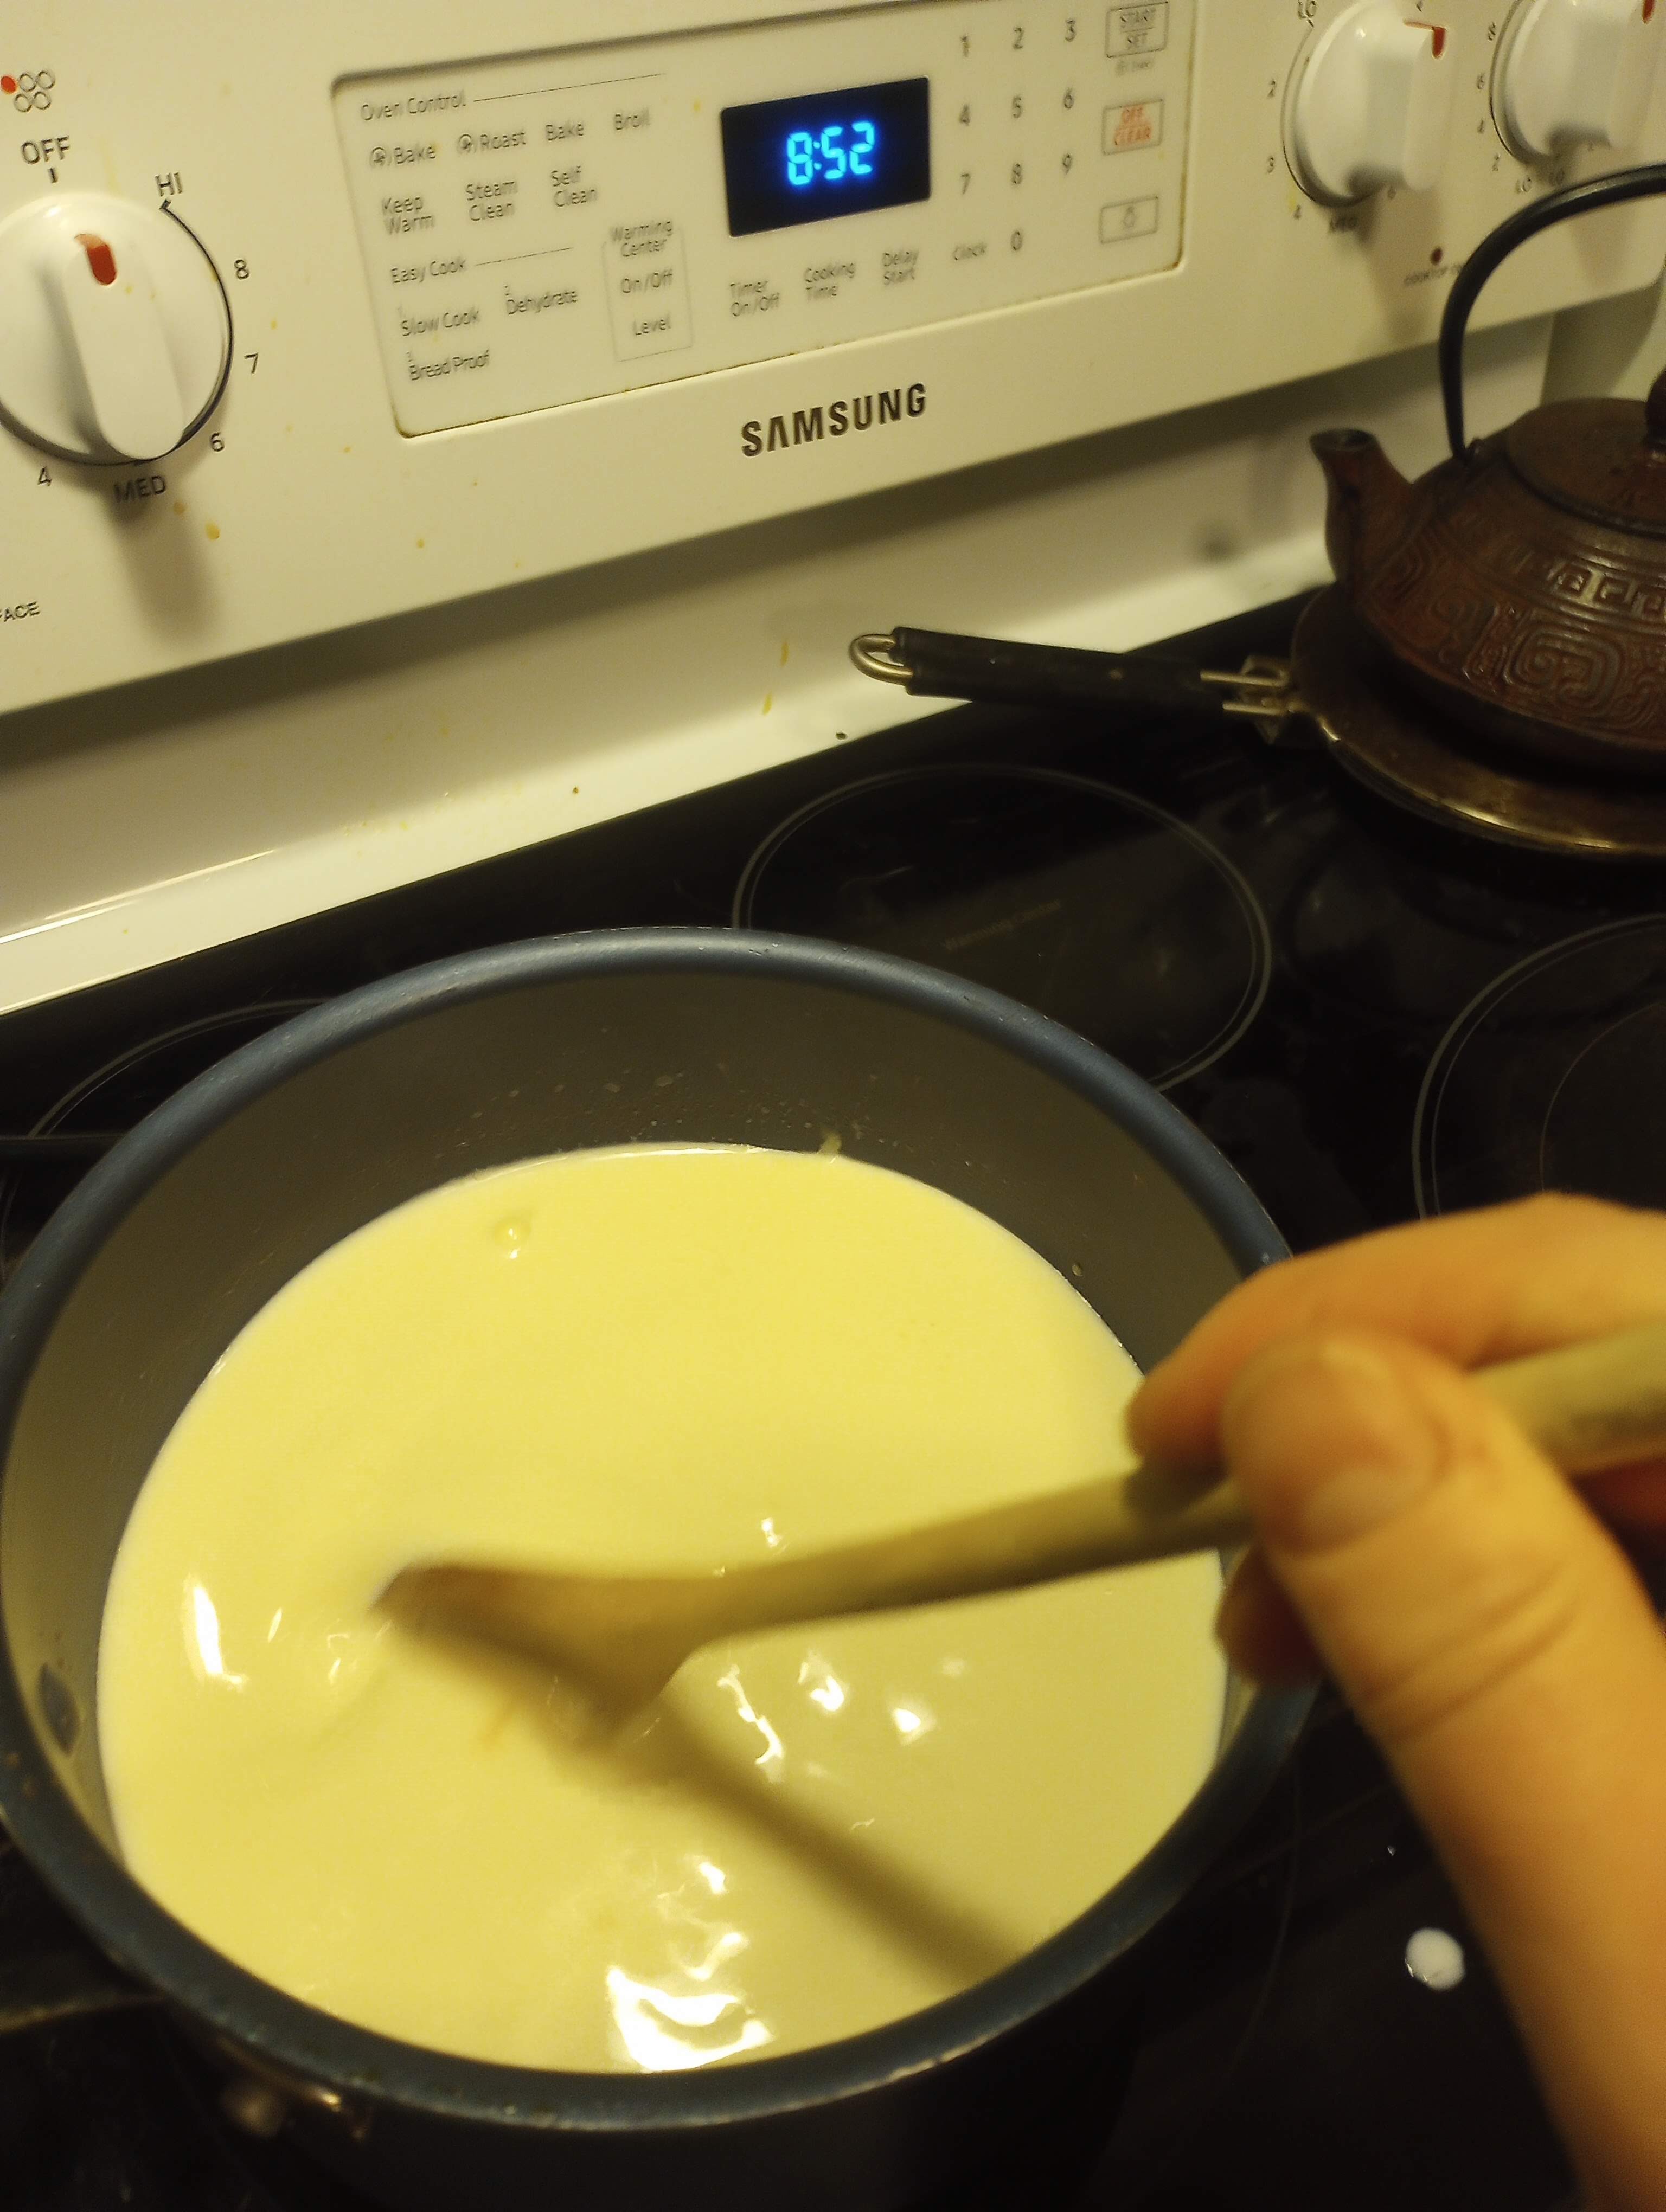
It was then time for a cool down. As noted, it is quite cold here in the northeastern USofA, so the entire outdoors is our refrigerator. Yes, we left the hot pan in the entryway of the kitchen overnight. I did move it to the refrigerator the next morning, as the entryway does warm up in the sun.
The next day we set up the ice cream freezer attachment for our stand mixer. We poured in our ice cream base. I do not have a picture of the pouring process, as it required Mr. Food It Yourself and I to each use both hands. Mr. Food It Yourself made a sluice with a flexible cutting board and I carefully emptied the saucepan into the slowly spinning freezer bowl. As the machine worked its magic, I cleaned the sauce pan and found a suitable freezer-safe container. After 30 minutes we had a soft ice cream in the bowl. Time for that softly frozen mixture to rest in the freezer.

Finally, after another overnight, we were ready for a taste. It was delicious. I like that we have 100% control over the ingredients. We can avoid any possible contamination with peanuts (my severe allergy) or high fructose corn syrup (Mr. Food It Yourself’s serious intolerance). The flavor possibilities are limited only by the imagination. Any fruit, nut, or herb can flavor a frozen treat. If I feel like playing Iron Chef (the original Japanese version) I can try broccoli, parmesan cheese, or squid ink ice cream. Are you convinced that DIY ice cream is worth the effort? If not, here are a few more points to my argument:
- Vanilla not your thing? Food and Wine magazine has a recipe collection of uncommon flavors, none of which are seafood related. Honey-lavender ice cream has my attention.
- No ice cream making appliance? No problem! Food Network has options for you.
- If you somehow have extra ice cream, Taste of Home Magazine has some ideas for using it up, including ice cream cake, floats, shakes, and even an intriguing quick bread loaf!
Ice cream is not required for survival. However, joy is required for humans to thrive. I find myself thriving more when I have the occasional sweet treat. Ice cream is a favorite of mine. What are your favorite treats to DIY? Share in the comments!
