We Pied Our Best.
Thanksgiving is just days away, DIYeters. In some families this day is about gratitude and football. In my family it is about gratitude and pie. This year, my sister, Syllie, and I got super brave and decided to make “real” pastry pie crust.
If you’ve been following this blog for a while then you know all about my problems with pie crust.
I never developed the skills for handling real, genuine, pie crust. Over-worked pie crust has the texture of shoe leather. Under-worked crust falls apart and does not hold the filling. I usually end up with shoe leather. However, Syllie and I like a challenge. We also like pie. So here is what happened…

Step one, I went to Syllie’s house. Mr. Food It Yourself and I were in the middle of having asbestos-contaminated insulation removed from our attic. Vermiculite is not good for pie crusts. We looked at a few different recipes. We wanted something with a little acid in it, which helps prevent over-production of gluten (the dough-toughening protein). We found a really interesting one that also uses an egg for extra structural support. It’s from Ree Drummond’s web site; she’s a food network superstar!
Next, to mix up the pastry. Step one of making pie crust is cutting the fat into the flour and salt. The recipe we selected calls for shortening, although butter, lard, or any solid fat can be used. To be honest, I feel like a bit of a badass using shortening. It feels like I am giving a symbolic middle finger to all the coconut-oil-slurping kale junkies out there. As you can see, the cutting in process goes quickly if your hands are quick with the pastry blender. Syllie’s top tip- get the pastry blender with fins, not wires. the wires smoosh instead of cut.

Once we got the fat/flour mixture looking like coarse cornmeal, the vinegar, egg, and not quite all of the water were added and we mixed it carefully. This is the point where just the right amount of gluten must be created. Using ice water and mixing with a fork help to prevent too much gluten formation.

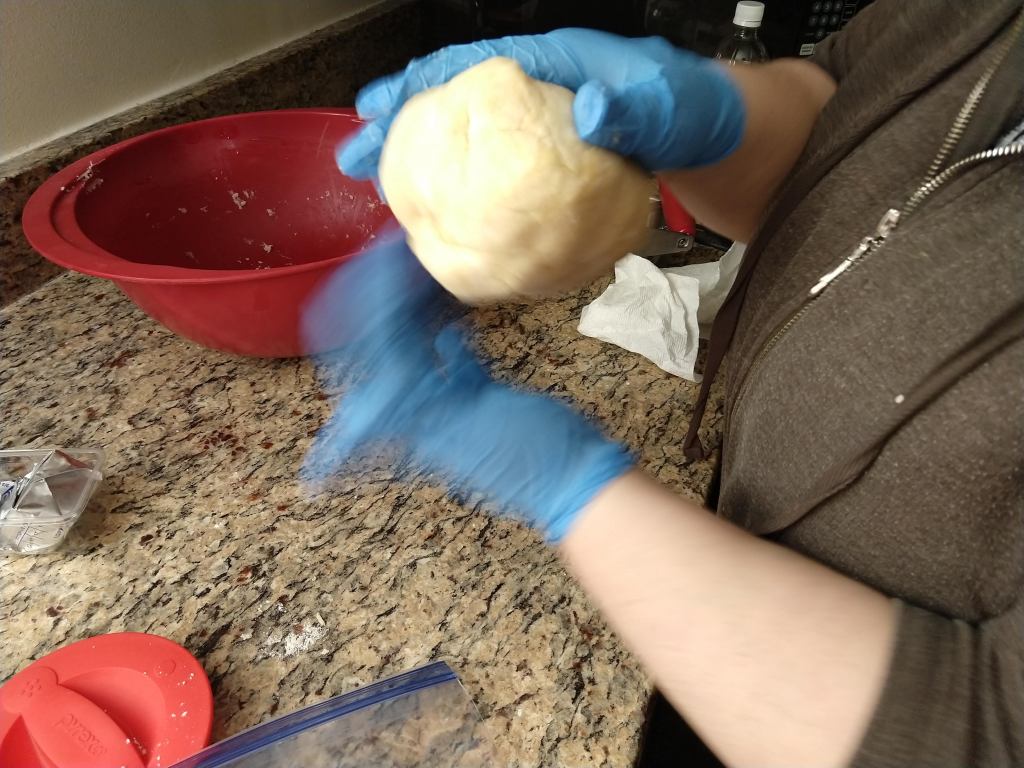
As soon as the dough formed a ball we divided it into 3 sections. One each for the top and bottom of the apple pie we planned to make and one for the bottom crust of a pumpkin pie. The dough portions were stashed in the freezer while the fillings were prepared.
Another top tip my sister shared- to estimate the number of apples you’ll need to fill your pie pan, do a quick dry-fit with the whole apples. Seven was just the number we needed.
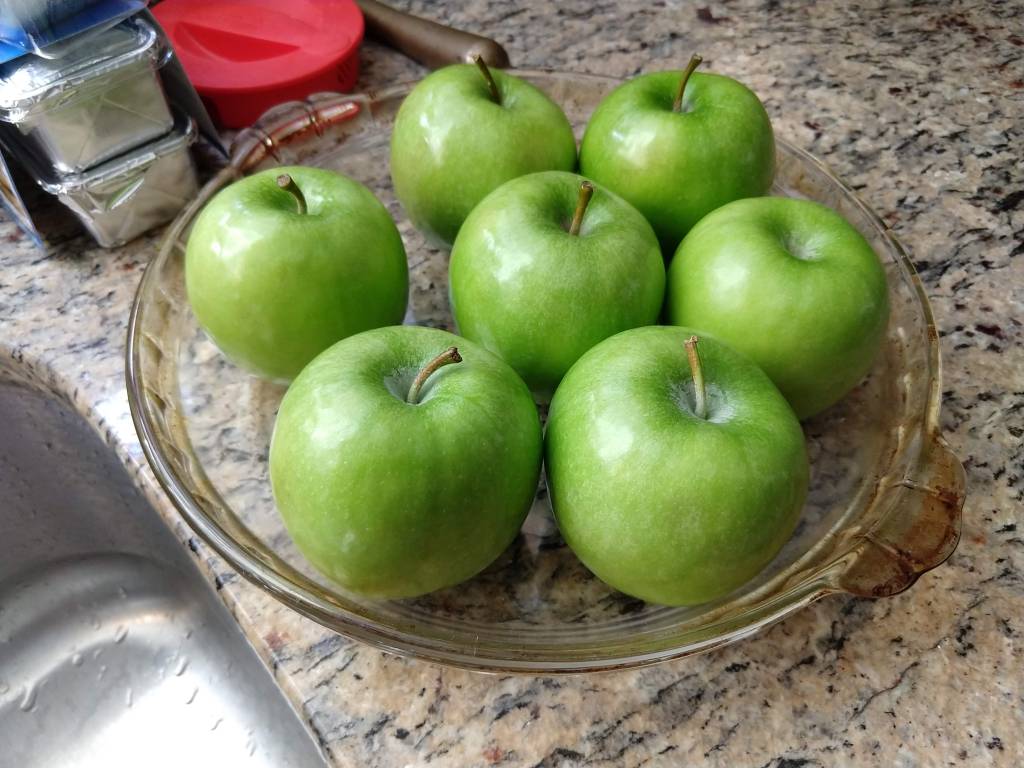
We peeled, cored and sliced the apples, mixed the prescribed measures of sugar, cinnamon and a little flour, then mixed it together.
Then it was time for the ultimate challenge. Syllie volunteered to roll out the bottom crust. This is another danger zone for gluten production. Yes, if the dough sticks to the work bench or falls apart it can be re-rolled. However, every re-rolling creates more of that leathery gluten. Resting the dough between rolls only helps so much.
With gentle pressure and a little extra flour on the countertop, Syllie rolled one portion of dough into a circle-ish shape. She carefully transferred it to the waiting pie pan.

BEHOLD! a successfully executed bottom crust in a single rolling. We dumped in the apples then rolled out a second dough portion to make a lovely lattice top to the pie. Then, it was off to the oven. Another tip (this one we inherited from our super smart mother)- cover a cookie sheet with foil and place it in the oven on the rack under the pie. Any pie filling which spills will be a breeze to clean up.
Then it was my turn to roll out the pumpkin pie crust. It was tense, but I managed to pull it off.

Just kidding. When the pastry initially hit the pan it looked like this:

Syllie and I very very very carefully pinched the ripped edges together to create a seamless holder for our pumpkin custard. I think we handled the dough gently enough to prevent toughening it.
Here are the final products, two beautiful pies.

Naturally, we will not know the texture of the crust until Thanksgiving day. There will be an update after dessert, I assure you.
Cooking and baking are skills, just like playing the tuba or throwing a curve ball. The only way to get good at it is to do it, and to get it wrong along the way. I am glad I pushed my skills making pie crust. How have you challenged your self in your DIYet this year? How did it turn out? Share in the comments.
