Thankfully, I’m Getting Over It
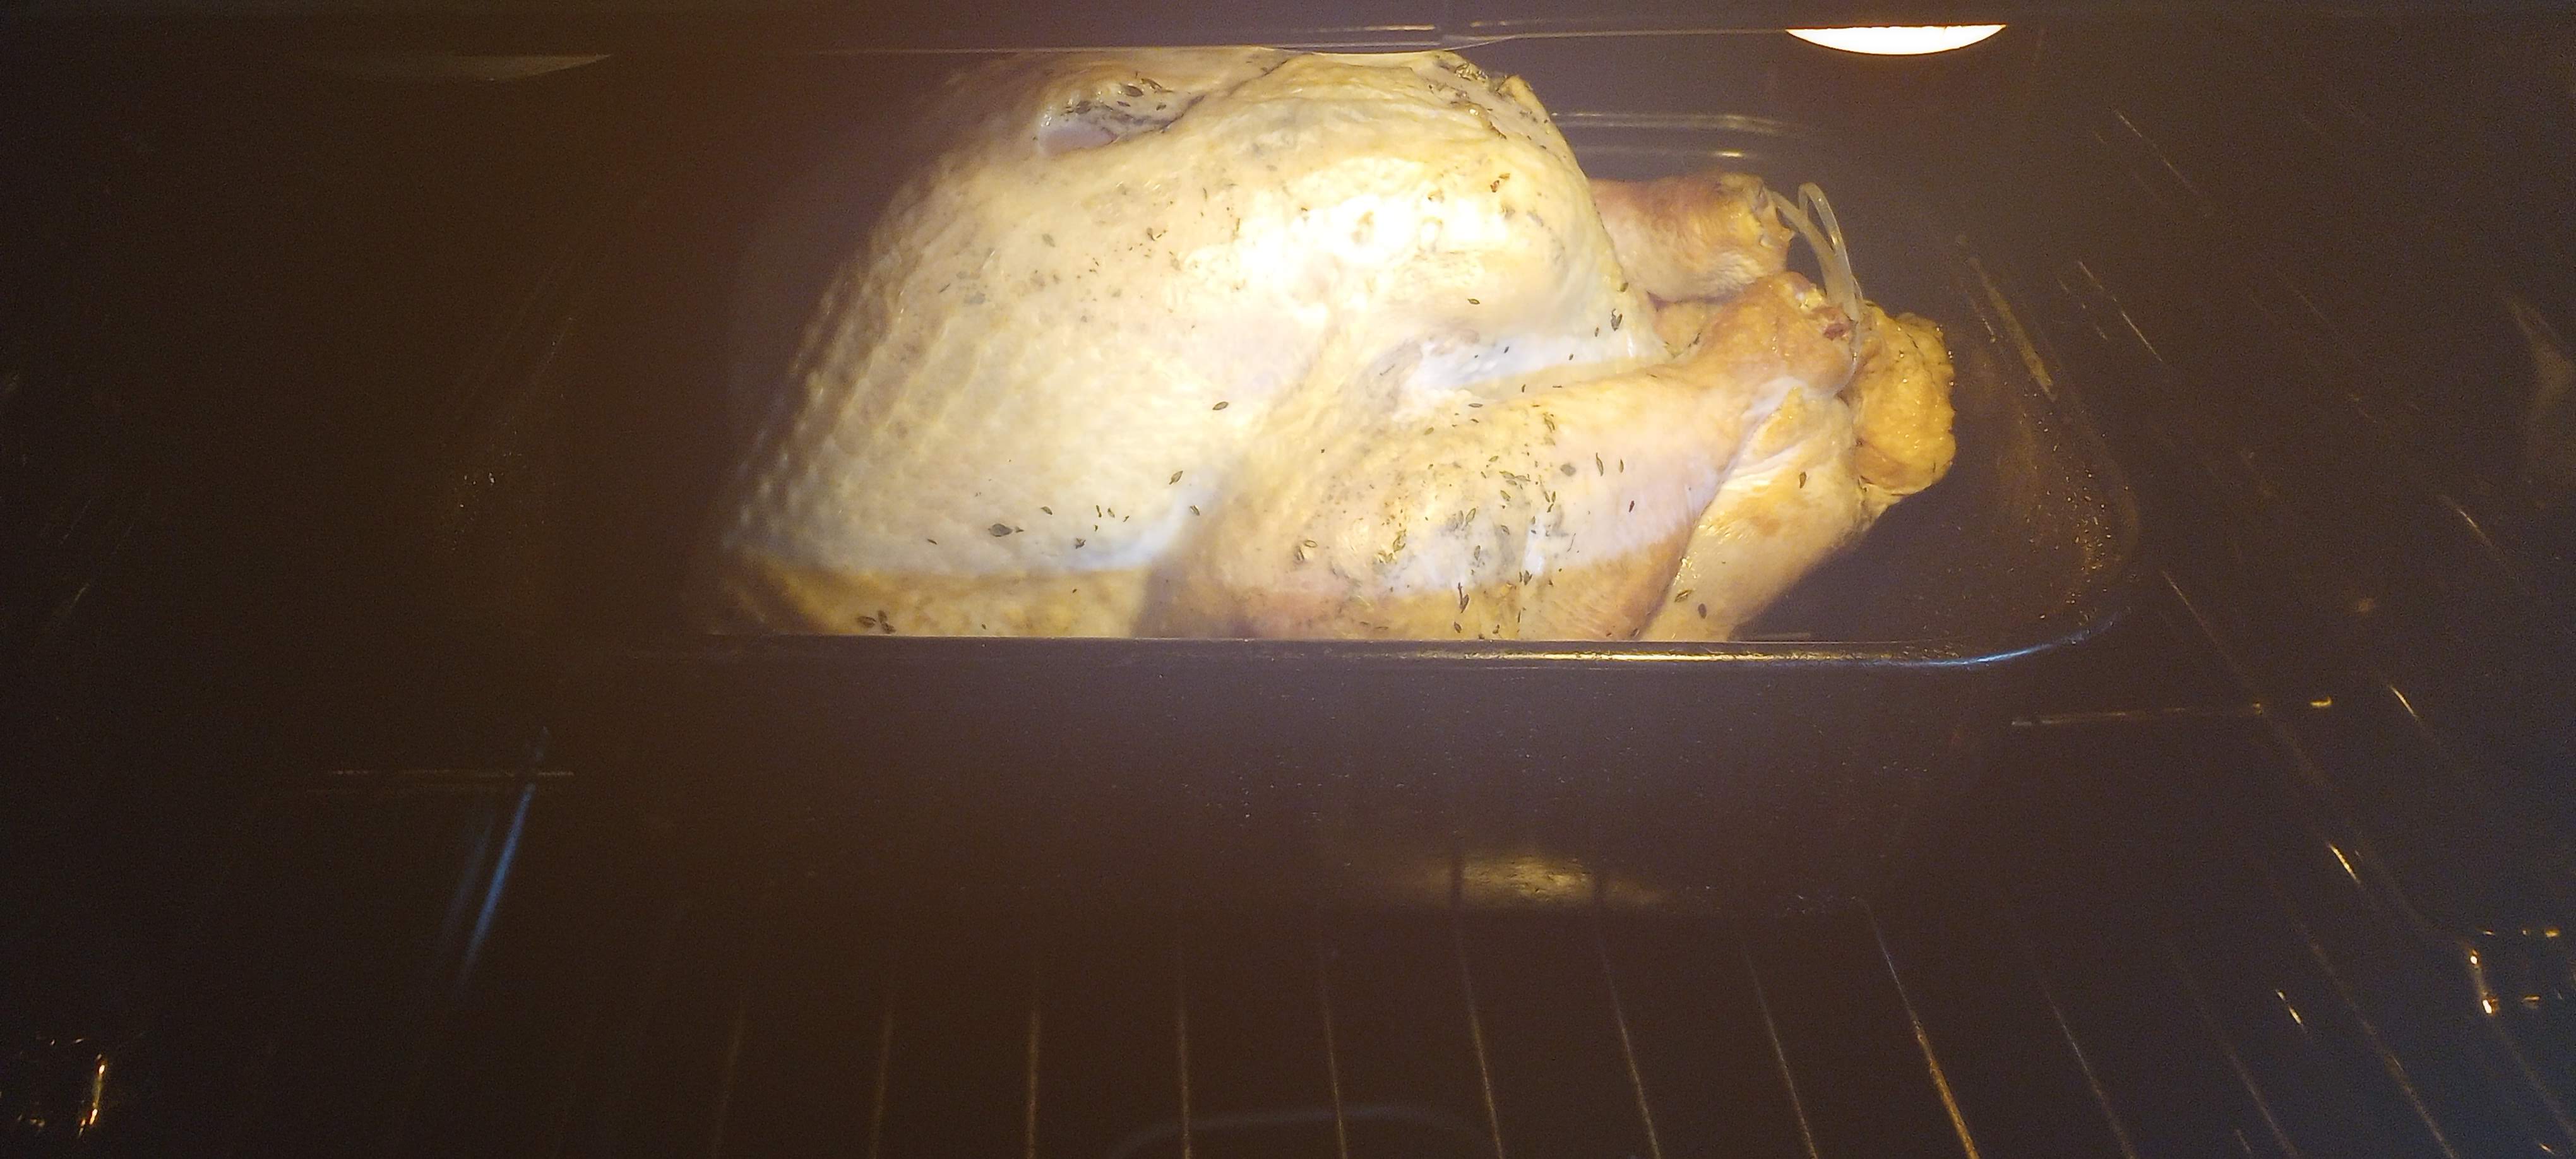
We celebrated Thanksgiving Day in the USA on November 24th. Although this has been a challenging year on many levels, we have plenty to be thankful for. We enjoyed the day with family, a roasted turkey, and pie. After the leftover light and dark meat were shared out, we were left with with a meaty turkey carcass, perfect for making broth. What better way to express gratitude for our food than to reduce food waste to the absolute minimum? If you have never made broth from scratch before, it is easy to do. All it takes is a big pot, some aromatic vegetables, and time.
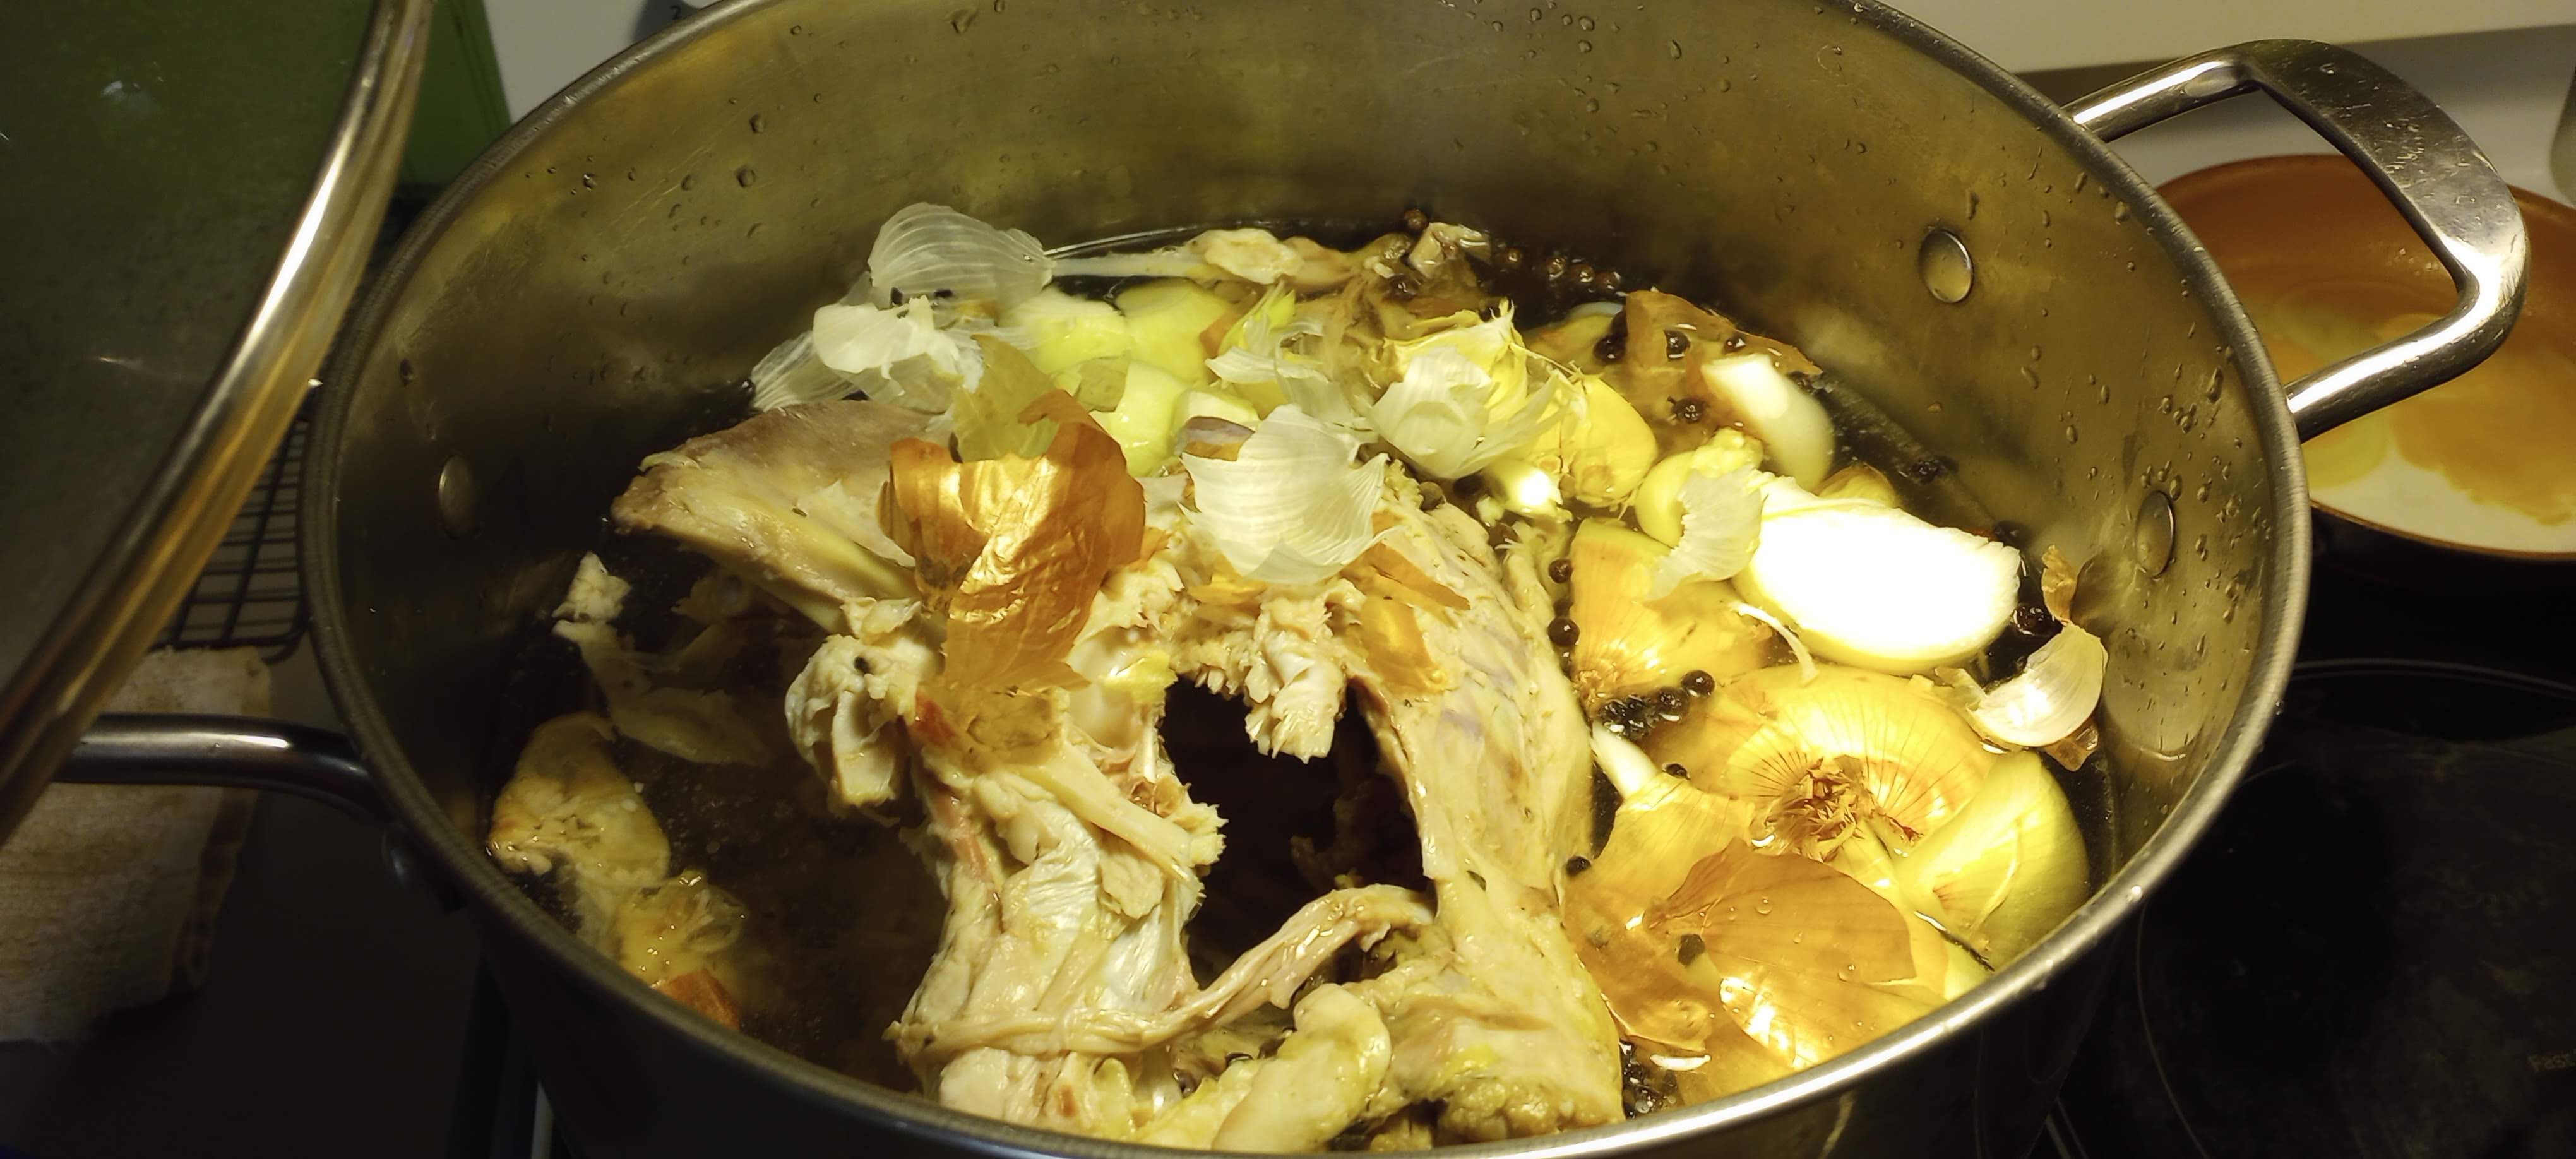


After roasting and feasting on your chosen turkey, place the bones in a big pot with some carrots, celery, onion, and garlic cloves. Just follow your heart on how much of each to use. My top tip- plan ahead. Save the celery trimmings, carrot ends and onion skins from your meal preparation. As long as they are nice and clean, they can go in the pot. Mushroom stems would be a good addition, if you have them. Add any other herbs or spices you like. I added some pepper corns and a few dry allspice berries. Do not add salt until the end. As the broth cooks and water evaporates, the broth will concentrate and may become too salty. Let it all simmer together for at least four hours. If you can give it 10-12, that is excellent.
After the broth is well-flavored and a bit reduced in volume, take a taste and see if it needs salt. I dry-brined my turkey, so no additional salt was needed. Strain out the bones and mushy vegetables, divide into smaller containers, and chill. We had a cold night in central Massachusetts, so I used my entryway as an extra refrigerator. The next morning, I removed the layer of congealed fat from the cooled, gelatinous, rich broth.
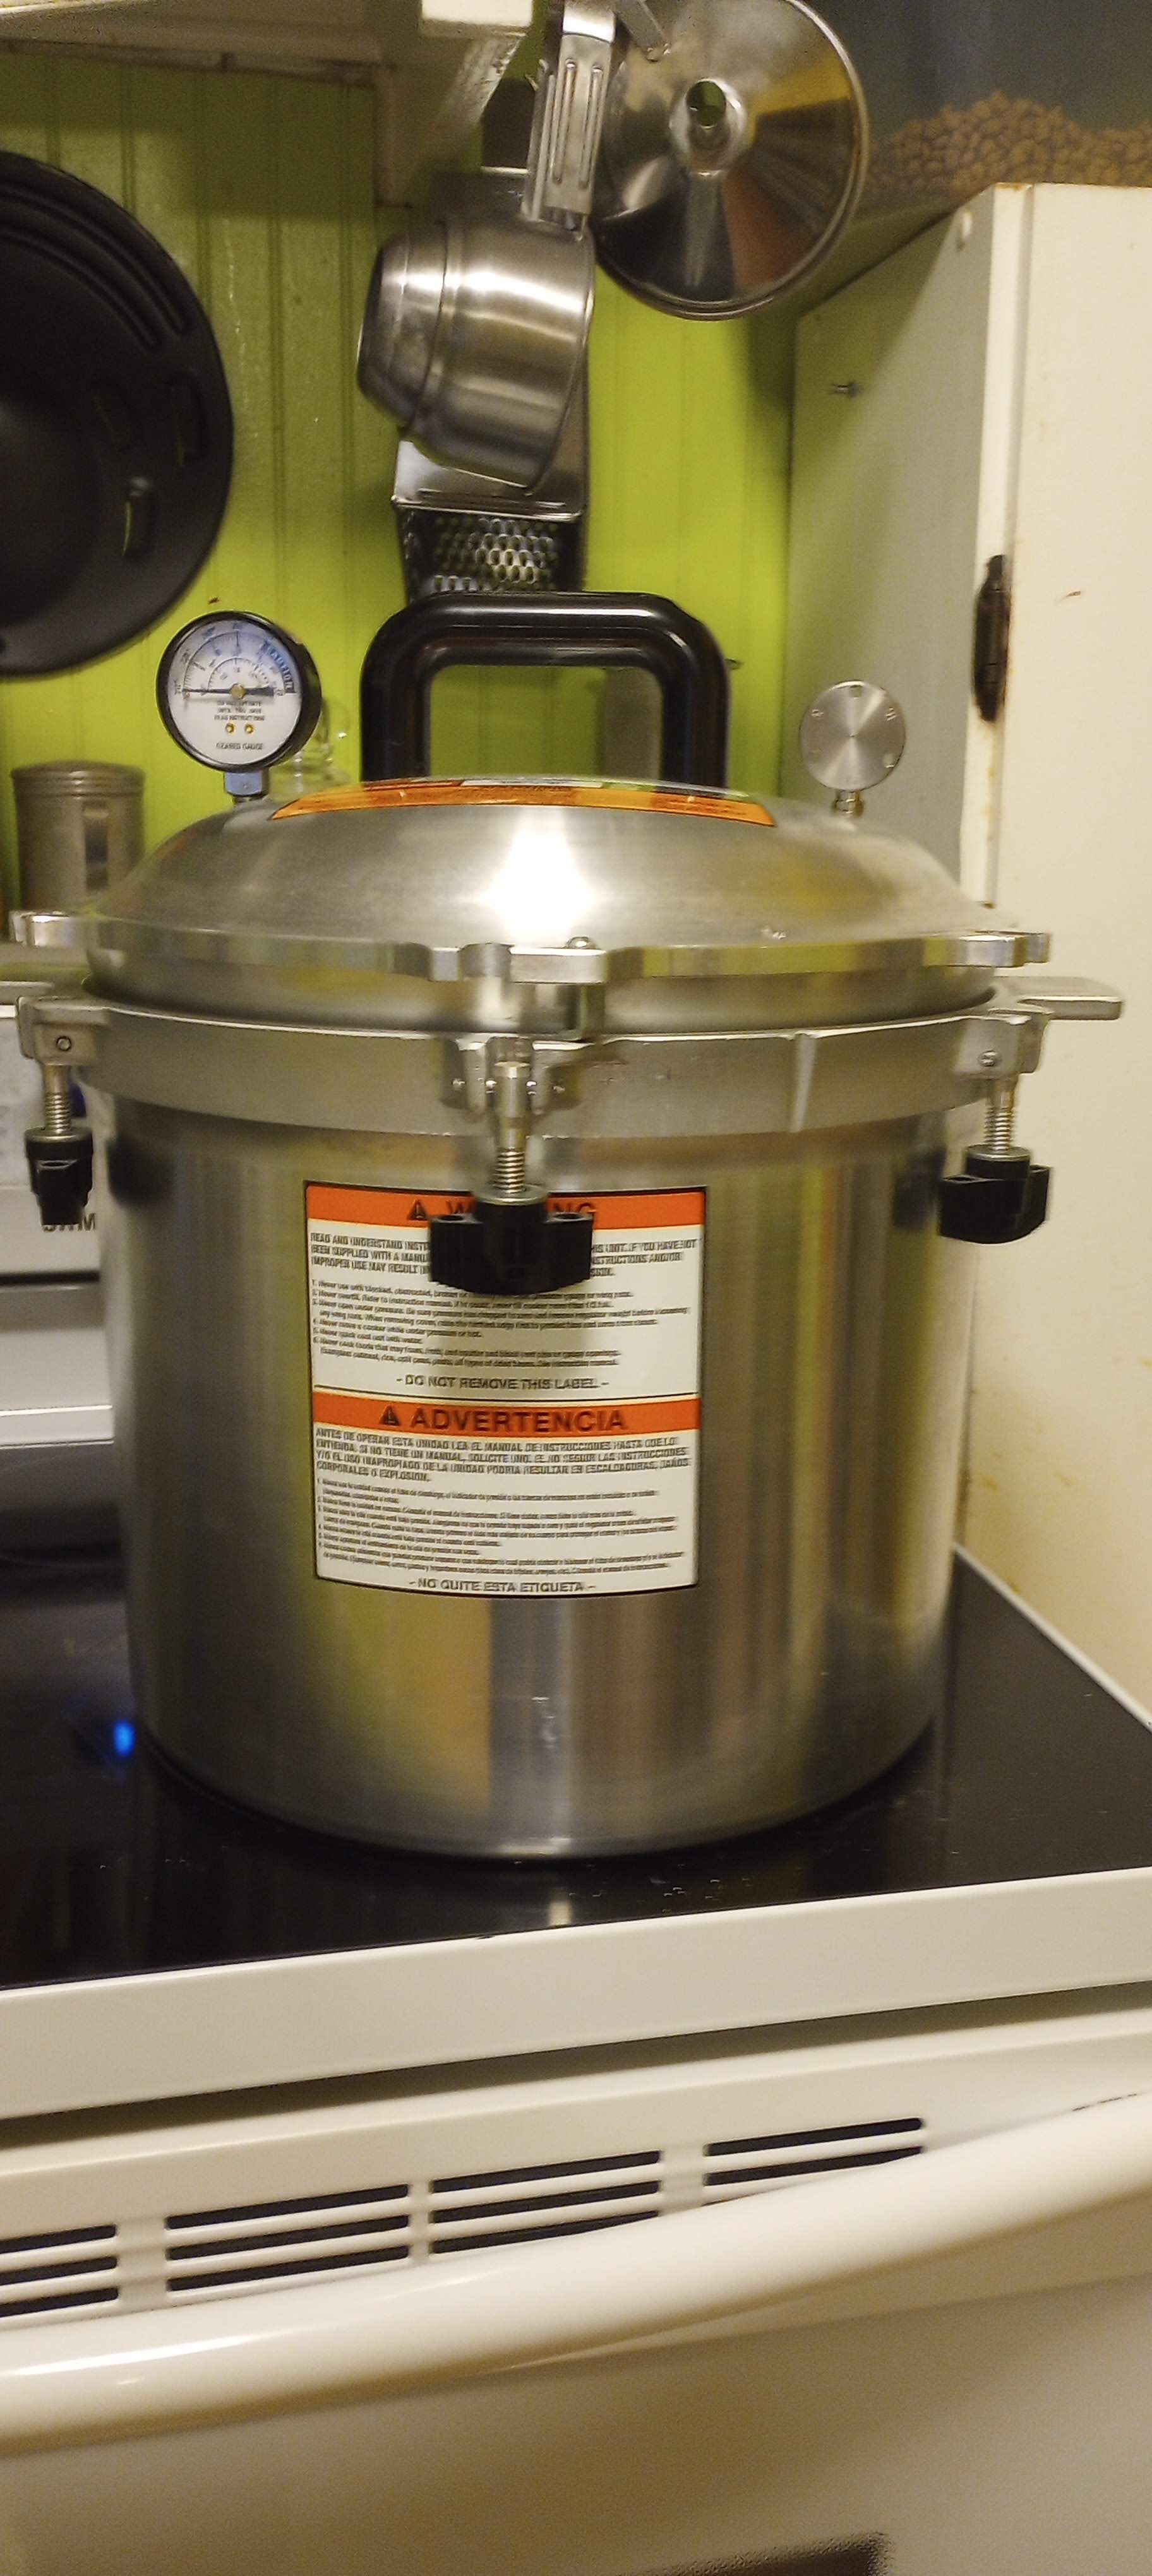
How should such a treasure be preserved? The freezer is an obvious answer. Indeed, some of the broth went into the freezer (more on that later). However, I have the means to store this broth, long term, at room temperature, thanks to my amazing pressure canner.
I have owned this apparatus for quite a few years. We named him Bender. I have never used it because I am afraid of it. I decided that this was the time to be brave and give pressure canning a try. Despite the potential for serious property damage, (do an image search for “pressure canning fails” if you want to see what I fear) pressure canning is the only safe way to can low-acid foods at home. Getting comfortable with my pressure canner opens up the possibility of canning such things as beans, soups, even fish! It is absolutely worth facing this fear.
First, I read the instruction manual for my particular model of canner. Studying the instructions both reminded me why pressure canning is scary, and gave me a confidence boost. Always read the instructions for your kitchen appliances.
The pressure canning process starts like any other canning session. I made sure I had all the tools and supplies I would need. I washed the jars, lids, rings, and tools in hot soapy water. I got the broth heated to boiling. The instruction manual noted that the jars only had to be kept hot, they would be adequately sterilized during processing. I did give the lids and rings a 10 minute bath in hot water to prepare the sealing surface of the lids.

While that was happening, I added just a little grease to the metal-on-metal sealing surface of the canner, per the manufacturer’s instruction. I filled the canner with precisely 1.5 inches of water. This is a big departure from water-bath canning, which requires the jars to be covered with boiling water. Your canner’s instructions will tell you exactly how much water to add. Next, I filled the jars, leaving one full inch of headspace, cleaned the jar rims, and placed the lids and rings. I put the jar lifter in the pot, then the full jars. The most critical step was securing the lid of the canner. It took three tries, but I got the gap between the lid and the pot even all the way around.
I cranked the heat to max on my stove. I will admit that I bent “the rules” a little here. The manufacturer’s instructions warned against using the canner on a flat-top electric range as damage to the glass top can result. Further research determined that this warning is for legal purposes and as long as you move the canner gently and do not over-fill it, the odds of damaging the stove top are minimal. Once I had a steady spout of steam from the vent pipe, I started a timer for 7 minutes. Venting reduces the volume of air in the canner, allowing the lids to form a vacuum later.
With the venting time up, I carefully placed the weight on the vent pipe and watched the pressure on the gauge rise. it did not take long to hit 10 pounds of pressure. I set my timer again for 25 minutes, as the instructions and lowered the heat until the weight was only “rocking” 1-4 times per minute. Surprisingly, I was able to maintain the appropriate pressure with the burner on low. After 25 minutes at 10 pounds of pressure, I cut the heat, moved the canner carefully to a cool burner and waited until the pressure gauge returned to zero. I could hear lids snapping and popping, a good sign. I also smelled turkey broth, which I found odd.
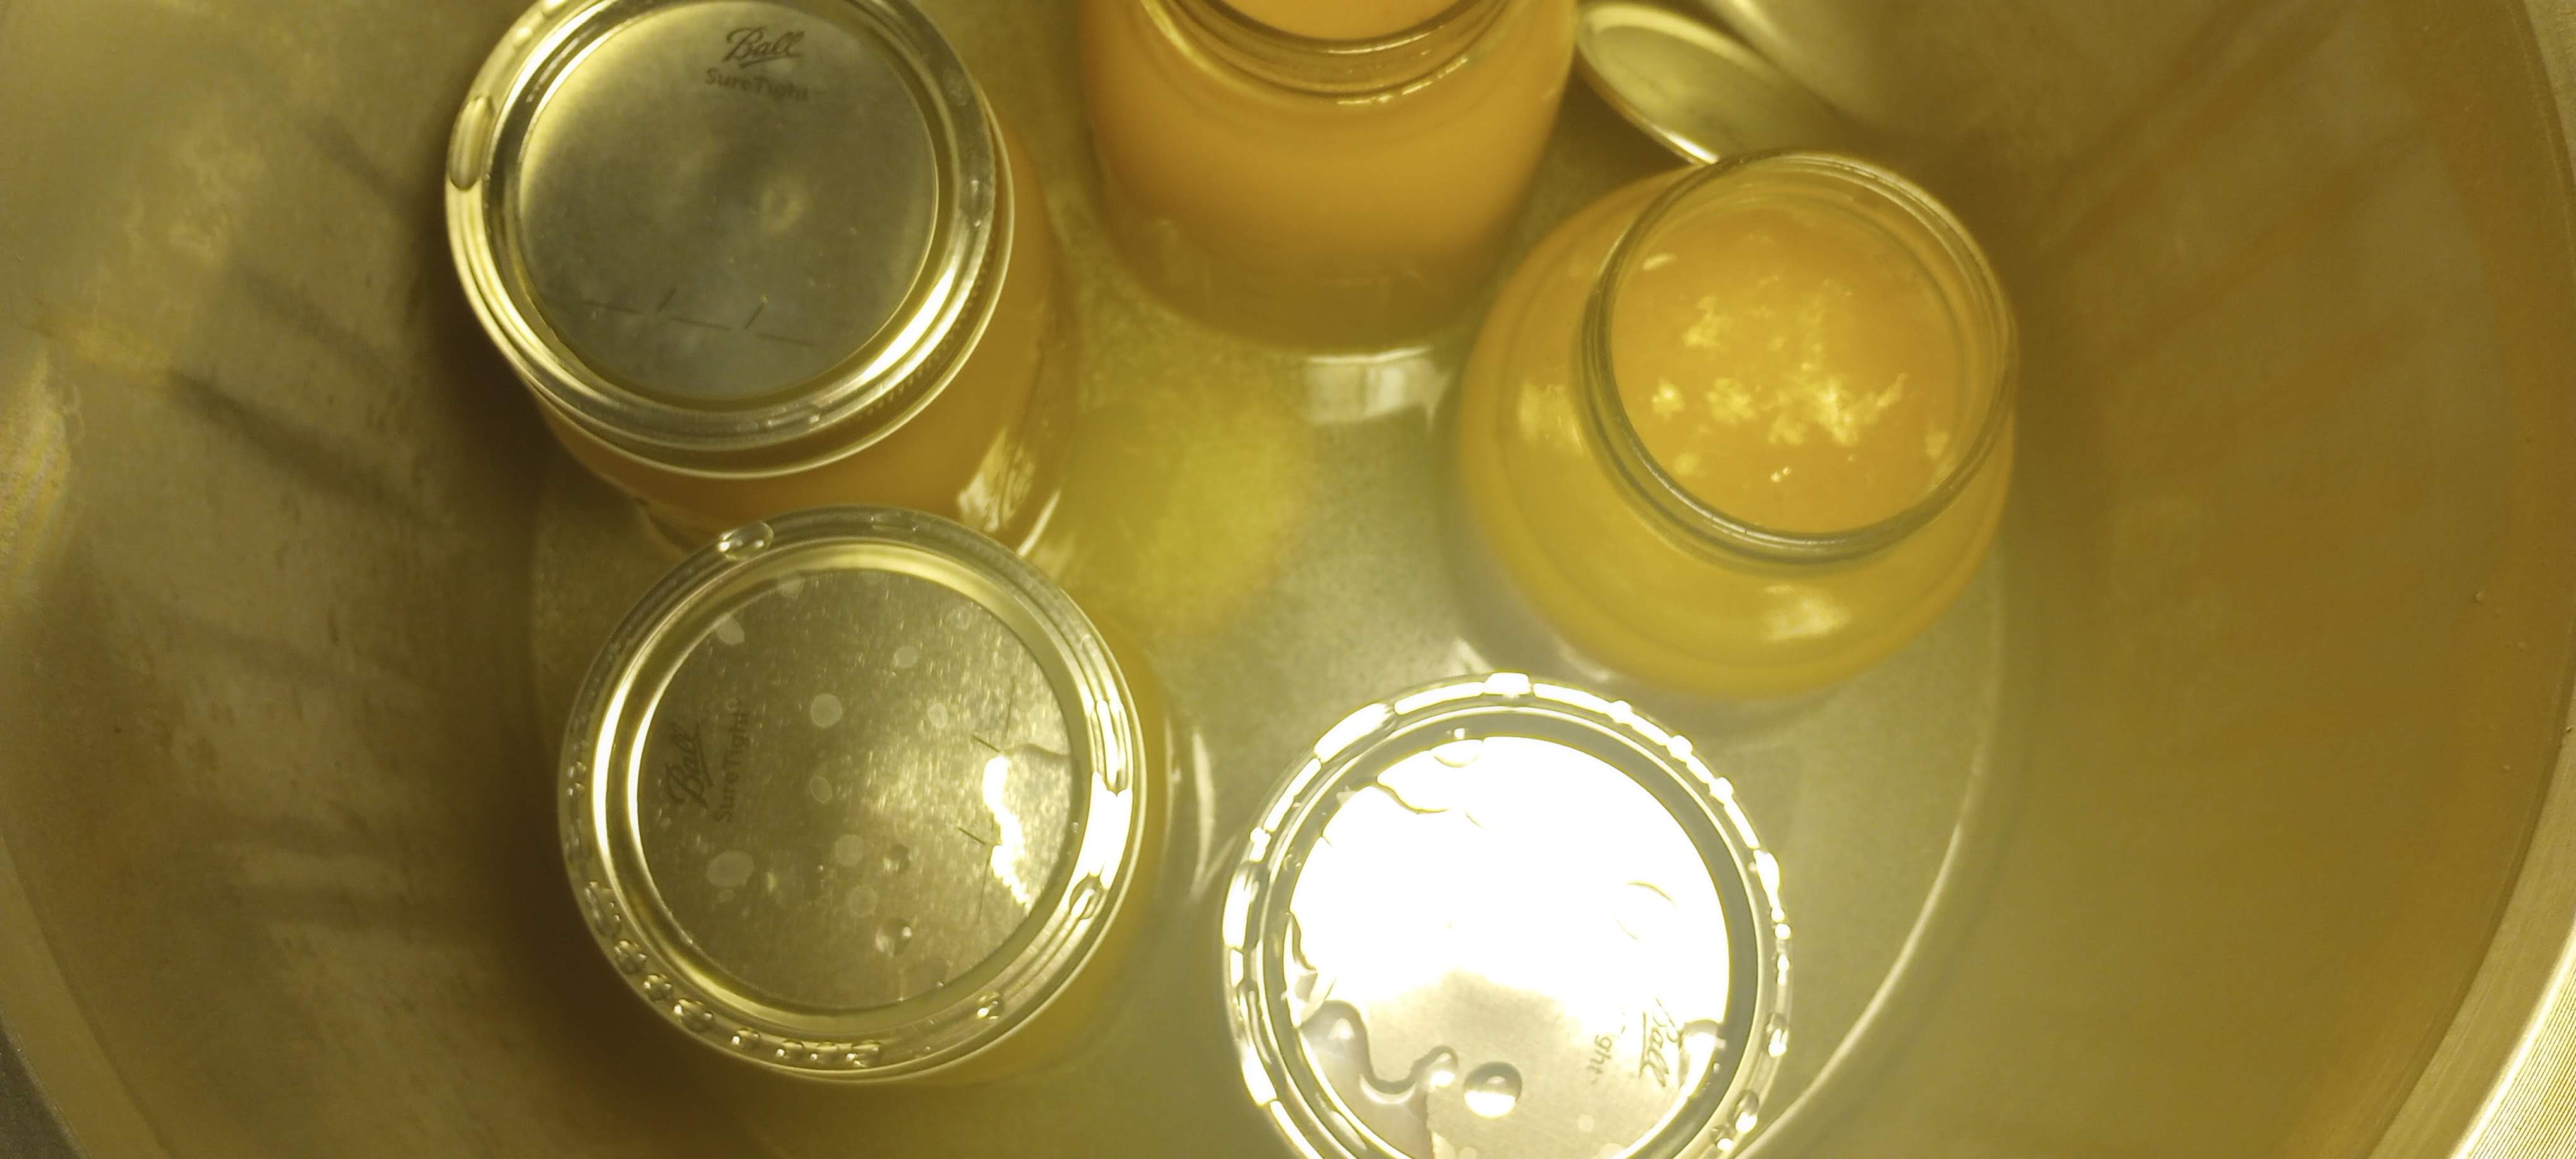
When I finally opened the canner, I discovered two of my five quarts were topless- what a scandal! (Also, that is why I could smell broth.) The broth from these jars went into the freezer. The other three jars were allowed to cool thoroughly; each one remained sealed after 24 hours. During that 24 hours, I did a little research about why my lids would pop off. I may have put the rings on too tightly, which would prevent the lids from venting air during processing. The result is “buckle and blow”, the lids bow outwards with pressure, then pop off. Another factor could be inadequate venting. The current recommendation, according to The National Center for Home Food Preservation is to vent the canner for a full 10 minutes. Inadequate venting leads to excess pressure inside the canner and the jars. The liquid in the jar then boils too hard and pops the lids off. (Remember from high school science that higher atmospheric pressure raises the boiling point of a liquid? Now you remember.)
I feel like home-made broth was a good choice of food for my first pressure canning adventure. Home made broth is inexpensive and requires little effort, so if all of it had been ruined I would not have been at a huge loss. Imagine loosing a large portion of a string bean or carrot harvest! I am, in fact, planning to make more broth for my next pressure canning trial. Only when I have confidence in in canning inexpensive, easy things will I attempt to can something more precious.

What is a major food preparation or production fear you have conquered? What fears still haunt you? Share in the comments. We can learn from and encourage each other!
