Finally! I Picked Enough for Pickles
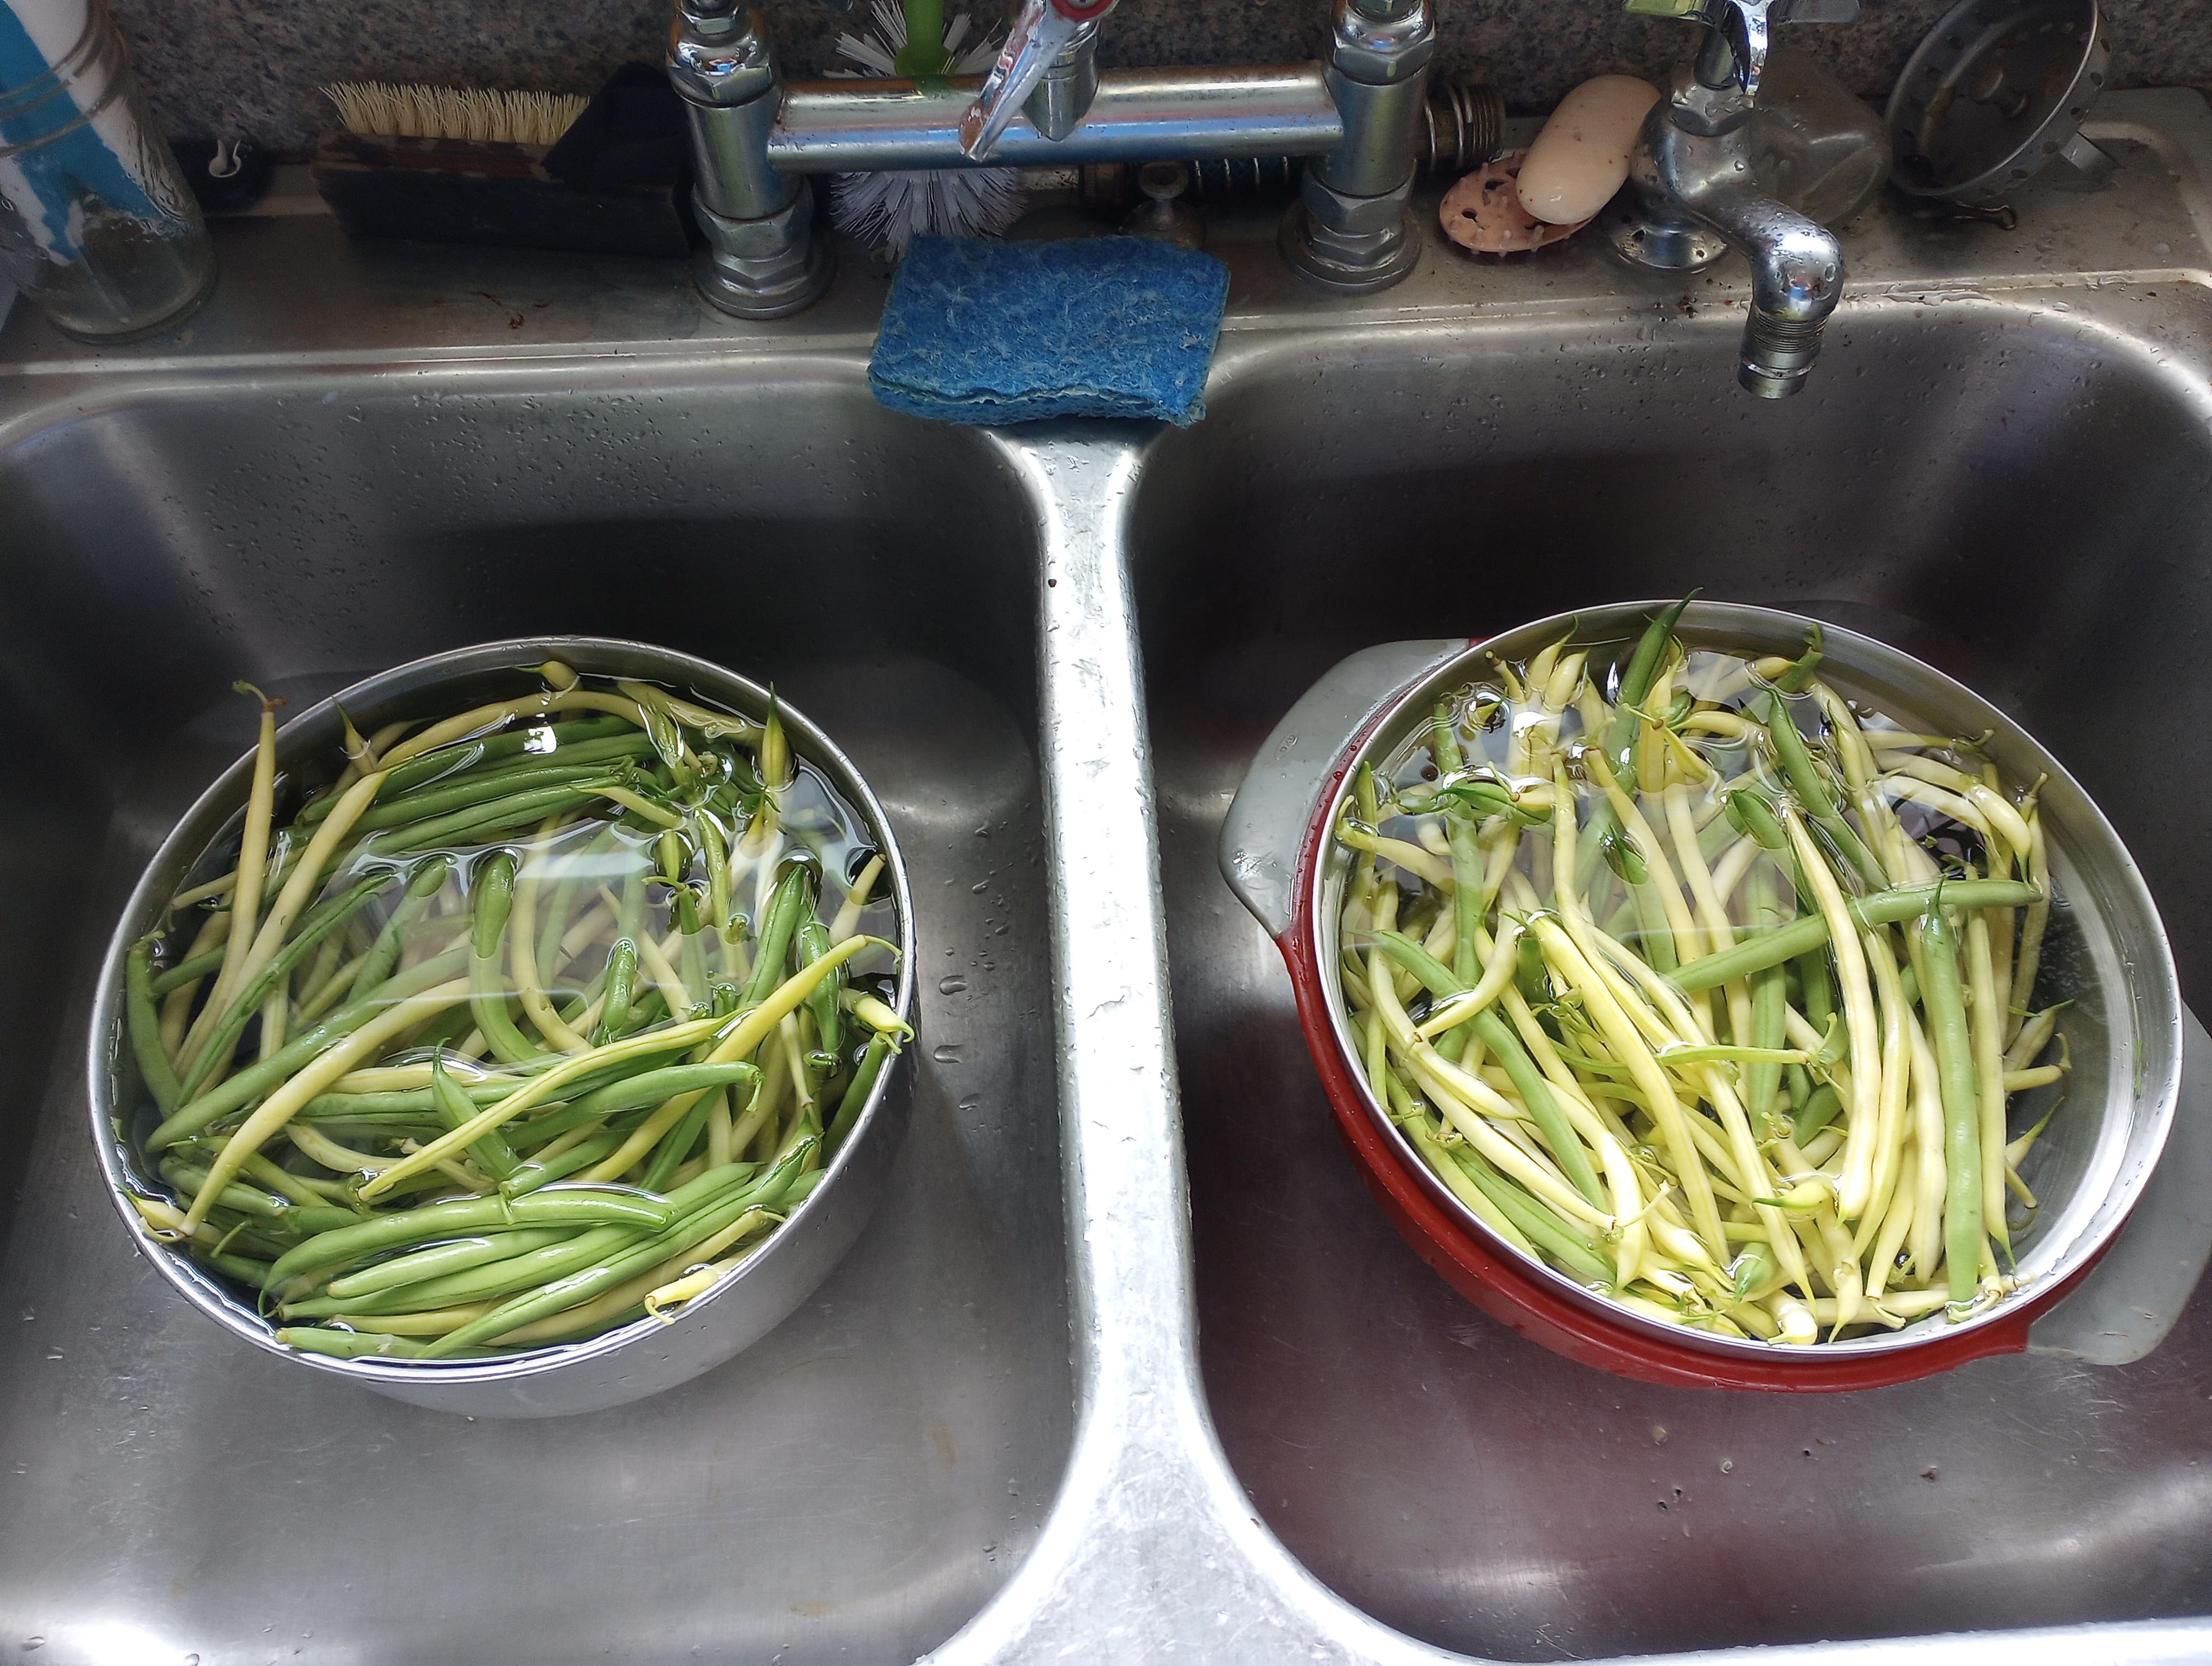
This week it finally happened- I picked enough string beans in one day to make a batch of string bean pickles. I love fresh string beans, so I grow them every year. In fact, I am currently growing two, 4×8 foot raised beds of string beans (one of Provider green beans, one of Yellow Pencil Pod was beans). Mr. Food It Yourself is not the greatest string bean fan, but he does like pickles. I am hoping that pickled string beans will win him over. The biggest stumbling block has been the availability of adequate beans. String beans really do have to be processed the same day they are picked. For the first time, I had four pounds of string beans picked in one day. I grabbed my canning equipment and got to work.
Here is the recipe I used. You know how much I like the recipes from the National Center for Home Food Preservation. If you have never done any home canning, the NCHF site has accurate, up-to-date instructions.
Step one was a good soak for the beans. With all the rain we have had in central Massachusetts this year the beans were quite muddy. While the dirt floated off the beans, I got out eight jars (I like wide-mouth pints for pickles), rings and lids; my kettle and its lid; and all my canning tools.
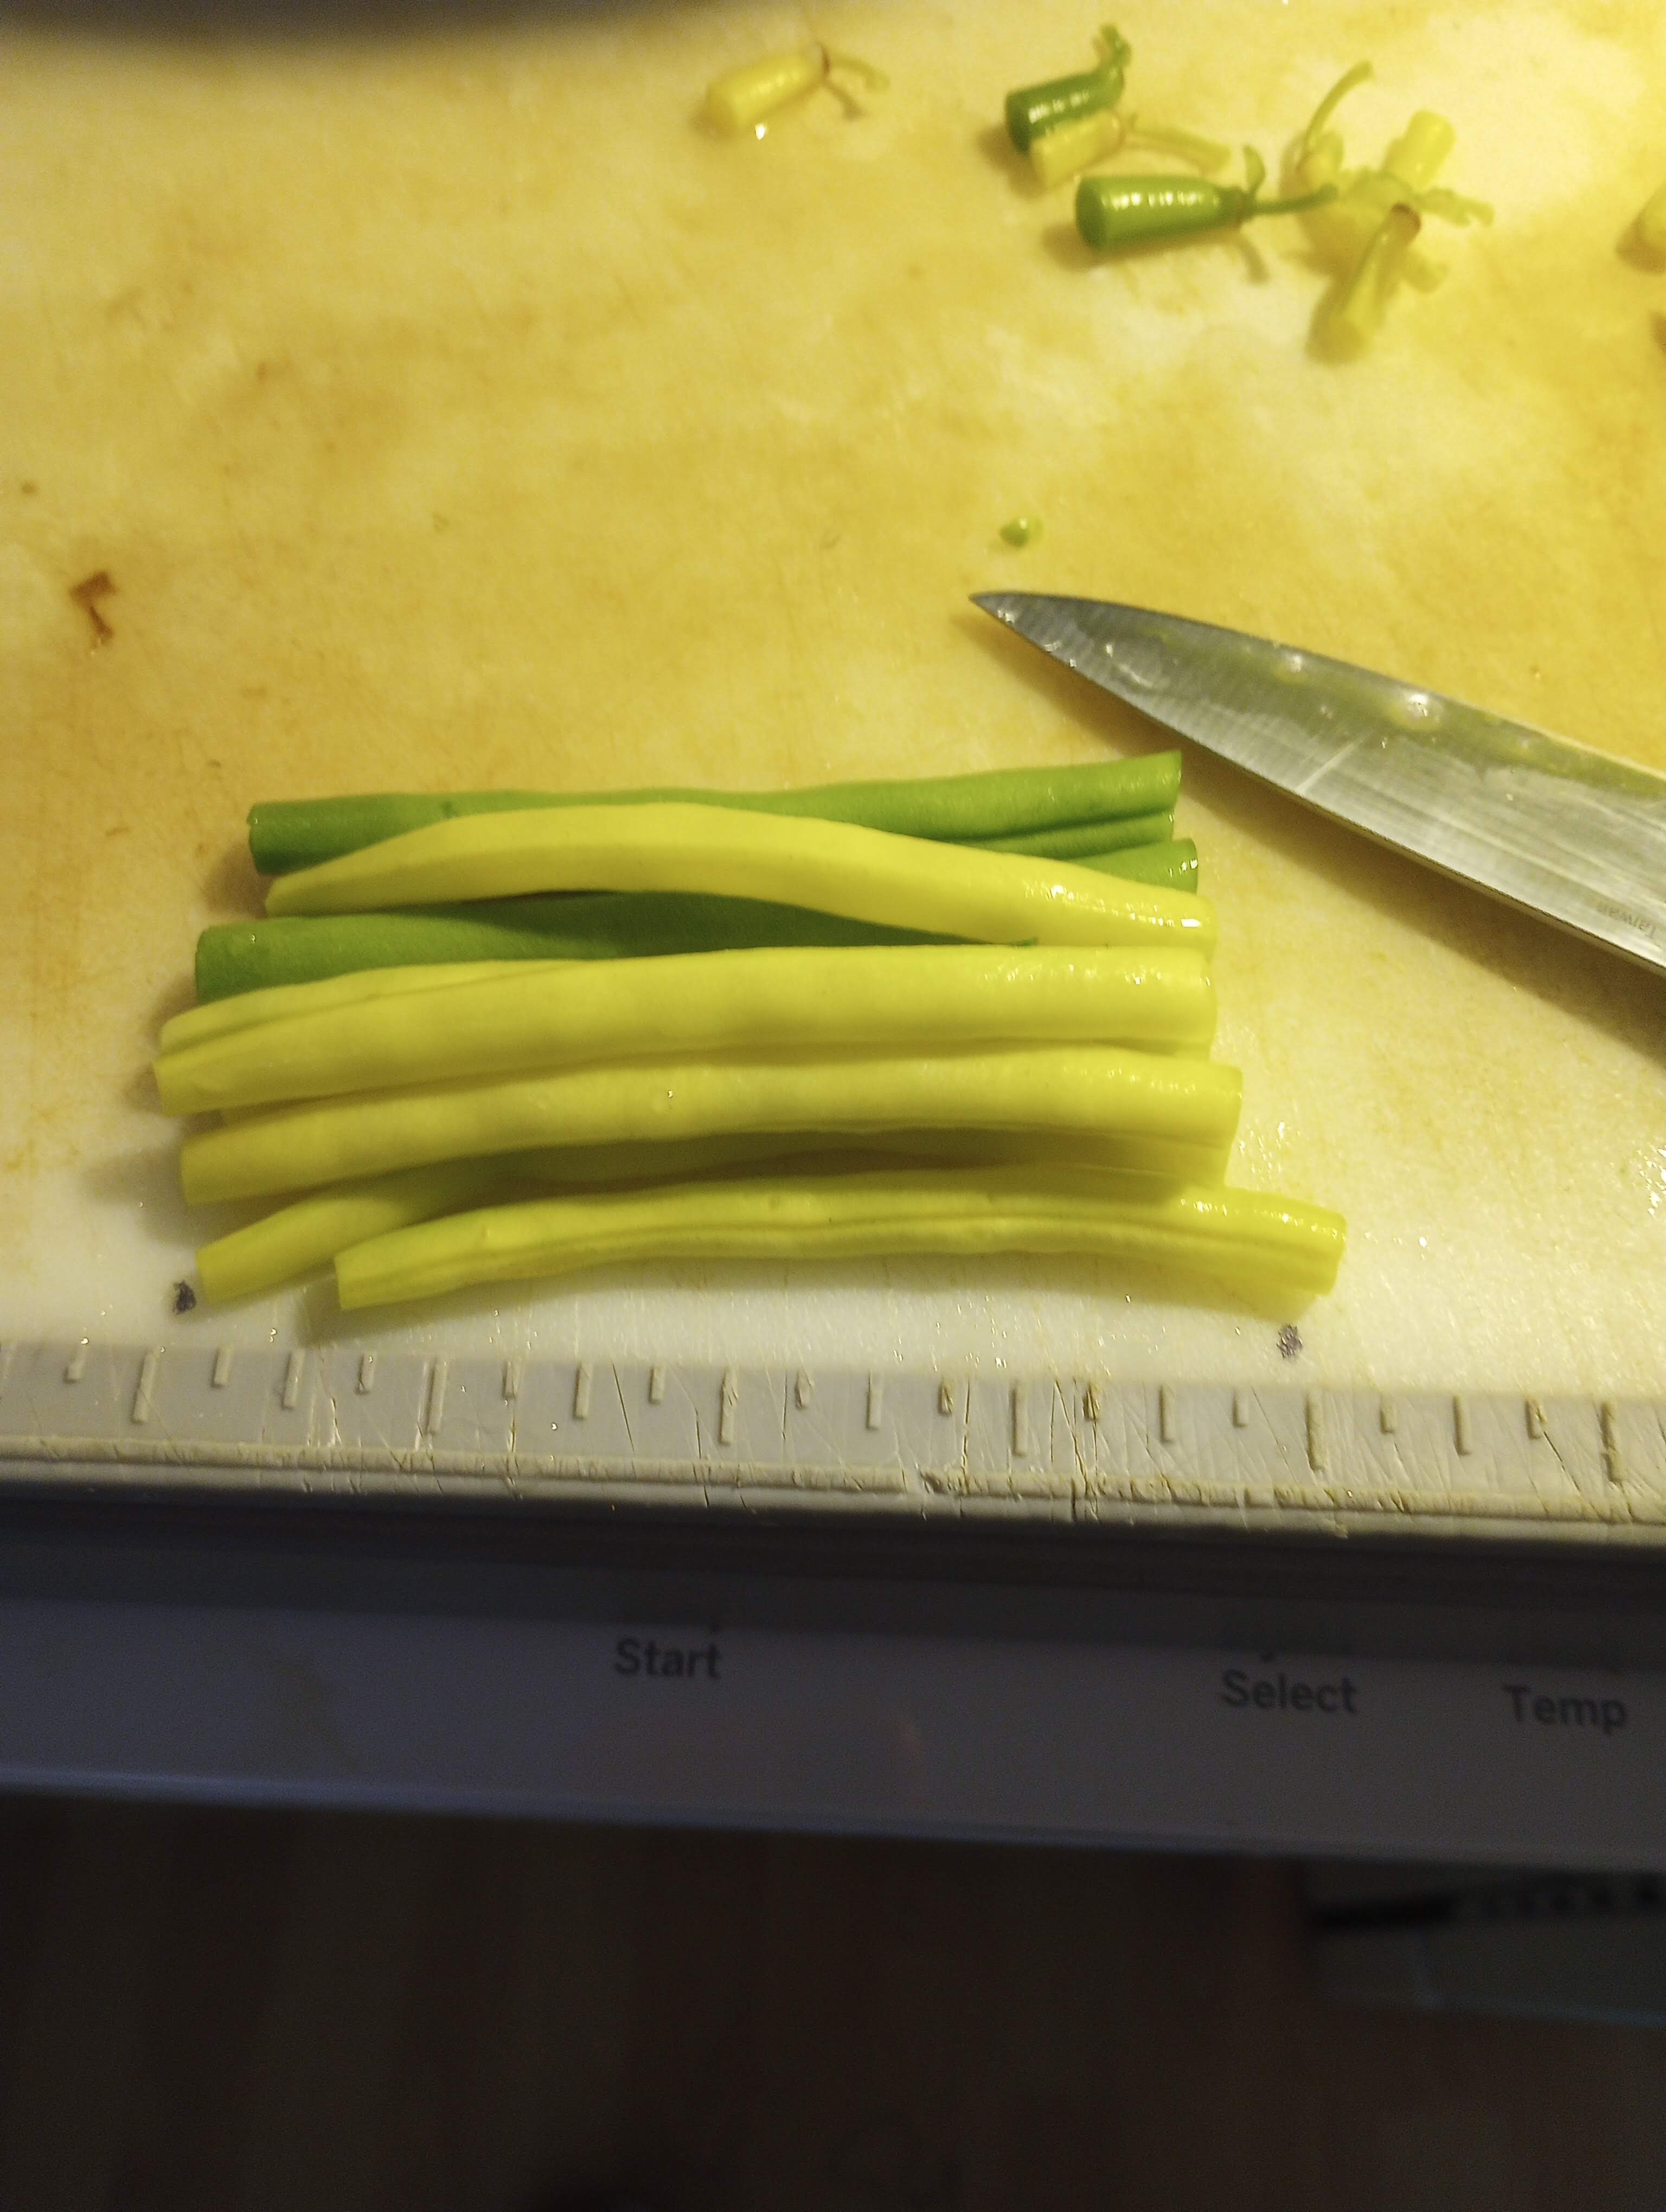
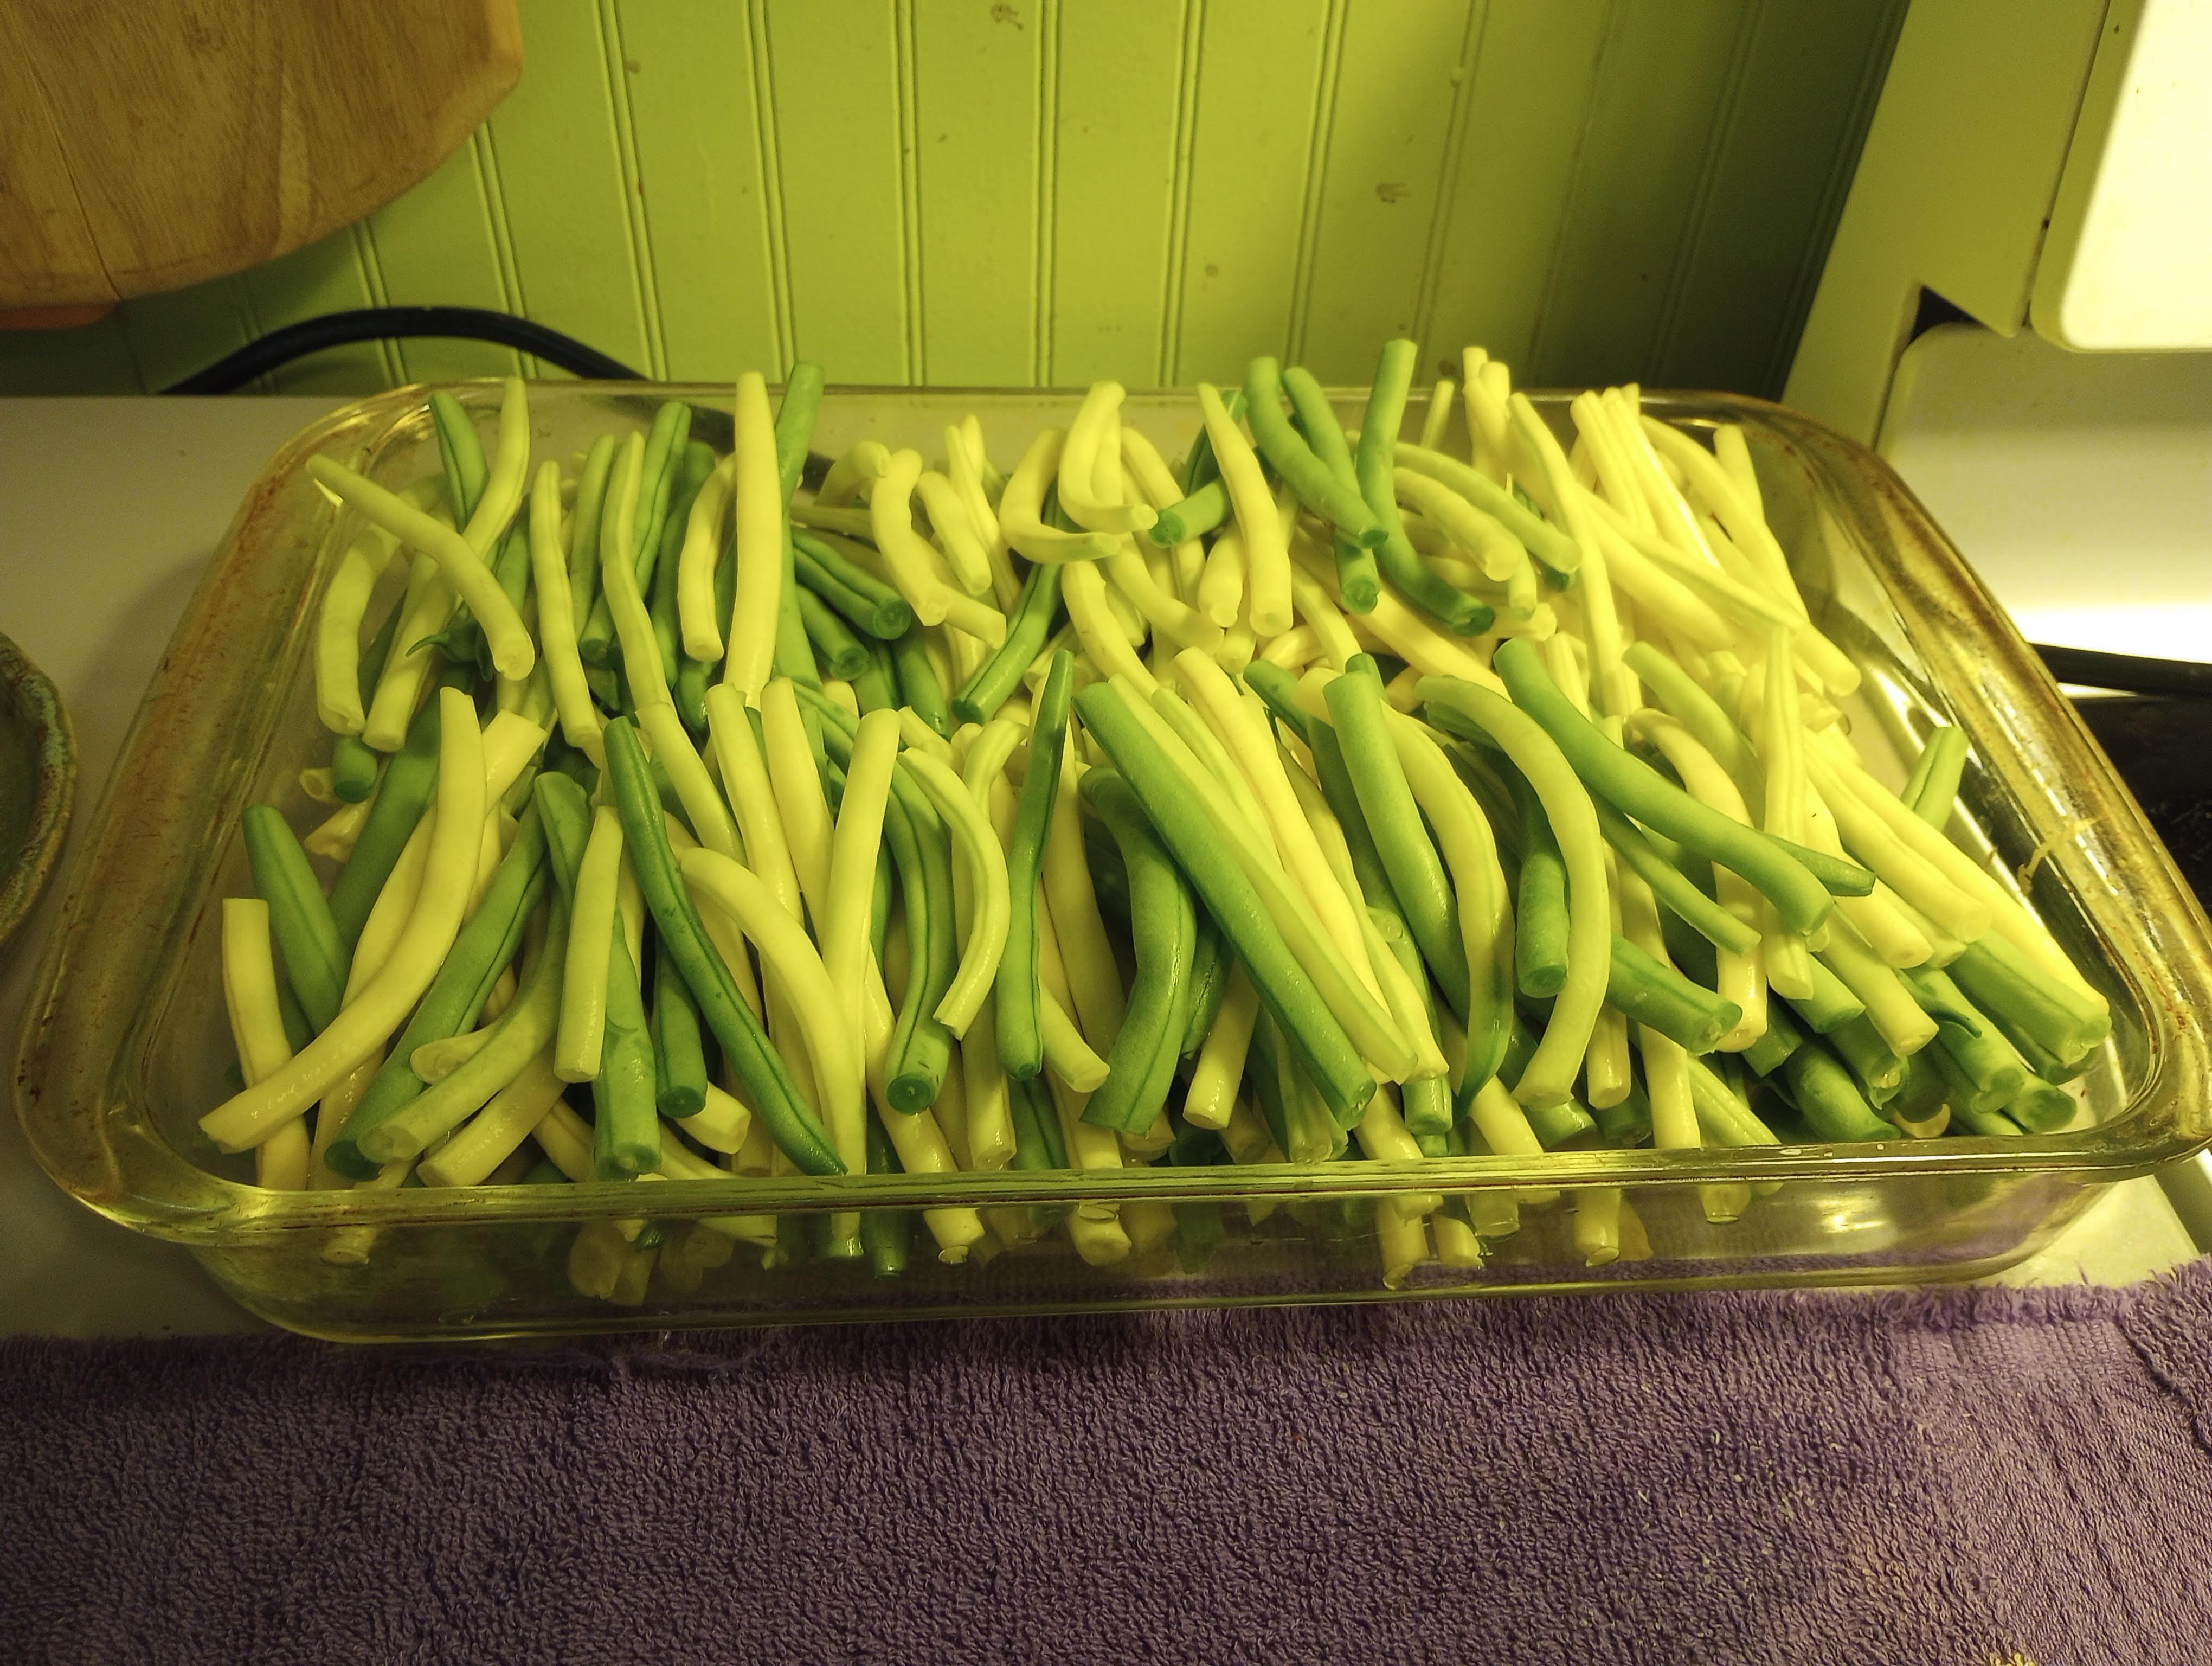
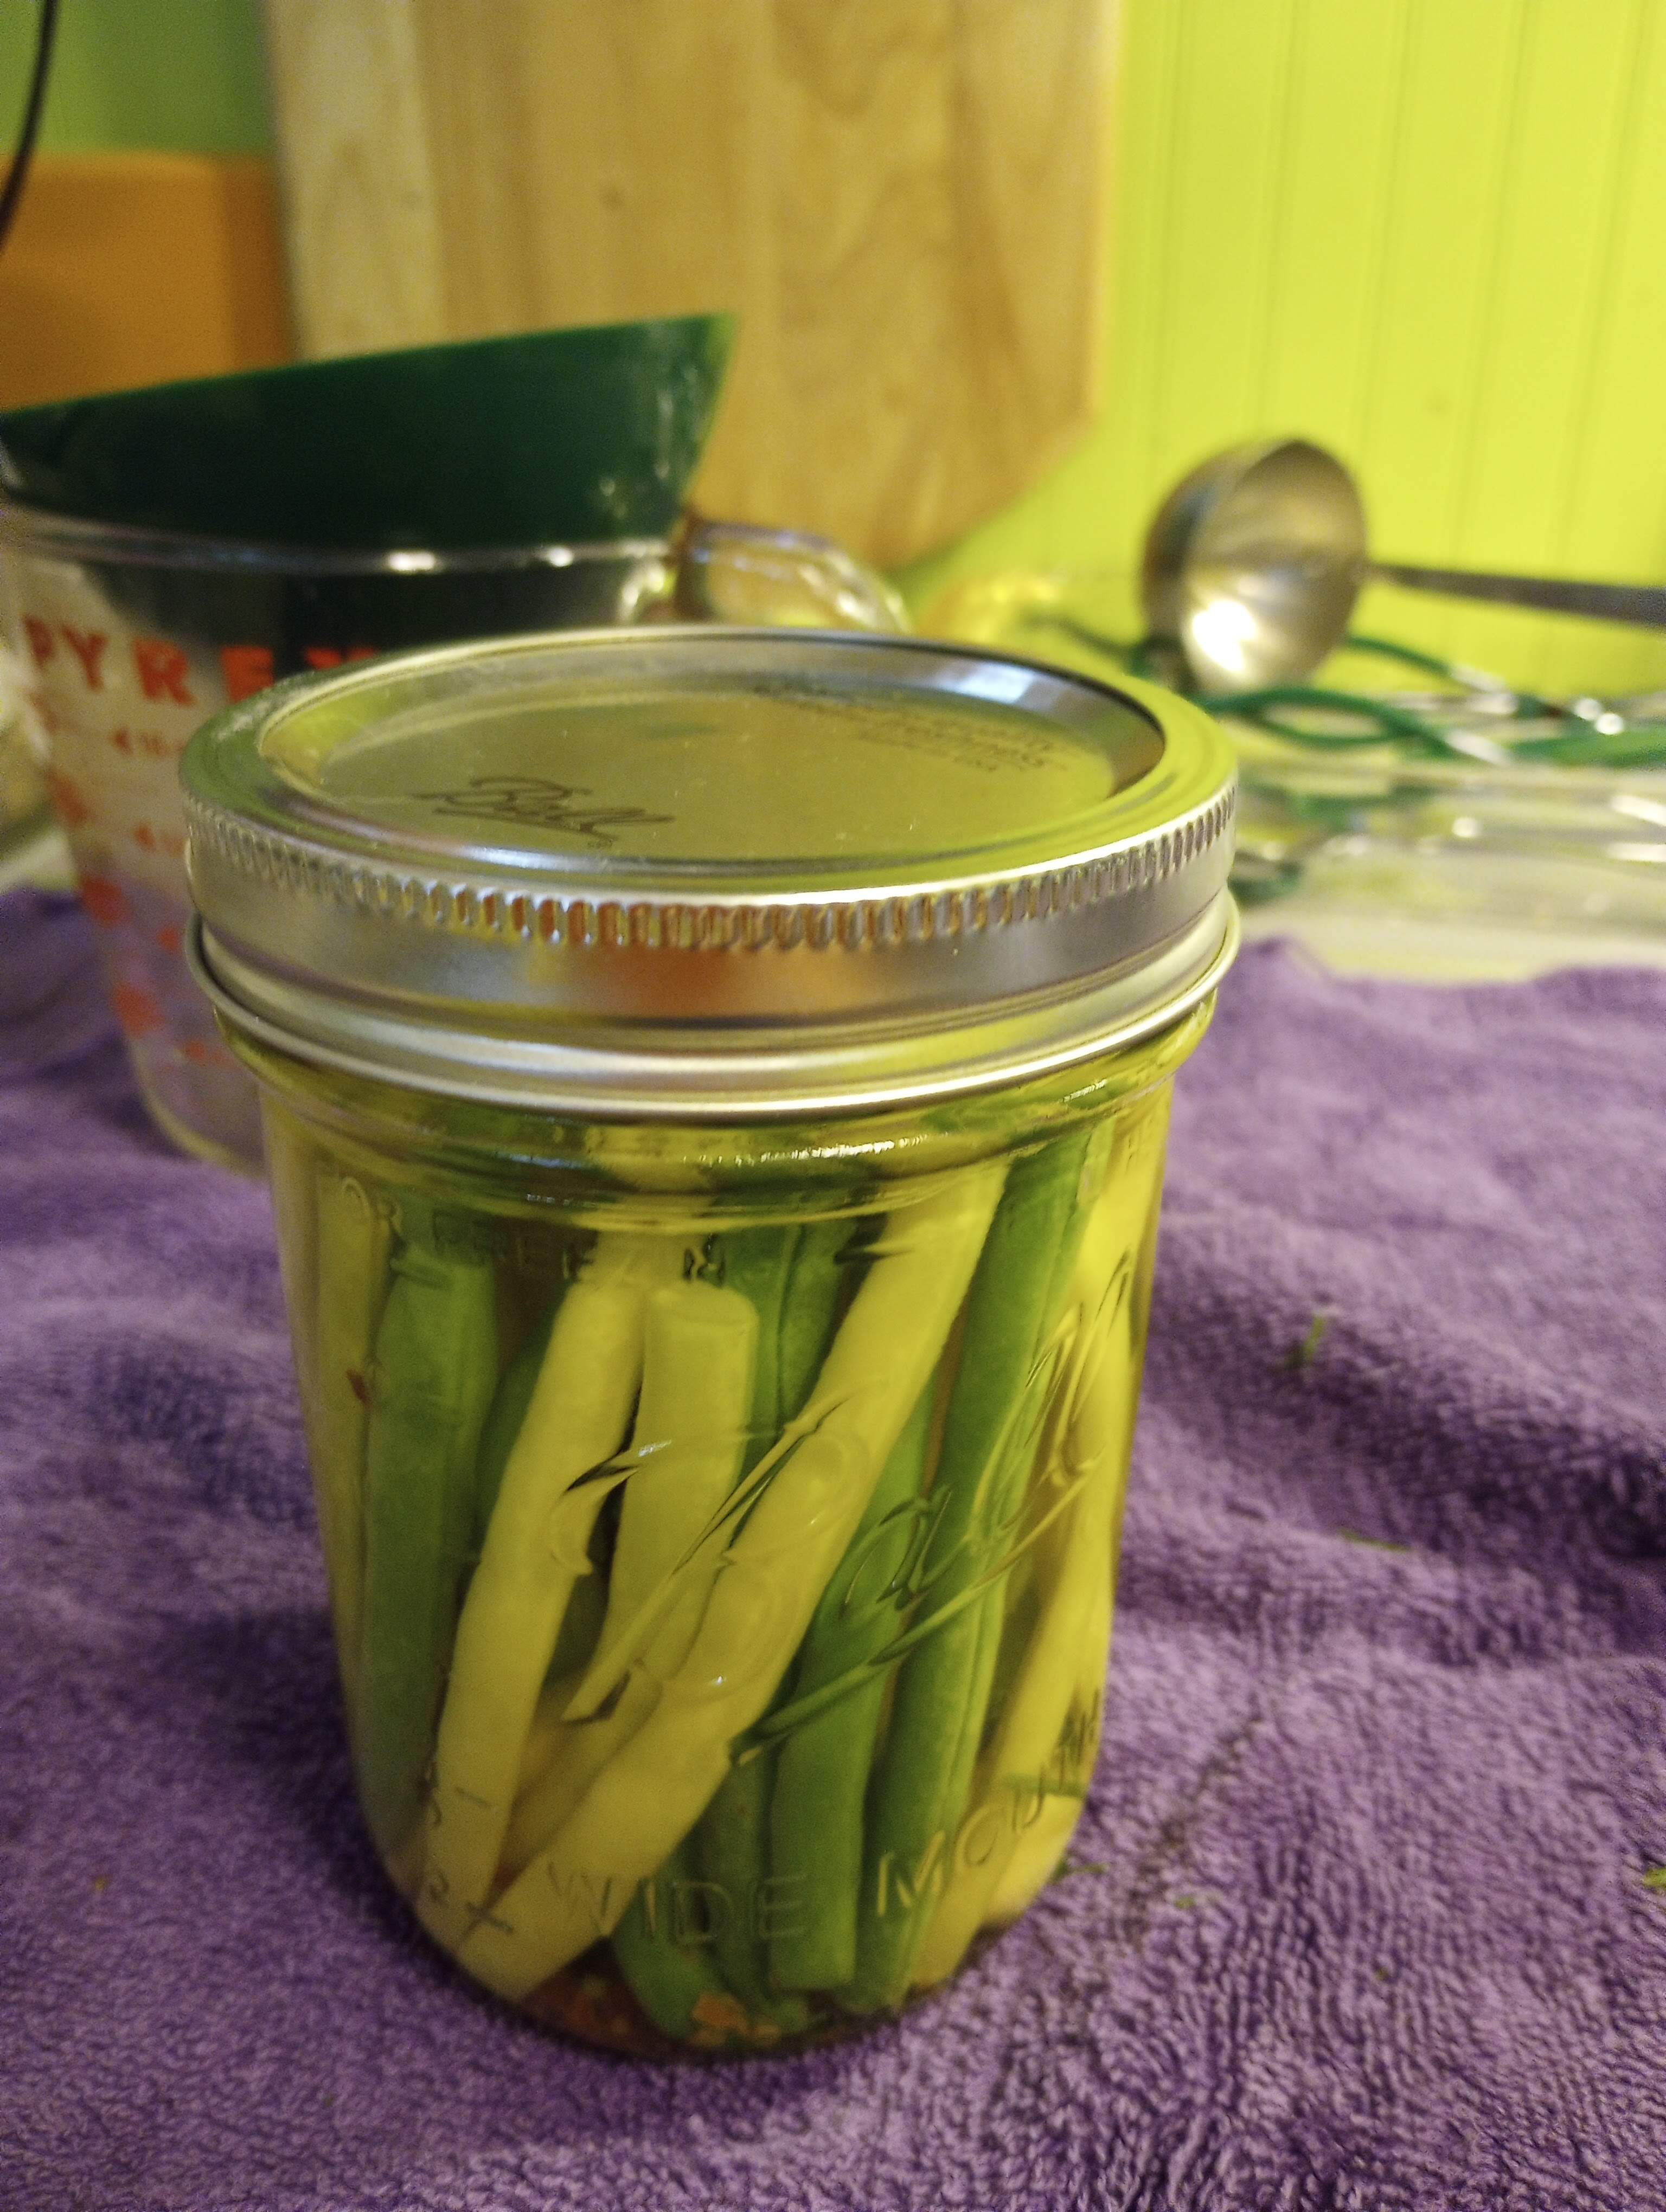
Next, I had to trim the beans. I have a cutting board with a ruler running down the side. If you do not have such a cutting board, all you need is one jar and a marker. Make two dots on the edge of the cutting board, one at the bottom of the jar and one near the top. The recipe says the jars need one-half inch of headspace, so I want my beans to sit a little lower than one-half inch from the rim of the jar. Look how easy it is to get neat, even beans! I also found that a baking dish helps keep the beans lined up for easy filling of the jars.

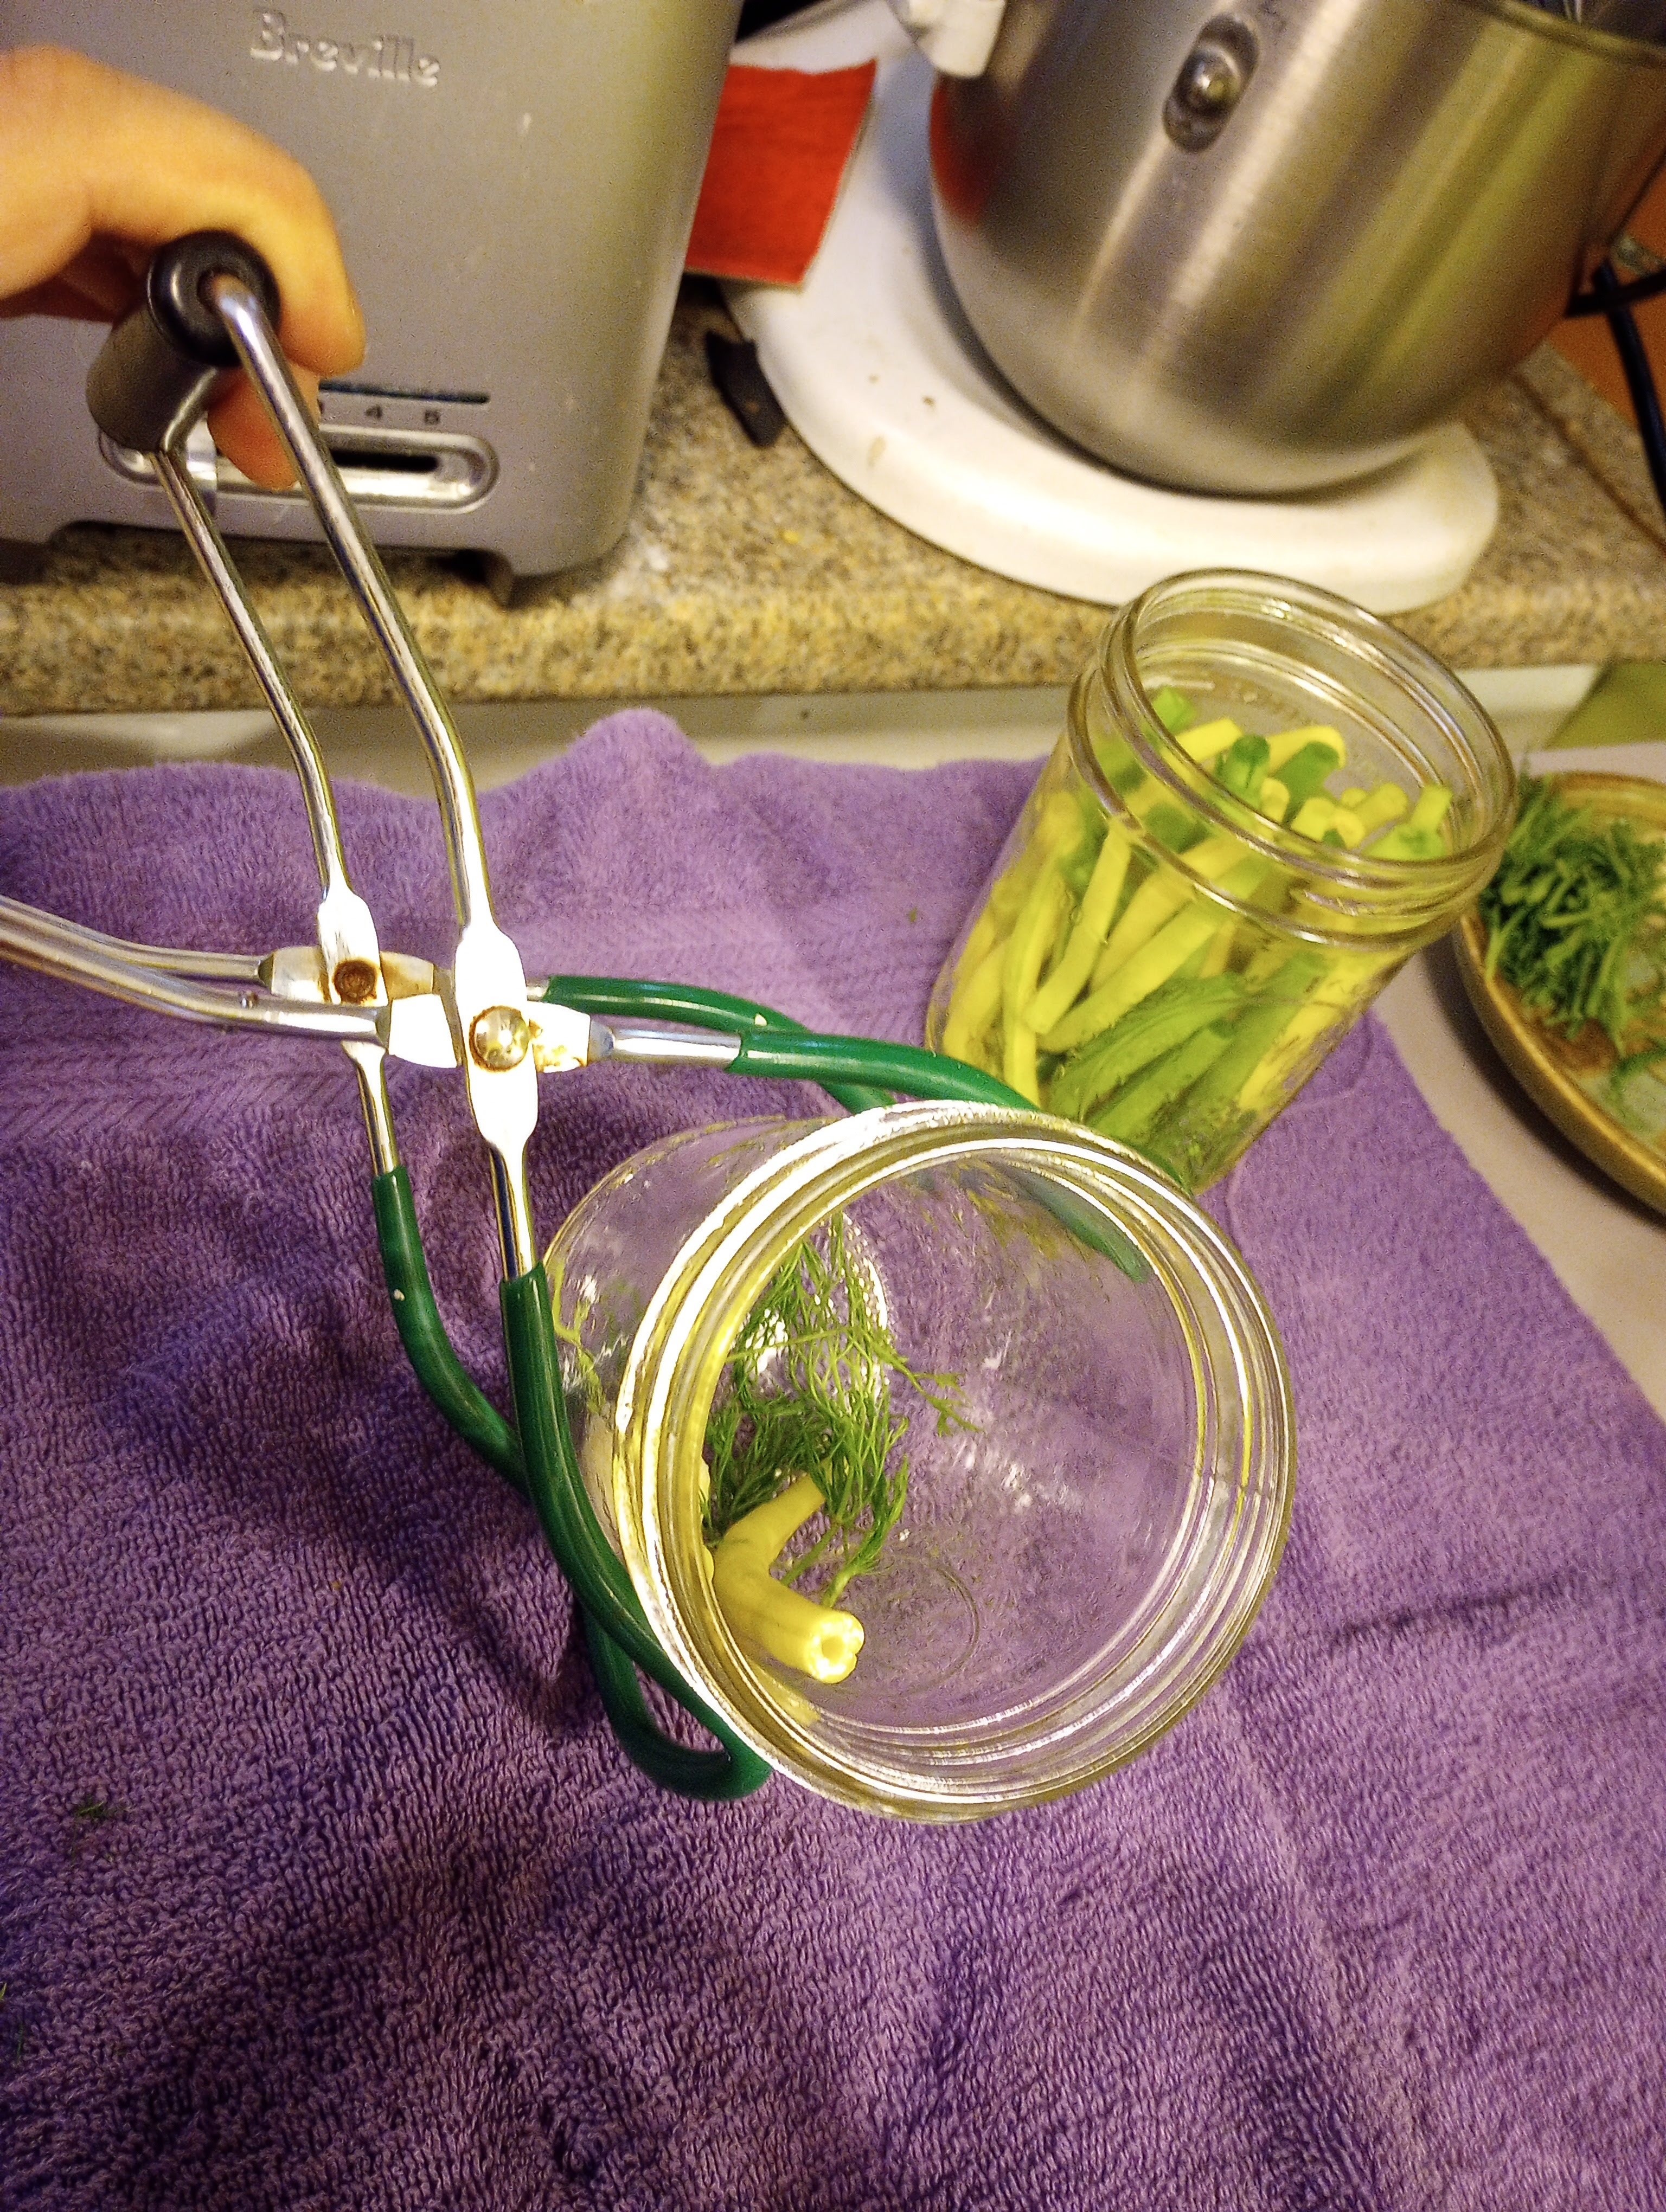
Once my brine was boiling and my jars were scalded, It was time to fill. I put a garlic clove and a dill sprig in the bottom of each jar. I found the jar lifter made it easy to hold the hot jars sideways for filling. Then I ladled in my brine, cleaned the rims, capped the jars and sent them for a 5 minute process, as directed in the recipe. You may notice only four jars in the photos. My kettle can’t hold eight wide-mouth pints with adequate space for water circulation. I took out the first four jars, filled them, took out the second four jars, put the four full jars into the kettle for processing, and filled the second group of four jars while the first four processed. This keeps the jars hot and allows the water to circulate.

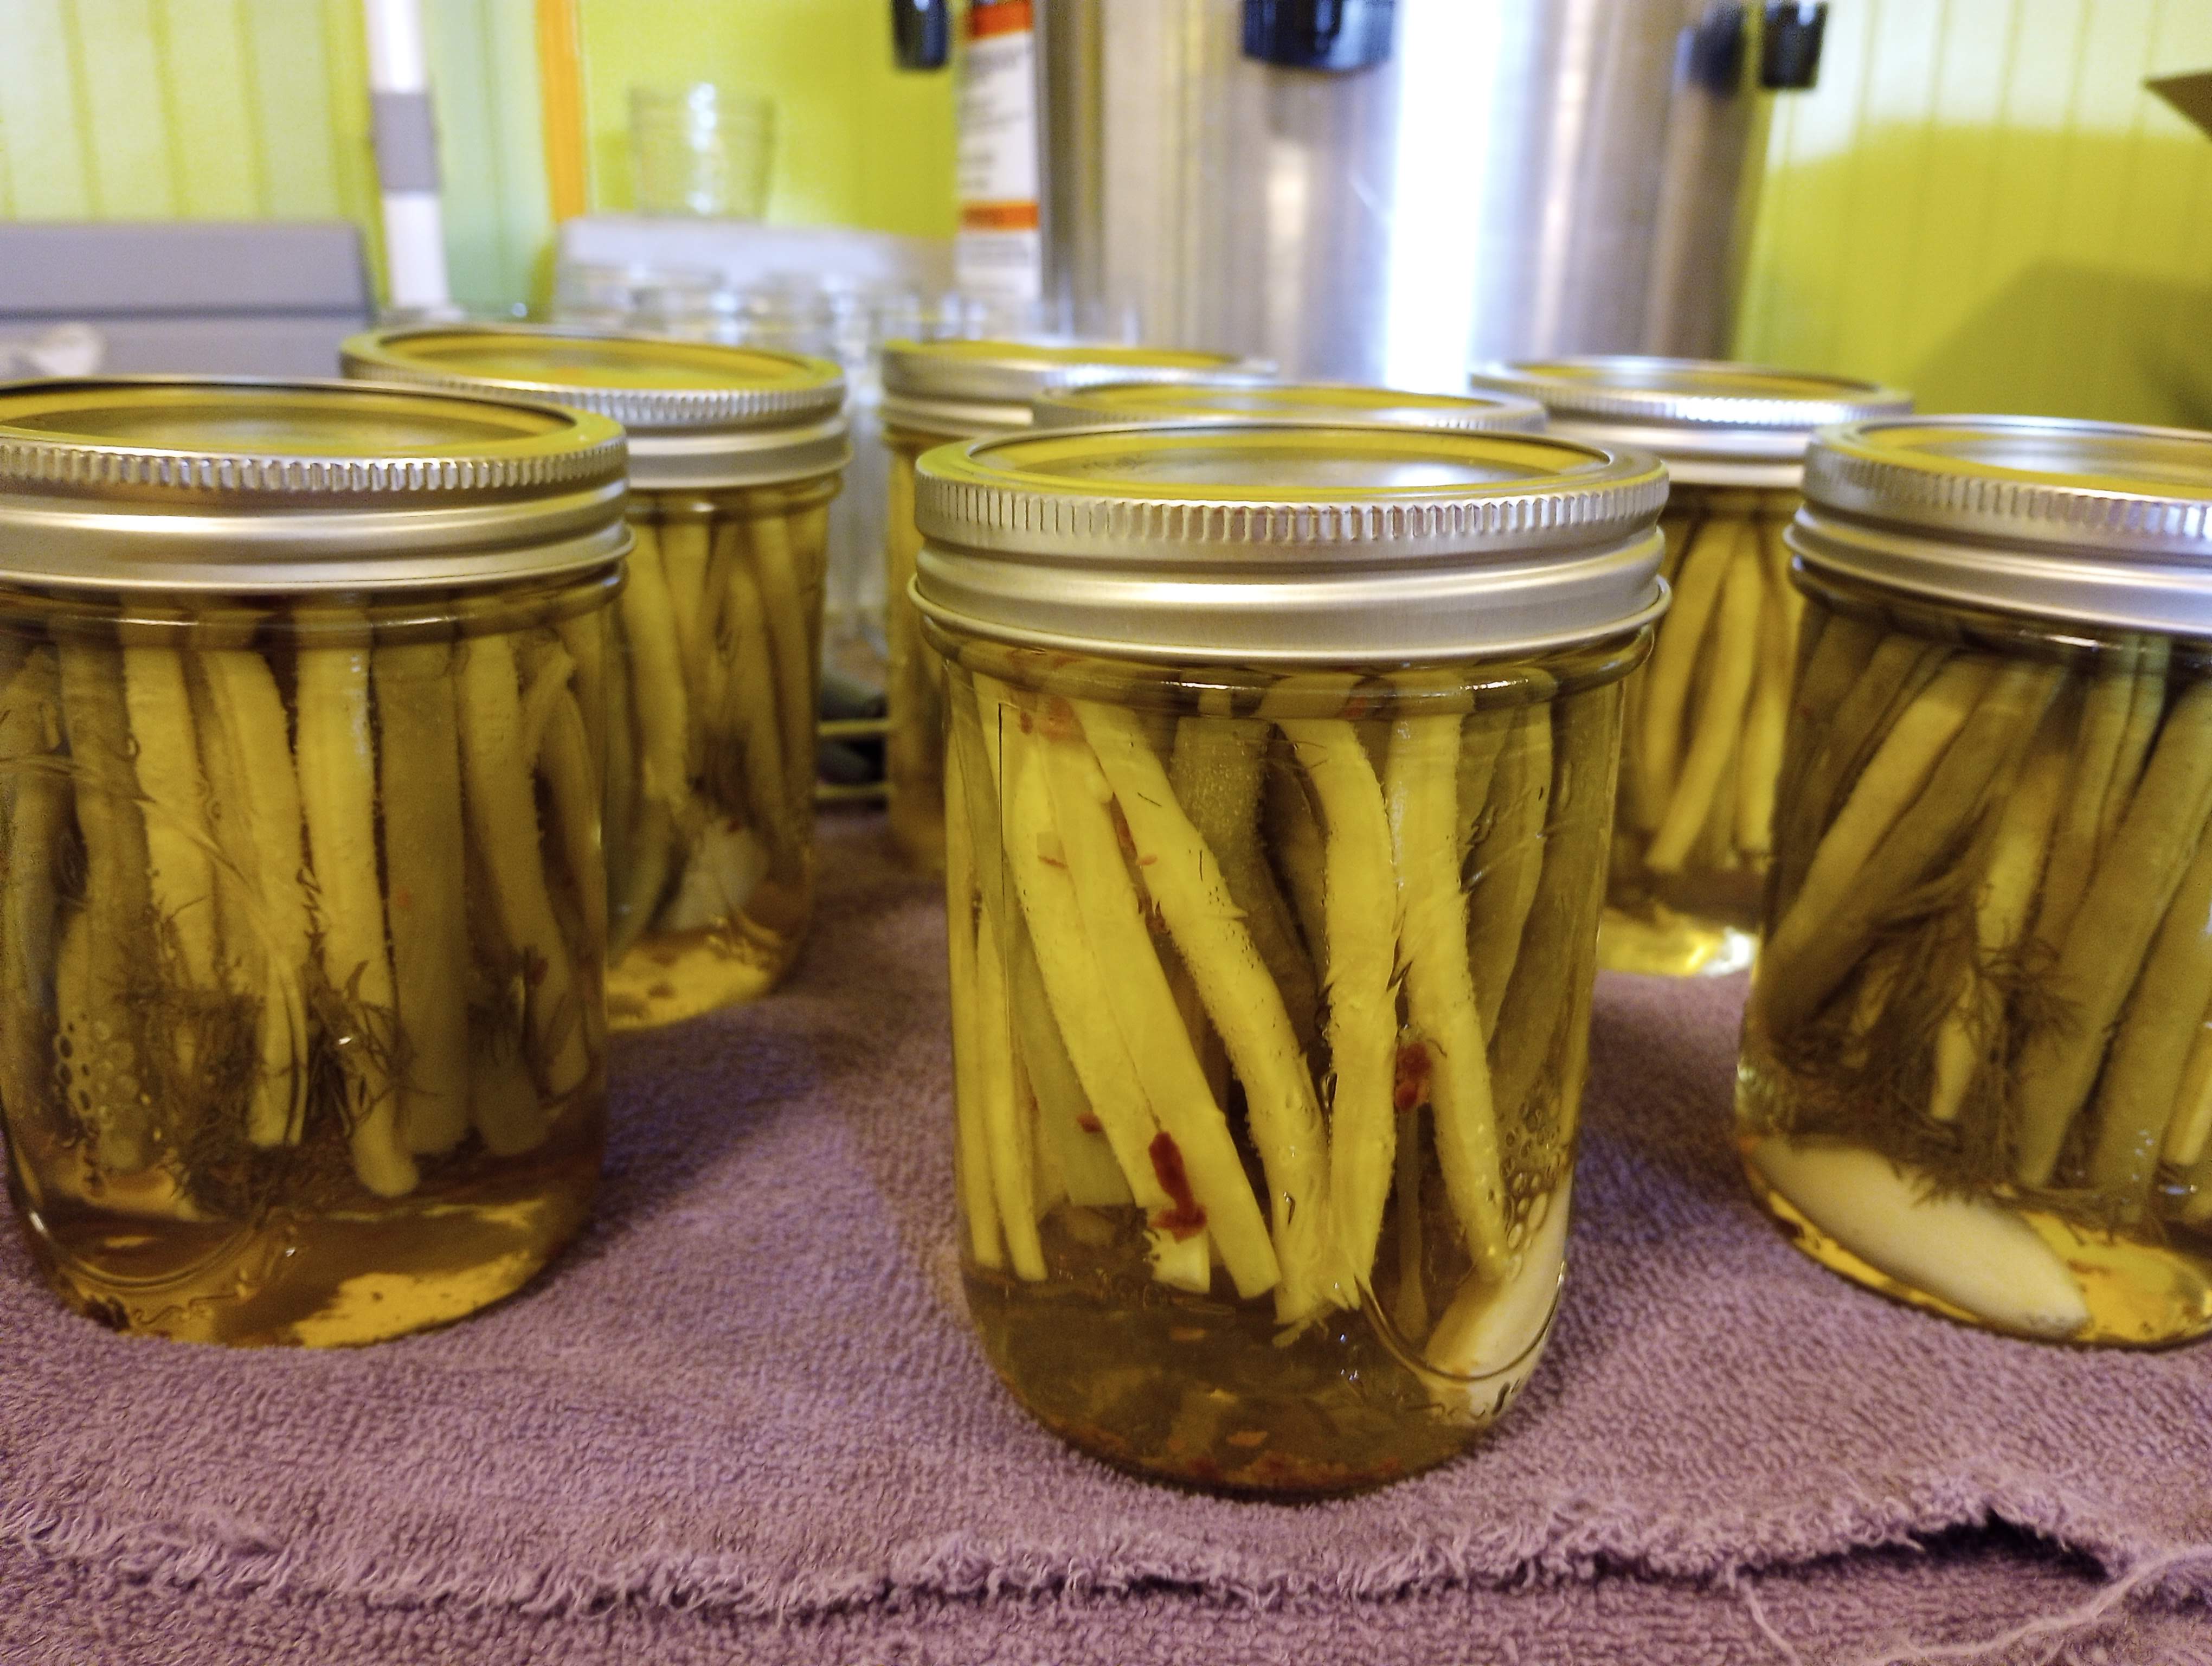
All seven of the jars I processed remained sealed after cooling for 24 hours. There was not quite enough brine for the eighth jar, so I mixed a 50/50 water/vinegar solution to top it off and that jar is now “refrigerator pickles”. I tried a couple of those today, and they are delicious! I have yet to ask Mr. Food It Yourself to try them, but I think he will enjoy the tart, salty, slightly hot (I added the optional red pepper flakes) beans.
If you have been reading this blog a while, you know I have made pickles before. These pickles feel like an accomplishment, though. I have been waiting to try this recipe for a few years, and now I have done it. What accomplishments have you reached in your garden, or in your kitchen this summer? What are you working towards? Share in the comments section!
