Au The Pain!
It is snowing! In the north-eastern USA! In January! We must all panic and storm the supermarkets and forget how to drive! Since Mr. Food It Yourself and I planned to not leave the house this weekend, we decided to make a hearty beef stew in the slow cooker. Nothing goes better with stew than a crusty French-style baguette. The best part? There is no need to leave the house to buy a baguette. They can be made at home with basic ingredients. You will need to plan ahead. For baguettes to accompany Saturday’s dinner, I had to start on Friday night.
Baguettes also require a particular technique to get a hard crust and chewy interior. Here is the very-well written recipe from King Arthur Baking which I used. It outlines the technique clearly. As directed by the recipe, I started by making a poolish (also spelled poulish).
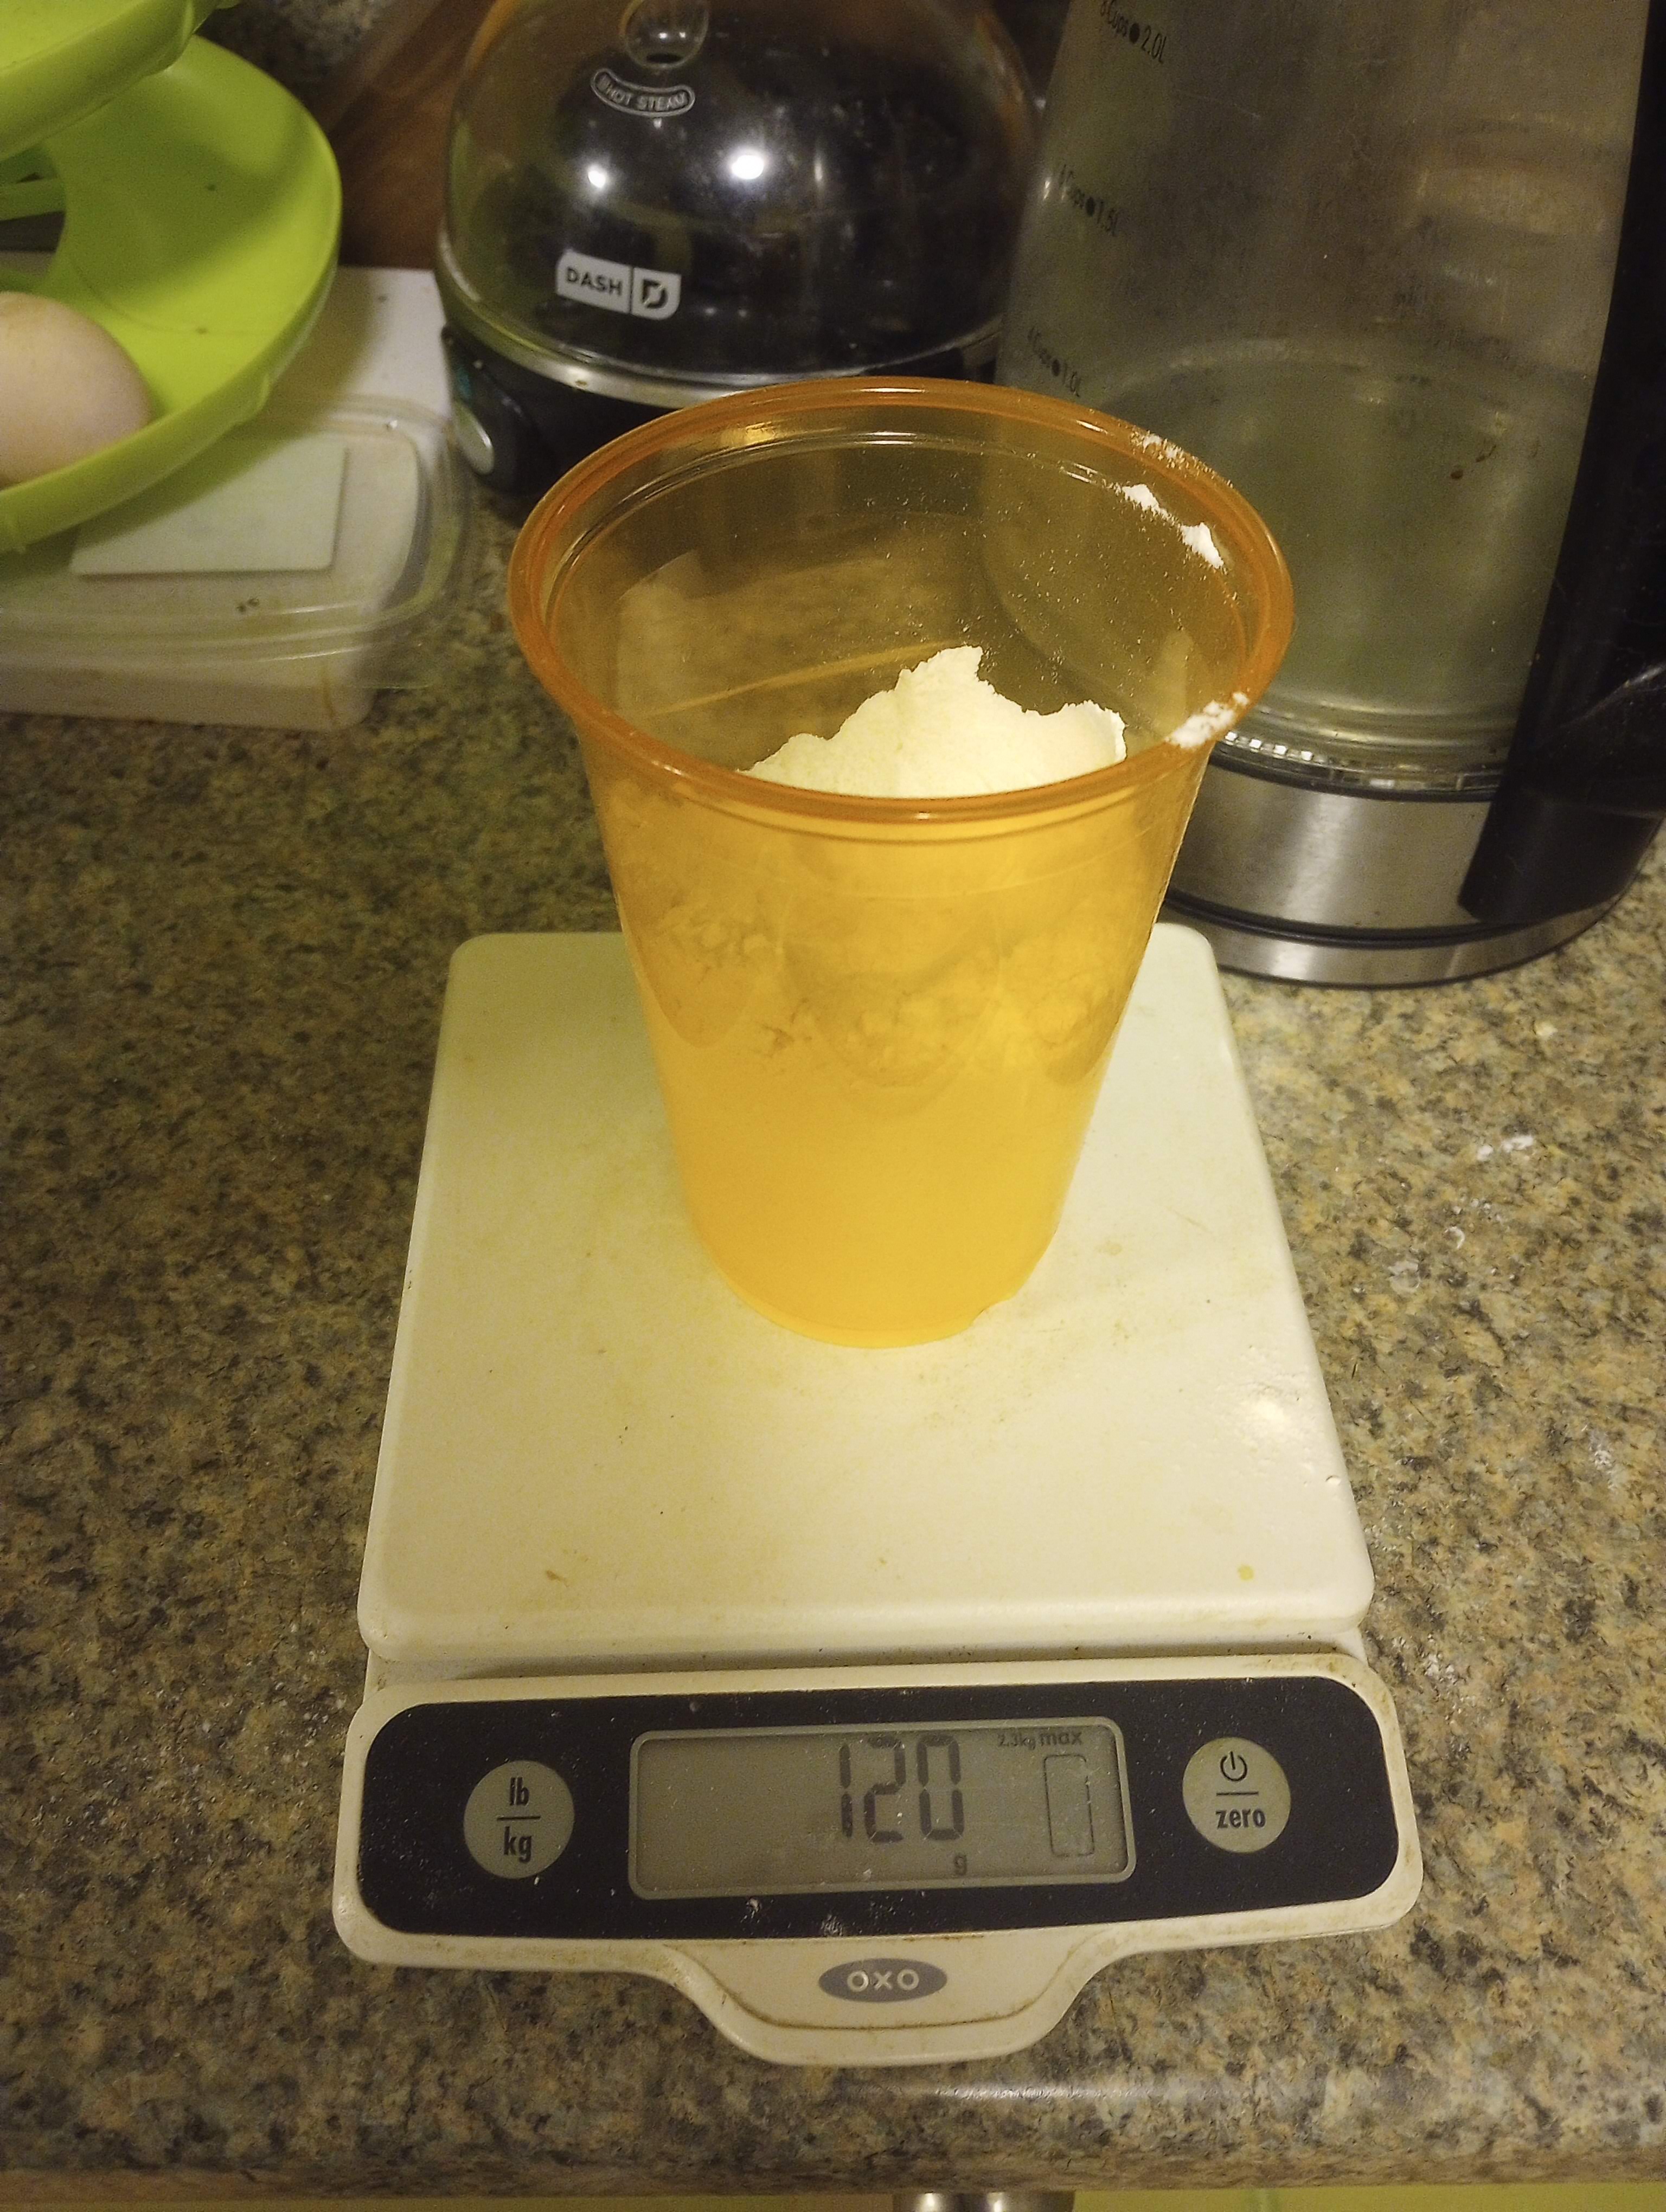

I weighed out the flour. I know I harp on this, but weight really is more accurate when baking. I happen to have a measuring cup with mililiter markings, so I used that for the water. If you do not have such a measuring device, you can use your scale to weigh it because 1 mL of water weighs 1 gm. Once the poolish was mixed together I placed it on a shelf which D0ttMatrix (the Food It Yourself cat) can not reach. Yes, she would give it a taste if she could reach it.

So, what is a poolish and is it 100% necessary for a baguette? A poolish is a “starter” or “preferment”- a mix of yeast, water, and flour- that helps create specific textures and flavors in the finished bread. King Arthur Baking also has a great article about starters. The TL,DR: yes, the starter really can make the bread, so make the starter.
Here is my poolish after 18 hours of hanging out in my kitchen. It might have taken less time in a warmer place, but the slow preferment will give our baguettes an excellent flavor. Those long gluten threads you see in the picture will also give them that chewy texture that baguettes are known for.
I used my stand mixture to put the dough together. I find adding the ingredients to the bowl in the order the recipe lists them makes for the easiest mixing. If you wonder what the recipe means by the dough sticking to the bottom of the bowl, it means this:
For the two raising cycles, I brought the bowl of dough into the living room and set it on top of Mr. Food It Yourself’s aquarium. The extra bit of rising heat helped the dough puff up. Also, D0ttMatrix cannot reach the top of the aquarium.
I was not able to get pictures of the shaping process, but it is spelled out clearly in the recipe. My two top tips:
- Use pan spray to lightly oil the work surface. A little spray on your hands will help, too.
- If you do not have a couche, the traditional canvas used for shaping baguettes, you can use parchment paper. Fold a sheet of parchment into thirds (because you’ll end up with three loaves with this recipe) and use clips to keep the lanes separated, like so:

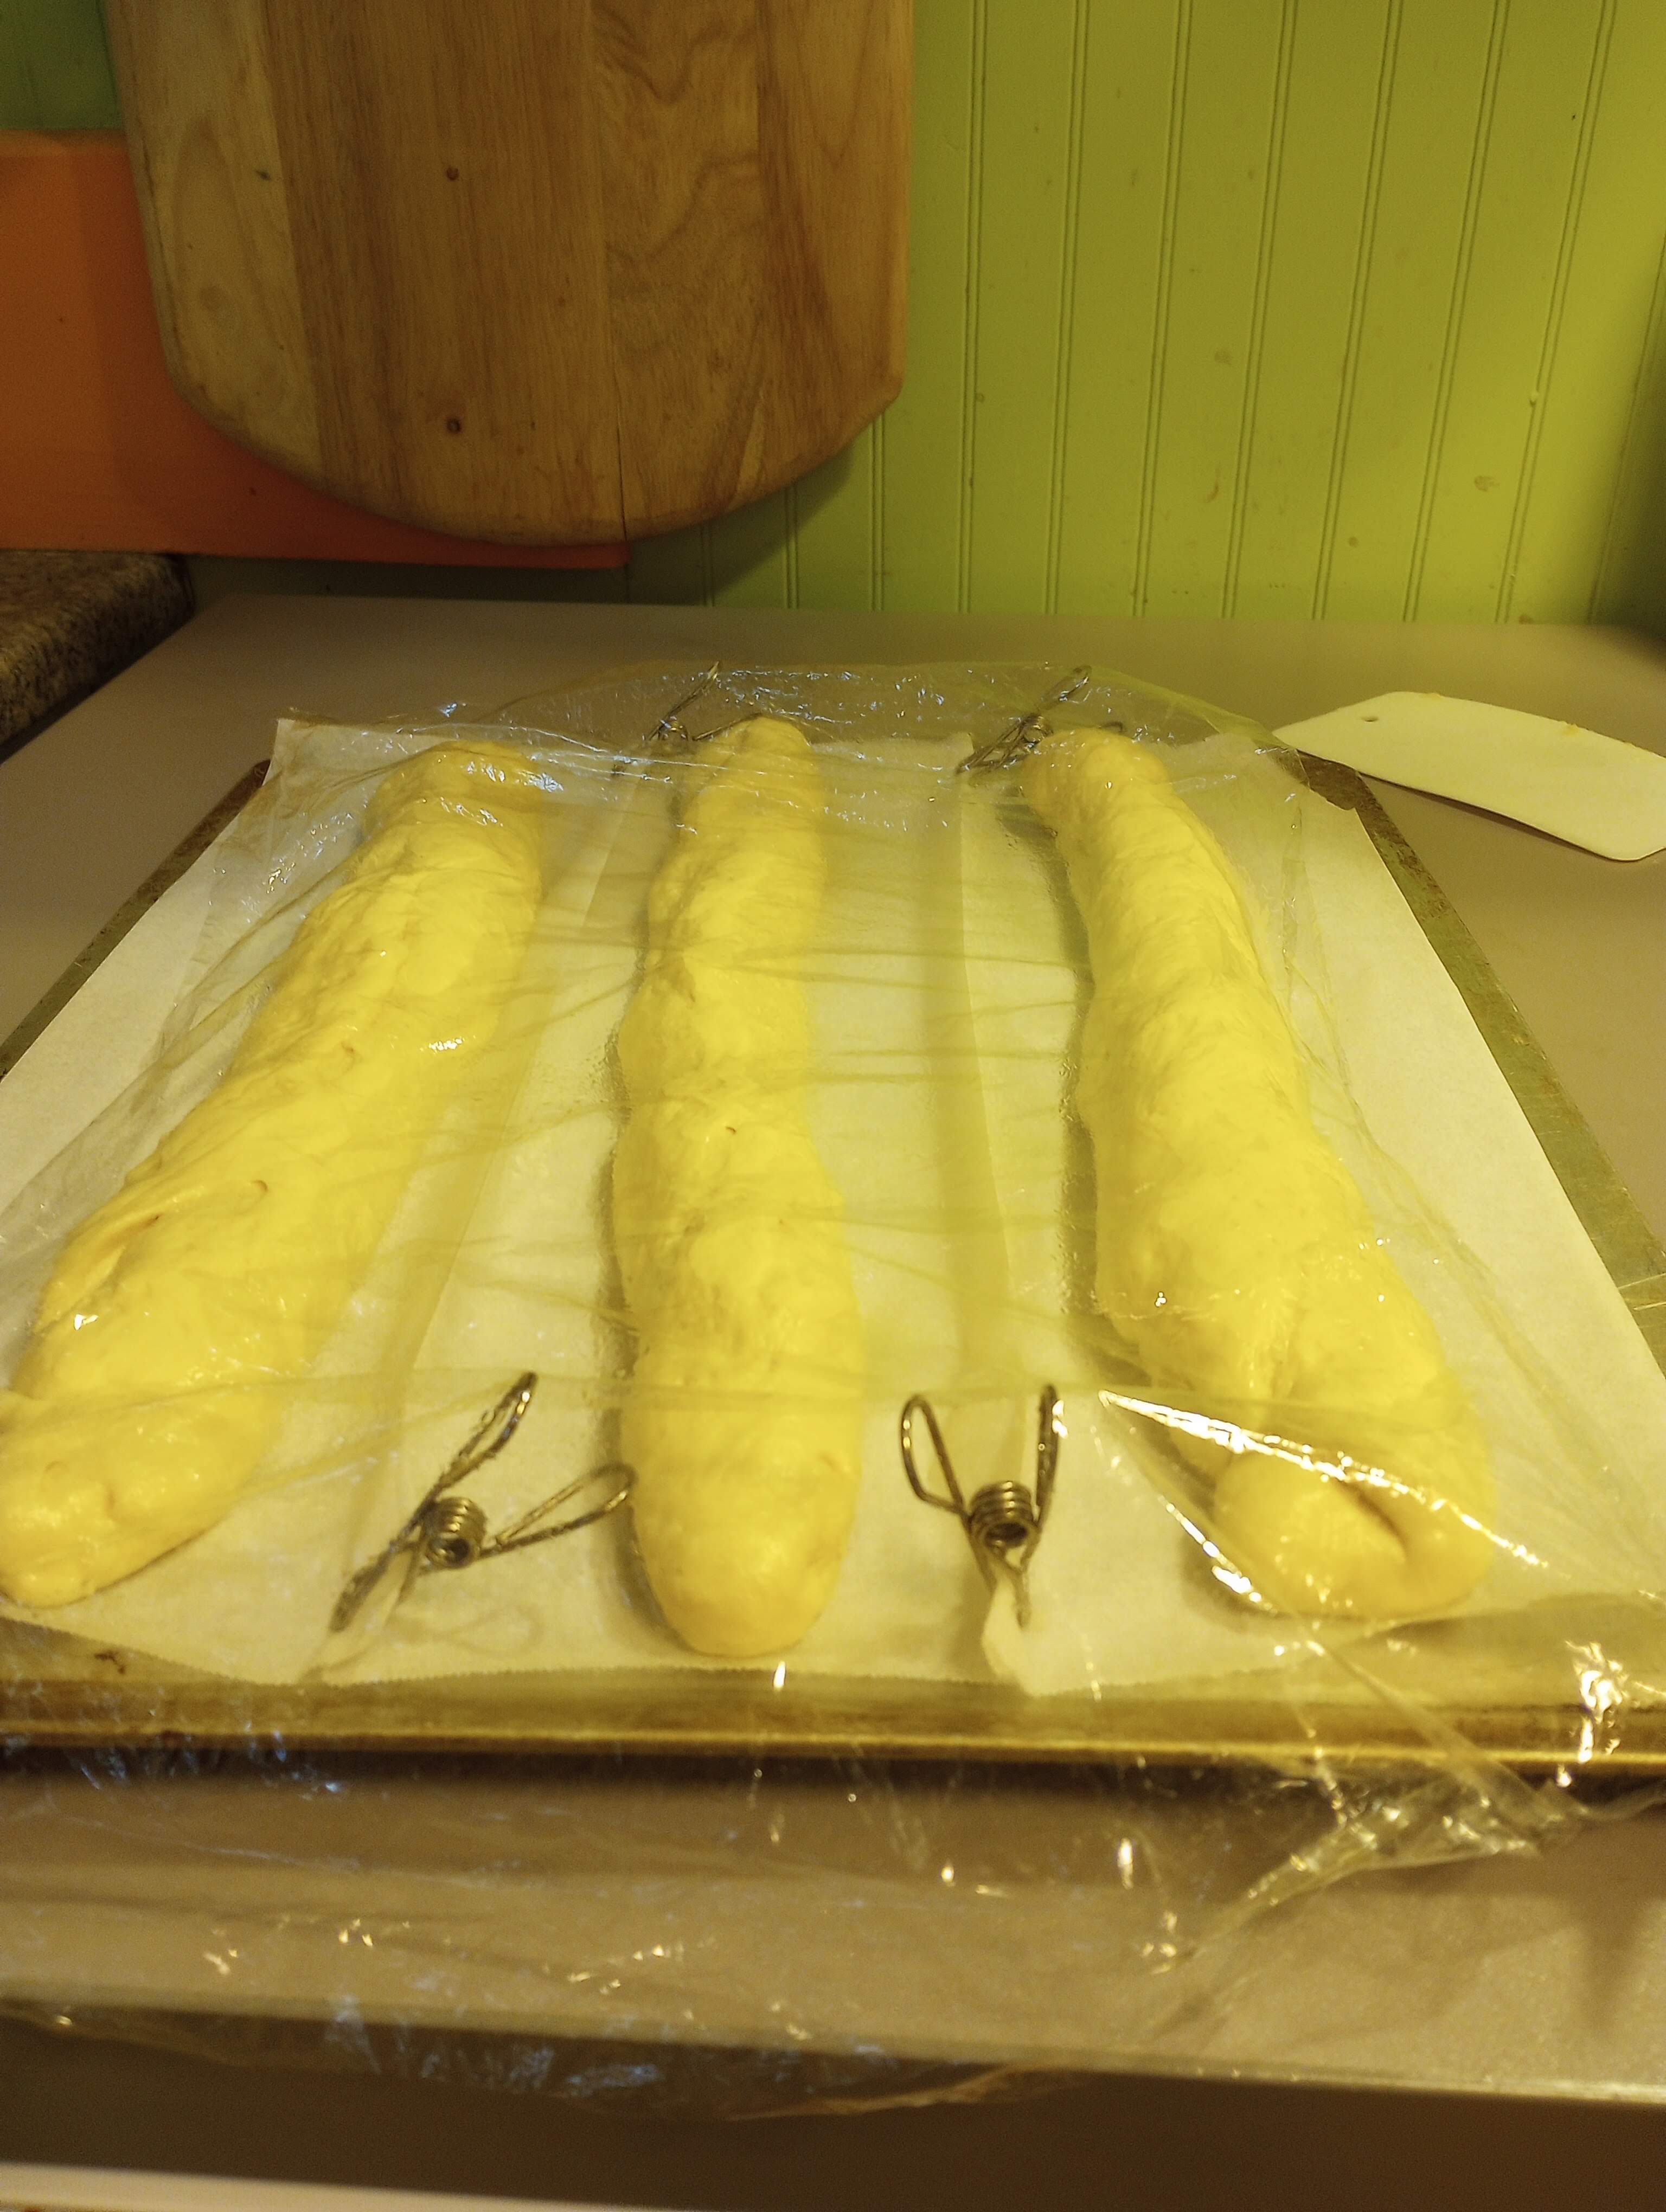
After the final rise, bake, and waiting for the bread to cool in the oven, we had three beautiful baguettes to go with Saturday night’s dinner of beef stew. It is now Sunday evening and we have about 1/4 of one baguette remaining. No regrets.

My shaping skills still require some work, as you can see, but I will not improve unless I keep trying, right? The flavor and texture were spot on. What technique-heavy items have you been trying to perfect? Share in the comments!
